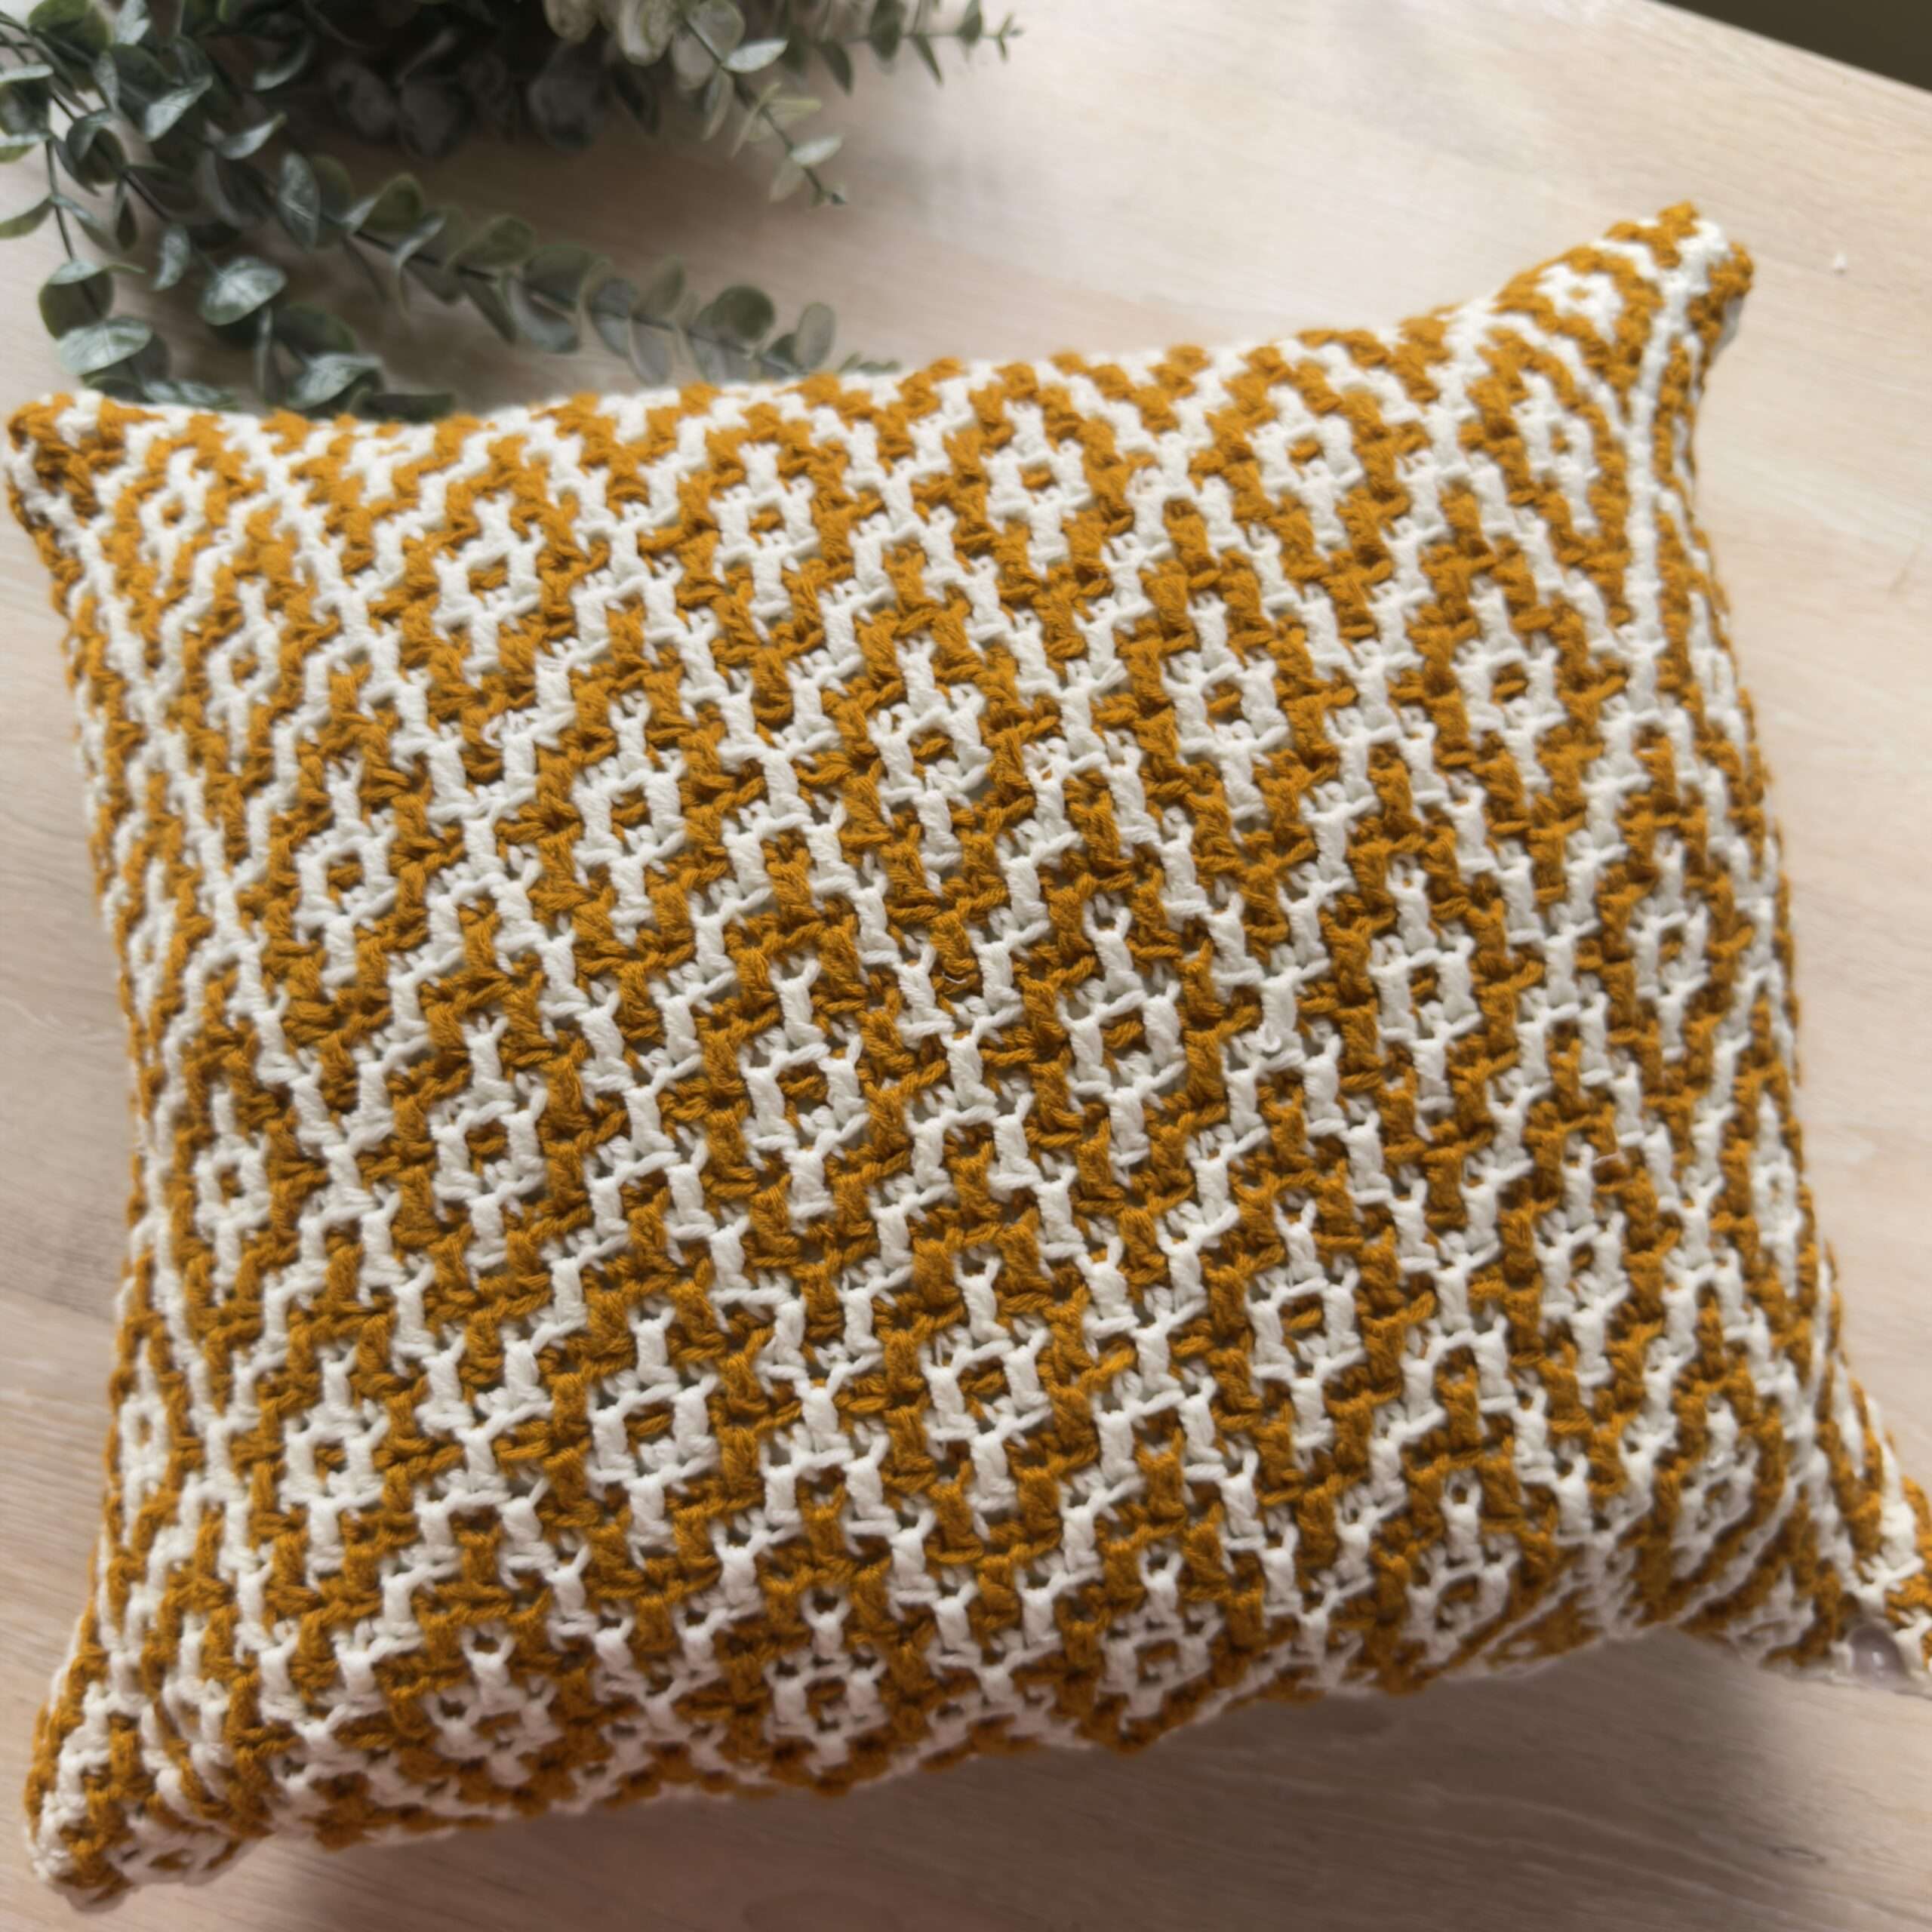
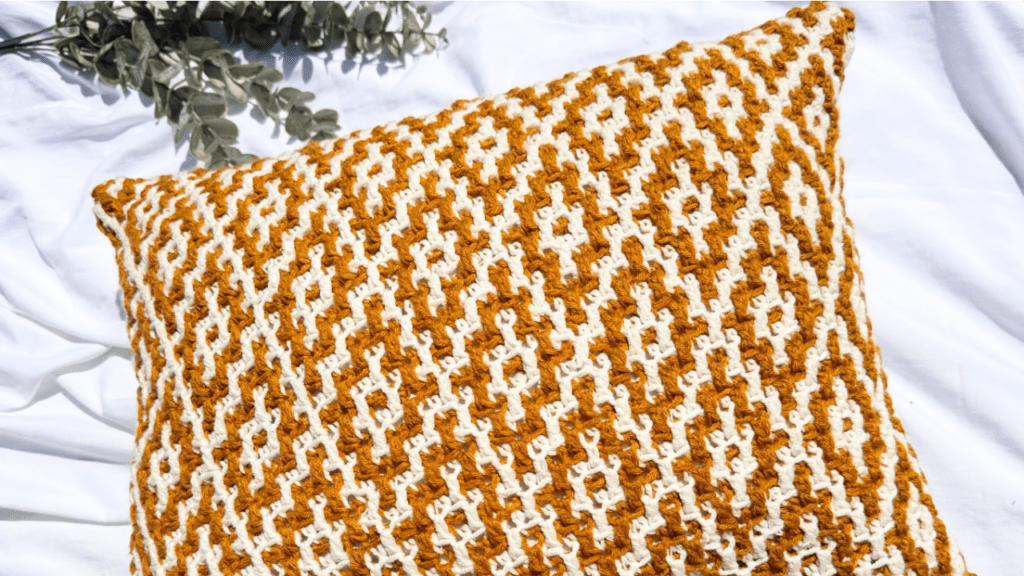
As complicated as the mosaic crochet pillows look, they are made from single crochet and double crochet. You just need to know where and when to place each stitch. If you think you can do that even as a beginner then this free crochet mosaic pillow pattern is for you!
I remember freaking out first time i saw mosaic crochet projects because it looks impossible and just beautiful at the same time. I love a challenge and i knew i had to learn how to crochet mosaic patterns.
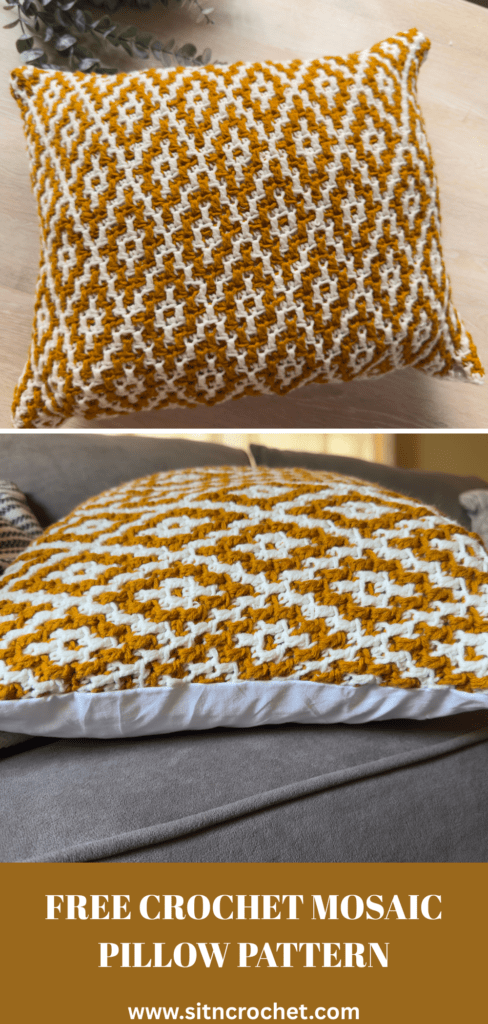
Free Mosaic Crochet Pillow Pattern
Today, i have brought you this crochet cushion free pattern so you can start small instead of making something as big as a crochet mosaic blanket or throw. A cushion will not only elevate your space but also be off your crochet hook in no time.
This crochet pattern calls for a few extra skill which are optional if you want this project to be done quickly but you can do whatever makes you happy. We will do a bit of sewing to attach the zipper and back linen fabric.
And if you’d like to support my work, you can also purchase the ad-free written pattern for about the price of a coffee ☕
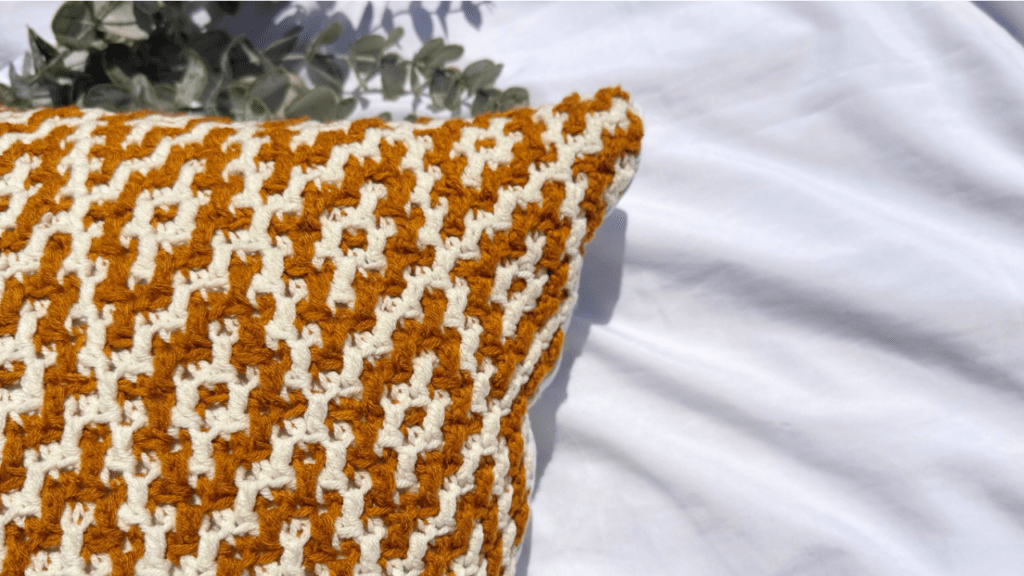
Personally, i wanted the cushion to have a professional look, something new and different, plus i had linen fabric that was sitting in my stash i was dying to use and this looked like the perfect project.
You will need a sewing machine (if you know how to use one) or a needle and thread to sew the lining and main cushion together assuming you are looking for a similar finish as me. If this sounds too much for you, you can always work rows of single crochet to finish the back.
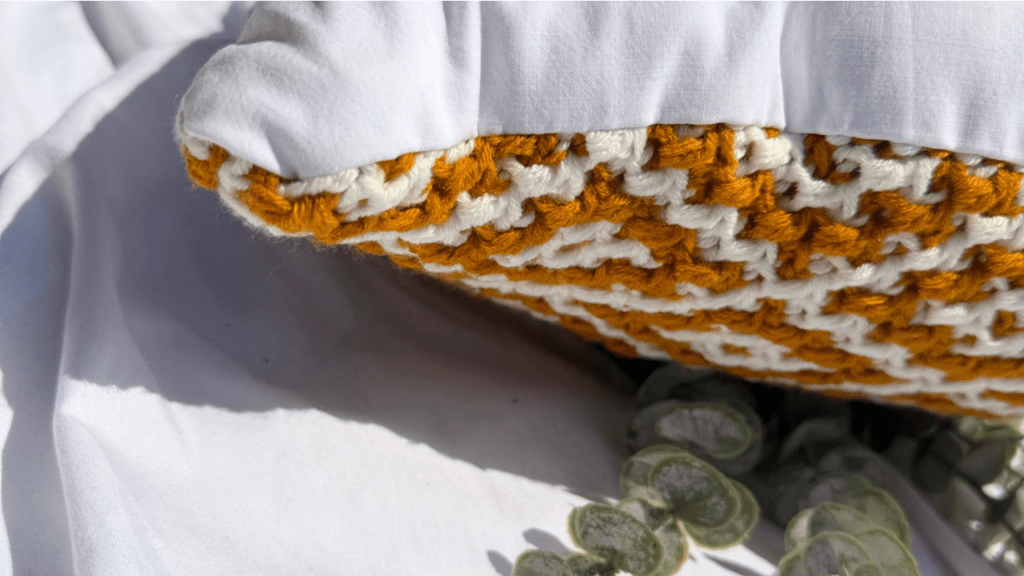
- Mosaic Crochet Pillow Free Pattern
- 15+ Crochet Ideas For Beginners

- 8 Crochet Hair Accessories Patterns

- 15 Beginner Friendly Crochet Bandana Patterns
- 15 Crochet Headband Patterns

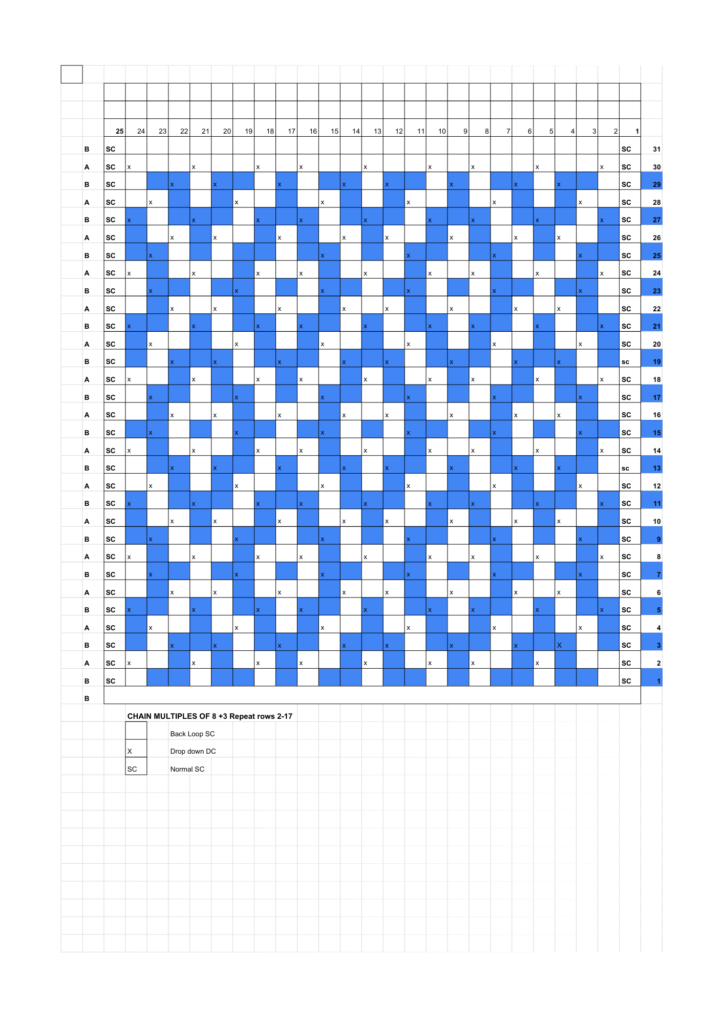
How to read a mosaic chart
A mosaic crochet chart might look complicated at first, but think of it as a picture made up of little squares. Each square represents one stitch.
First of all, each well written mosaic chart will have an area that tells you the number of rows to repeat and number of chains to make, it will tell you where to place a single crochet (sc), back look single crochet, and drop down double crochet. These stitches are what make up the mosaic crochet pillow!
If you are new to following mosaic charts, then follow my step by step guide so you do not get confused, Remember, i also have a detailed YouTube tutorial where i walk you through every row till you gain confidence enough to finish it by yourself.
1. Start at the bottom
Most mosaic charts are worked from the bottom row upward. Find the row marked 1 and start there. In some cases, there will be a row you work before the row marked 1. That row will be worked by making the number of chains in the multiple guided by the mosaic chart and working a row of single crochet. At the end, cut the yarn but leave 1-1.5″ tail.
Then you will find the row marked 1. You will go to color B, and work a row of back loop single crochet. This row creates the base for the fun work that starts on row marked 2.
2. Read one row at a time
Work across the chart from right to left , then continue following the direction indicated by the pattern. Don’t try to understand the whole chart at once, just focus on the row you’re working on.
3. Each square = one stitch
As you crochet, look at the squares and follow the symbols or markings shown in the chart. They tell you where to make your regular stitches and where to place your mosaic stitches.
4. Mosaic stitches are worked into stitches from the row below
This is the fun part! Instead of working into the current row in the usual way, some stitches are worked around or into stitches from the previous row to create the raised pattern.
If this did not help, or if it left you feeling confused, watch the video tutorial below:
YouTube Tutorial
GAUGE: 14sts, 13 rows = 10 cm (4″X4″)
MATERIALS: Worsted weight yarn, 8(or more) buttons, zipper,
scissors, 5mm crochet hook, linen/cotton fabric,
YARDS: 180 yards of color A , 180 yards of color B
LEVEL: Advanced beginner
And if you’d like to support my work, you can also purchase the ad-free written pattern for about the price of a coffee ☕
Free Mosaic Crochet Pillow Case Pattern
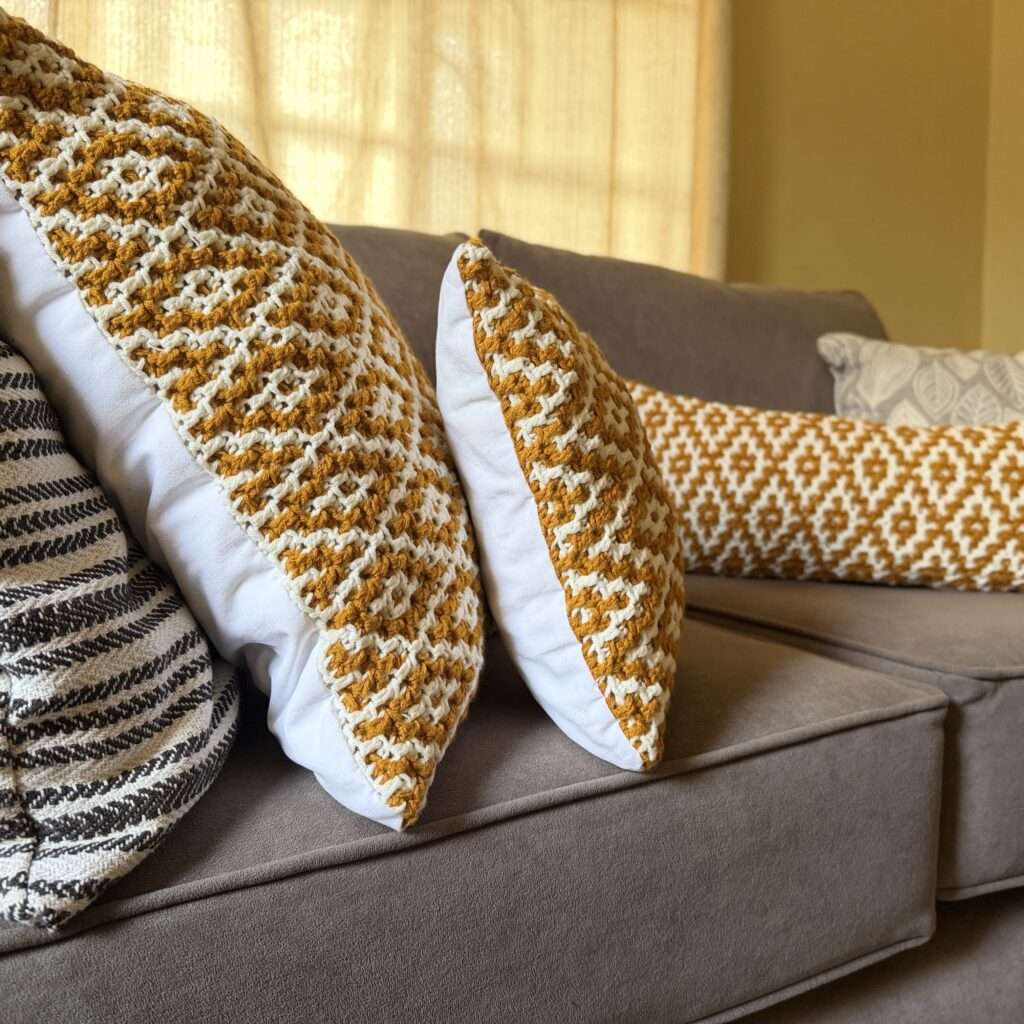
You may have noticed i made 3 different size mosaic crochet pillows, i did so following the size of my pillow inserts. The main one measures 20″X18″, another measures 20″X10″ and the one i used for the tutorial is 13″X13″. I made my own inserts so i was able to control the size of the crochet cushion at the end of the day.
If you are making the pillow case based on the size of the pillow inserts you have at home, i recommend you measure the inserts and chain following the chain count of the mosaic graph till you have the number that will fit the pillow insert.
I recommend being short by an inch or two because we will block the crochet piece at the end and that tends to relax the stitches. Besides, yarn stretches!
For my 20″X10″ i chained 67 with my 5mm crochet hook and light medium weight yarn and worked 55 rows.
For my 20″X10″ i maintained the chain of 67 with my 5mm crochet hook and worked 35 rows
for my 13″X13″ i chained 43 and worked 40 rows.
You can use these numbers if you are making your own inserts or if you have inserts that are close to these measurements.
Pattern:
Row 0: I will call this row 0 as it is not numbered on the graph. Using color A. Make a chain that fits your size pillow you are making following the multiples guided by the graph (chain multiples of 8+3) sc across in the back bumps (optional). Cut off yarn
Row 1: Using color B, Make a slip knot, ch1, sc to your work, back loop sc across till one stitch, sc, ch1, cut off yarn
For the remaining rows, follow the chart below beginning at Row 2 (repeat rows 2-17 till you have your desired cushion size).
The Back
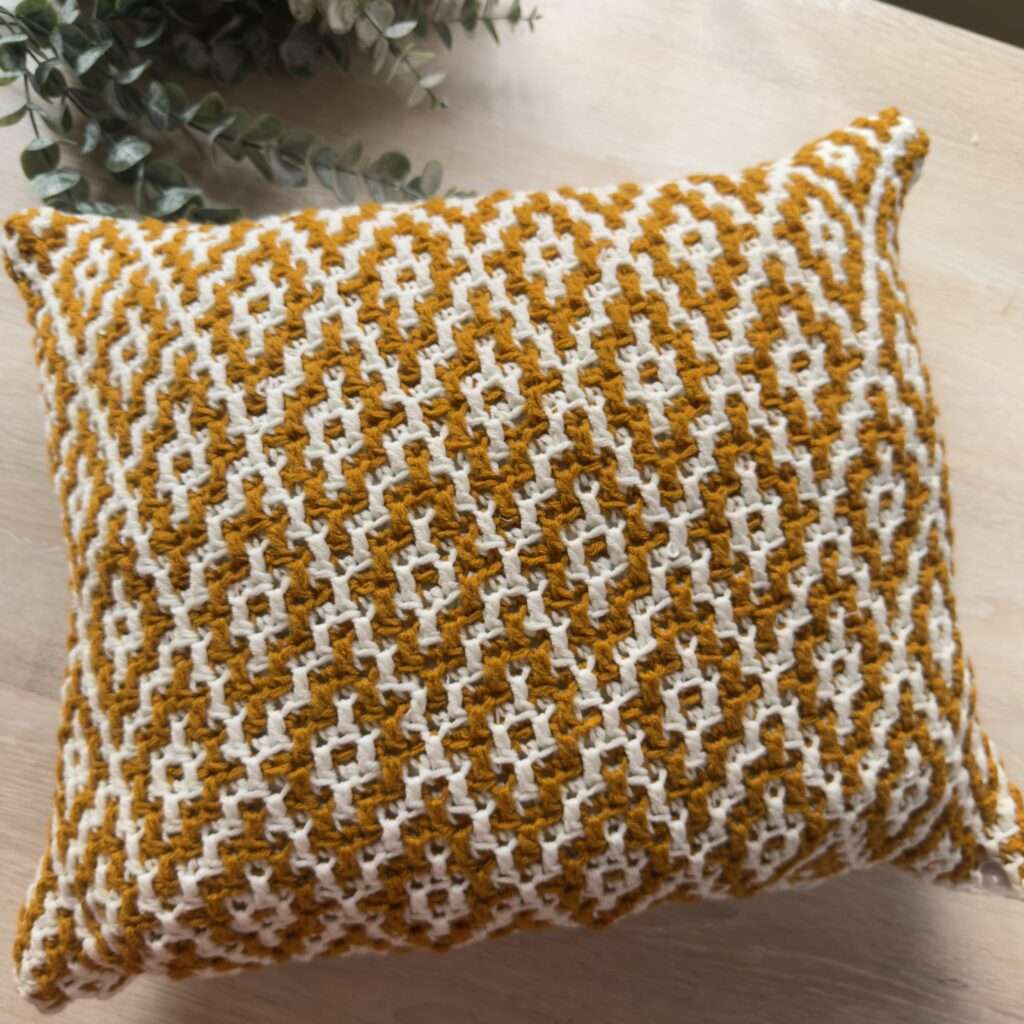
I wanted to give this a professional look so it looks like a blend of crochet and sewing, so i used a linen fabric i thrifted. You are welcome to do this or chain the same number of chains you made, and single crochet bacl and fourth for the same number of rows to make the back. Then you can sew the two pieces together and attach buttons at the bottom so you can insert and remove yout pillow insert.
But if you want to do what i did, then follow these steps.
- Lay your mosaic crochet piece on top of the linen or cotton fabric and measure 1.5″ seam allowance all around. Be sure to cut off the tails we left at the beginning and end of the rows as we do not need them anymore.
- Cut the fabric
- Fold the fabric in half and cut it so you have tow pieces. (You are cutting the center)
- Sew the center with a loose seam with 0.5″ seam allowance
- Iron the seam
- Place your zipper right side facing down the seas you sew (on the wrong side of your fabric) and sew the zipper to the seam.
- Open the seam to release the zipper on the right side.
If these instructions are hard to follow, please watch the tutorial above as i show every step.
- Open the zipper and place your crochet cushion onto the back piece right sides facing each other. Be sure to leave the zip open
- Sew the front of the cushion and the back of the cushion together.
- Cut off seam allowance
- Turn to the right side poking out the corners so everything is laying nice and flat
- Insert your pillow insert
- You are done!
And if you’d like to support my work, you can also purchase the ad-free written pattern for about the price of a coffee ☕