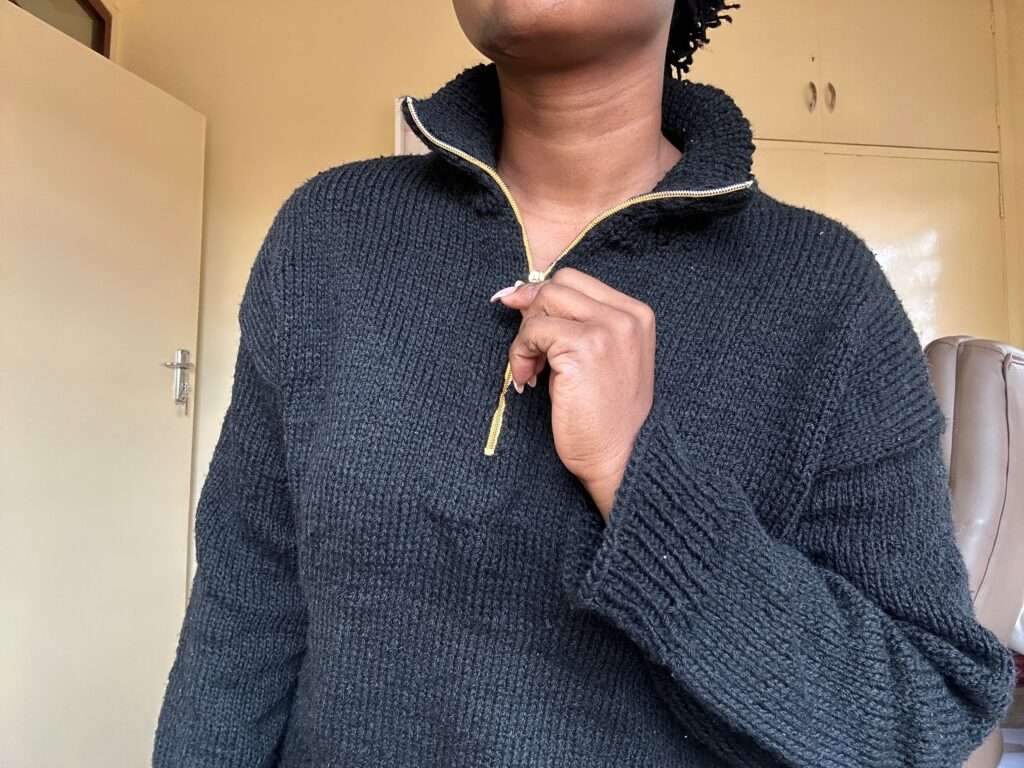
As you may or may not know, i love to make all my jumpers look knit because i have always loved knitted sweaters. So when i learnt how to knit a sweater and to knit in general, i just knew it was over for crochet! Joking
After making the crochet zipline sweater and the free knitting sweater pattern (knit zipline sweater) i knew i would see myself remaking this!
Purchased the Ad-Free PDF Pattern on Ravelry, LoveCrafts or Ribblr!
If you are a lover of zipper sweaters then i have quiet the collection and i am not done yet by the looks of it. Check out the free Knit Zipline Sweater Pattern and The Crochet Zipline Sweater Pattern and if you are looking for some cardigans then we have a knit drop shoulder cardigan pattern too!
All Measurements to know
Sizes: XS (S) M (L) XL (2XL) 3XL
Bust circumference: 106 (124) 135 (153) 160 (178) 188 cm, or [41.75″ (48.75″) 53″ (60.25″) 63″
(70″) 74″]
Gauge: 23 sts in 27 rows= 10 x 10 cm [4 x 4 inches] in stockinette stitch on 4.5 mm [US7 needles
Needles: 4.5 mm [US7] / 80 and/or 100 cm [32 and/or 40 inches] and 3.5 mm [US4] / 40, 80
and/or 100 cm [16, 32 and/or 40 inches]
Materials: DK weight yarn, 4.5mm & 3.5mm knitting needles, scissors, yarn needle, stitch
markers, zipper 10/21″ zipper
Yardage: 1,210 (2,090) 3,190 (4,290) 5,390 (6,490) 7,590) This corresponds to sizes XS (S) M (L)
XL (2XL) 3XL
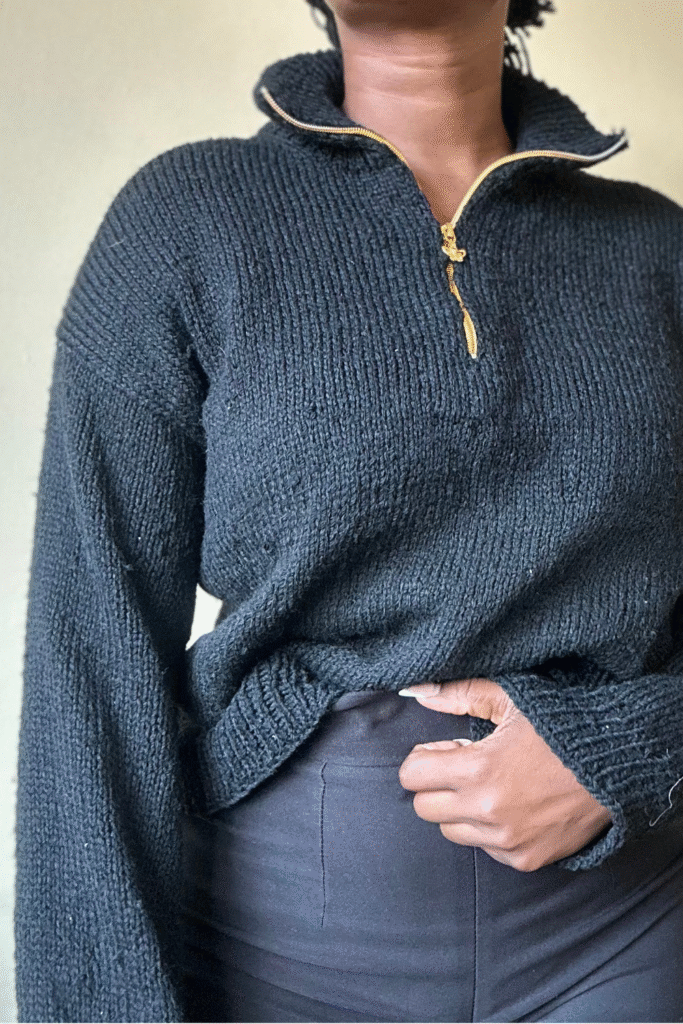
About the Knit Sweater Pattern
The knitted Sweater is worked from the top down. First the top part of the back yoke is worked with
increases, then the shoulders are worked from stitches that are picked up and knitted along the
slanting sides at the back yoke.
Then the front and back are are connected and worked in the round on
circular needles and the sleeves are worked in the round on double-pointed needles or on a circular
needle using the Magic Loop technique.
At the end a folded neck is worked. The knit Sweater is worked in stripes from the middle of the yoke and downwards.
Size guide
The knit sweater is designed to have approx. 5″[13 cm] of positive ease for all sizes the sizes XS (S)
M (L) XL (2XL) 3XL are designed to fit bust circumference of 80-85 (85-90) 90-95 (95-100) 100-110
(110-120) 120-130 cm or [31½ 33½ (33½-35½) 35½-37½ (37½-39½) 39½-43¼ (43¼-47¼) 47¼-51¼]
inches.
Measure yourself before beginning the project to determine the size you need to make for
yourself
About Increases
Increases are worked so they are either slanted to the right M1R or to the left M1L
M1R:
From the RS: Insert the left needle under the strand that runs between two stitches from back to front,
then knit this strand.
From the WS: Insert the left needle under the strand that runs between two stitches from back to
front, then purl this strand.
M1L:
From the RS: Insert the left needle under the strand that runs between two stitches from front to back,
then knit this strand through the back loop (twisted).
From the WS: Insert the left needle under the strand that runs between two stitches from front to
back, then purl this strand through the back loop (twisted).
Decreasing
We work a decrease to either slant to the right (k2tog) or to the left (skp/ssk)
K2tog: Knit 2 stitches together.
Skp: Slip 1 stitch knit-wise, k1, pass the slipped stitch over the knitted stitch.

How To Knit A Sweater Free Pattern
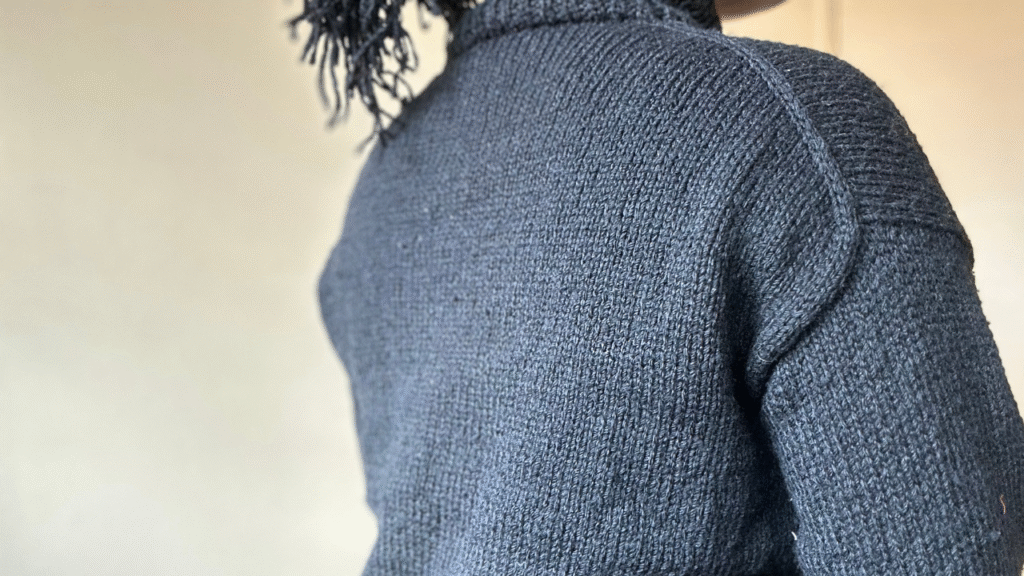
Back Yoke
We begin by working the back yoke. After casting on the number of stitches needed for your size,
increases will be made for the back of the neck.
Cast on 26 (30) 30 (36) 42 (48) 54 sts on a 4.5 mm [US7] / 60 cm [24 inches] circular needle.
Set up row: Purl across 1 row. The next row is a RS row.
Work back and forth with increases for the back yoke as follows:
Row 1 (RS): K3, M1L, knit to the last 3 sts on the needle, M1R, k3. (2 sts have been increased)
Row 2 (WS): P3, M1R, purl to the last 3 sts on the needle, M1L, p3. (2 sts have been increased)
Repeat row 1 and 2 for 26 (30) 30 (36) 42 (48) 54 rows.
There are now a total of 78 (90) 90 (108) 126 (144) 162 stitches on the needle
We are done increasing for the back
Now knit in stockinet for 26 (30) 30 (36) 42 (48) 54 rows.
Break yarn and put the stitches on hold while the shoulders are worked.
Left Shoulder
RS facing and with the 4.5 mm [US7] / 40 cm [16 inches] circular needle, pick up and knit the 27 (31)
31 (37) 43 (49) 55sts along the slanting side at the back yoke (this is the equivalent to picking up 1
stitch in every stitch along the entire slanting section of the back yoke where the increases are).
The direction for picking up and knitting stitches is from the neck and towards the armhole edge.
Set up row : purl all stitches
Work back and forth as follows:
Row 1 (RS): Knit across.
Row 2 (WS): Purl across.
Repeat these two rows till row 6 for all sizes
Row 7: K2, M1R, knit all stitches
Row 8: Purl all stitches
Row 9: K2, M1R, knit all stitches.
Repeat these two rows till you have increased a total of 10 times for all sizes. You should have 37(41)
41 (47) 53 (59) 65 stitches on your needle.
After working the 10 increases, purl the next row.
Cast On 8 (10) 10 (13) 16 (19) 22
We are done increasing for the left shoulder, at this point, we have competed 26 rows for all sizes.
Row 27: knit all stitches
Row 28: Purl all stitches
Repeat these two rows till your left shoulder rows match the number of rows on the back.
Break yarn and leave stitches on holder
Right Shoulder
RS facing and with the 4.5 mm [US7] / 40 cm [16 inches] circular needle, pick up and knit the 27 (31)
31 (37) 43 (49) 55sts furthest to the right along the slanting side at the back yoke (this is the equivalent
to picking up 1 stitch in every stitch along the entire slanting section of the back yoke where the
increases are). The direction for picking up and knitting stitches is from the armhole edge and towards
the neck.
Purl across 1 row
Work back and forth as follows:
Row 1 (RS): Knit across.
Row 2 (WS): Purl across.
Repeat these two rows till row 6 for all sizes
Row 7: Knit till 2 stitches remain, M1L, knit 2
Row 8: Purl all stitches
Row 9: Knit till 2 stitches remain, M1L, knit 2
Repeat these two rows till you have increased a total of 10 times for all sizes. You should have 37(41)
41 (47) 53 (59) 65 stitches on your needle.
After working the 10 increases, purl the next row.
We are done increasing.
Row 27: knit all stitches, at the end, Cast on 8 (10) 10 (13) 16 (19) 22
Row 28: Purl all stitches
Row 29: knit all stitches
Repeat these two rows till your left shoulder rows match the number of rows on the back.
Do not break off yarn. Join your work in the round to connect the right shoulder panel to the left
shoulder panel and the back. From here on we will work in the round
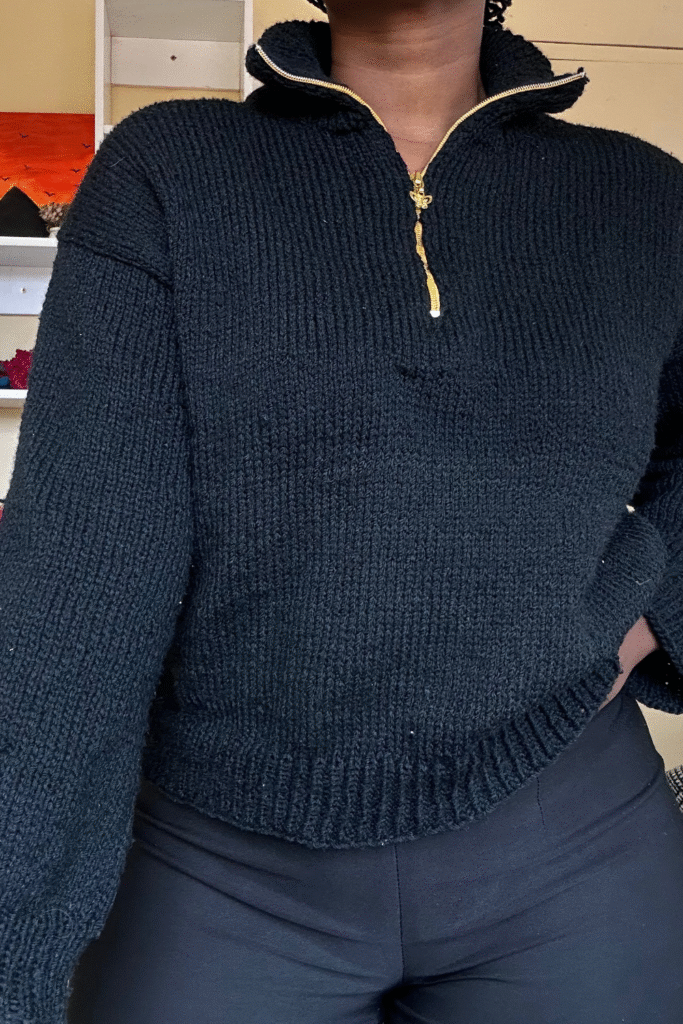
Work the body till your cardigan sits 5 inches to where you would like it to reach then switch to the
4mm needle for the ribbing.
Work 1X1 ribbing.
Collar
We begin picking up stitches from the right front. We will pick up the cast on stitches followed by the
increases. For the increases, we will pick up 2 for every 3 stitches, then we will pick up the 6 rows we worked for all the sizes, then we will pick up all the Cast on stitches for the back of the neck. Then 2 for every 3 6 rows we all worked, then stitches for the left front increases then all stitches from the cast on.
Following that, you will pick up 78 (86) 86 (98) 110 (122) 134 stitches.
The collar is worked in a 1X1 rib. Work the collar till it measures 10” or to your desired length. But
remember, we will fold the collar for the zip, so whatever length you choose, double it.
After you get your desired length, cast off and sew the collar to the original cast on NEATLY!
Sleeves
The sleeves are worked in the round on 4.5 mm [US7] double-pointed needles or a long circular needle
using the Magic Loop technique. Pick up 2 stitches for every 3 rows. There are now a total of 52 (60)
60 (72) 84 (96) 108 sts on the needles.
Work in the round in stockinette stitch until the sleeve is 5 inches from your wrist. while at the same
time working decreases every 30 rounds.
Work a decrease round as follows: K1, k2tog, knit to the last 3 sts of the round, skp, k1. Adjust the
length to fit with the stripe pattern (end with 6 rounds of main color). Work 1X1 rib (k1,p1) with a
3.5mm needle then bind off. Rep this for the other sleeve.
Weave in all ends
Block the sweater!
When you are done please post a picture to Instagram and tag me @sit_n_crochet