In my quest to make the perfect comfy cardigan,
My first published free knit cardigan pattern!!! And it is, as always, beginner friendly! So if you were looking for something new to make, you have found it! In this step-by-step knit cardigan pattern, i will walk you to your new favorite cardigan for the winter.
If the ads are bothering you then you might consider purchasing the Ad-Free PDF version for $5 (only) on Ravelry, LoveCrafts or Ribblr.
Free Knitting Cardigan Pattern
Knitting sure does take it’s sweet time so do not start this project if you know you have a few others resting on some needles waiting to be completed somewhere (even though i am guilty of that LOL),
Still more, you will be in love with this knit cardigan as you will see it grow into something warm and cozy. Plus, the joy that comes from making your own clothes is amazing!!!
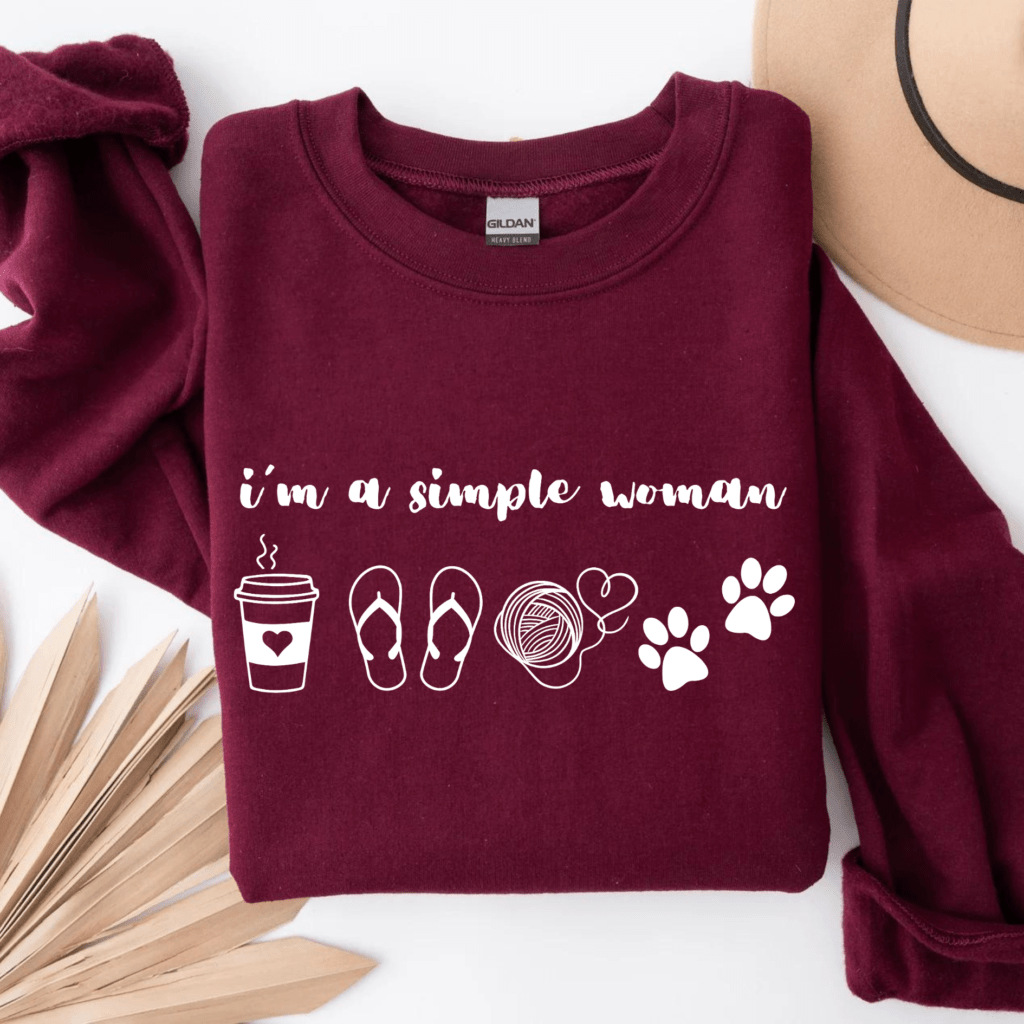
taking a short break, did you know we sell cute merch? From Friends lovers to animal lovers we have some shirts, mugs, sweatshirts that can be a great gift for the holidays or anytime of the year. When my order arrives, you will only see me wearing my merch LOL. You cab shop HERE (see pictures below)


Materials
My little secret is that i use fingering weight yarn thickened to make a worsted weight yarn. You, however, can use your favorite yarn for this cardigan.
- 5.5mm circular needles (80 or 100cm lengths) for the stockinette.
- 4.5mm circular needles (80 or 100cm lengths) for the ribbing.
- 4mm circular needles (100cm length) for the double knitting.
- DK weight yarn (any of your choice that helps you meet gauge)
- Eight stitch markers.
- Needle to weave in ends.
- Scrap yarn or spare cables to hold stitches.
Abbreviation
k – Knit
p -Purl
MIR– Pick up the bar between the stitches with the left needle from back to front. Knit it like a regular stitch.
MIL– Pick up the bar between the stitches with the left needle from front to back. Knit it through the back loop.
BOR– Beginning of round.
K2tog– Knit 2 together (Insert the right needle into the two stitches closest to the end of your left needle and knit them as if they are one stitch. )
SSK– Insert the right needle into the stitch on your left needle as if to knit it, but instead of wrapping the yarn around it, just slip the stitch onto your right needle. Repeat with the next stitch. Then transfer these stitches back to your left needle and knit them together through the back loop.
STS– Stitches
PM– Place marker
SM– Slip marker
RM– Remove marker
RS– Right side
WS- Wrong side
SL– Slip one
TBL– Through the back loop.
WYIF– With yarn in front.
Sizing Guide
SIZES: ((A, B, C) (D, E, F) (G, H, I) where A is the smallest and I is the largest.
The sizes are designed to fit a natural bust measurement of (75, 85, 95) (105, 115, 125) (135, 145, 155) cm with approximately 15cm of positive ease.

Good To Know
- the pattern will not tell you where to change to the black yarn or the while yarn but i will explain how i did mine under construction.
- If you are looking for a more fitting cardigan then be sure to size down
- This is a beginner friendly pattern as long as you are familiar with the knit abbreviations as well as increasing and decreasing
- Be sure to secure the yarn when/if you switch yarn colors to avoid dropping stitches
- Be sure to follow the gauge so you do not end up knitting the wrong size for you
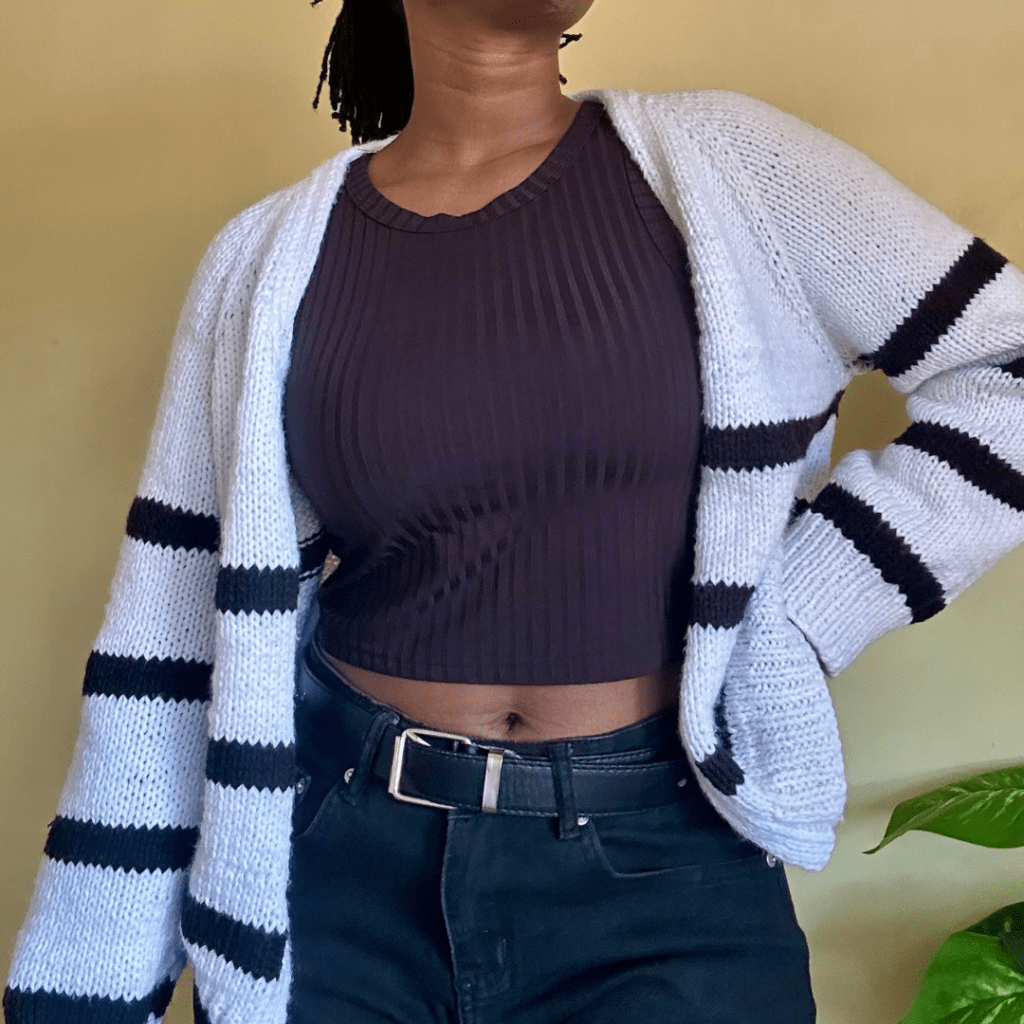
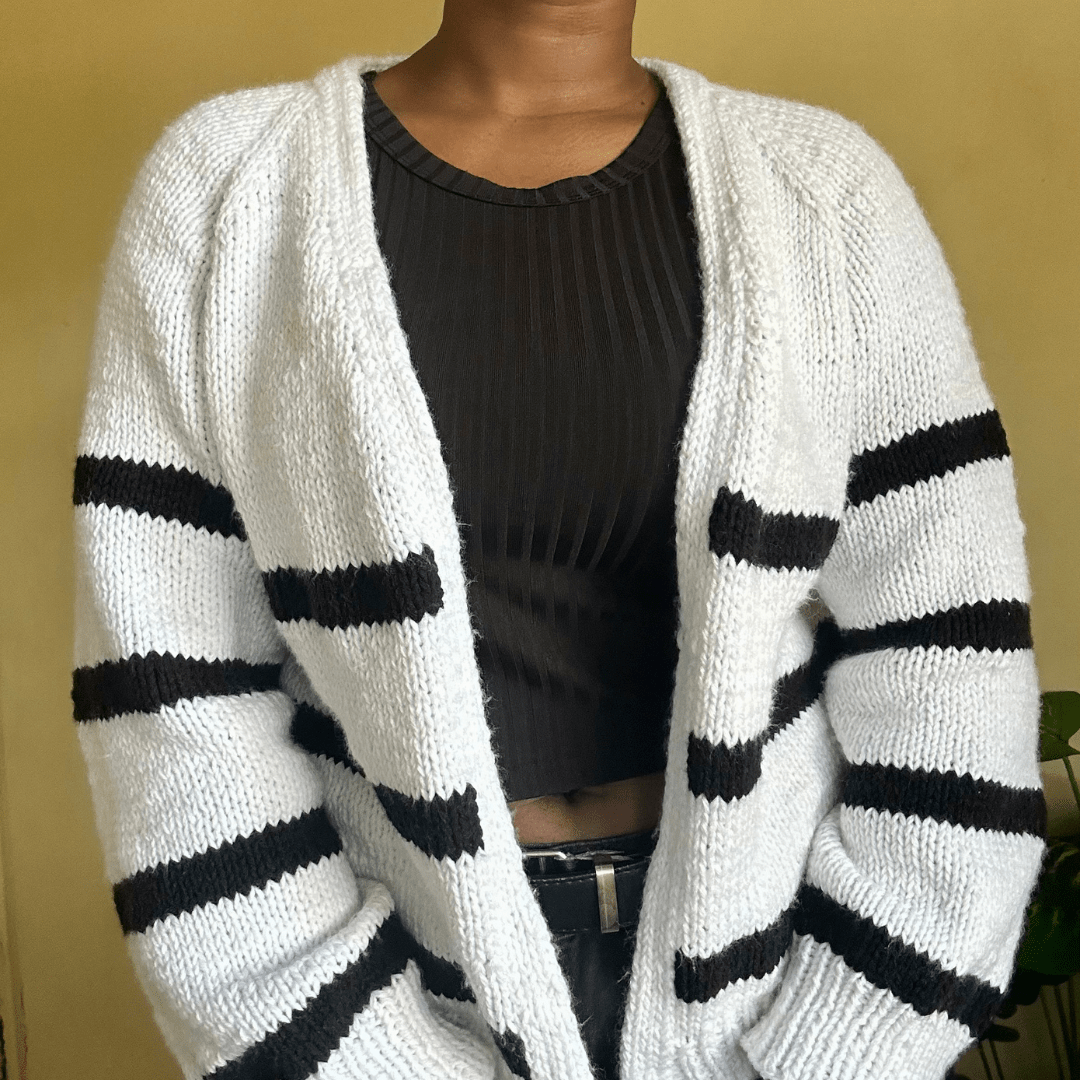
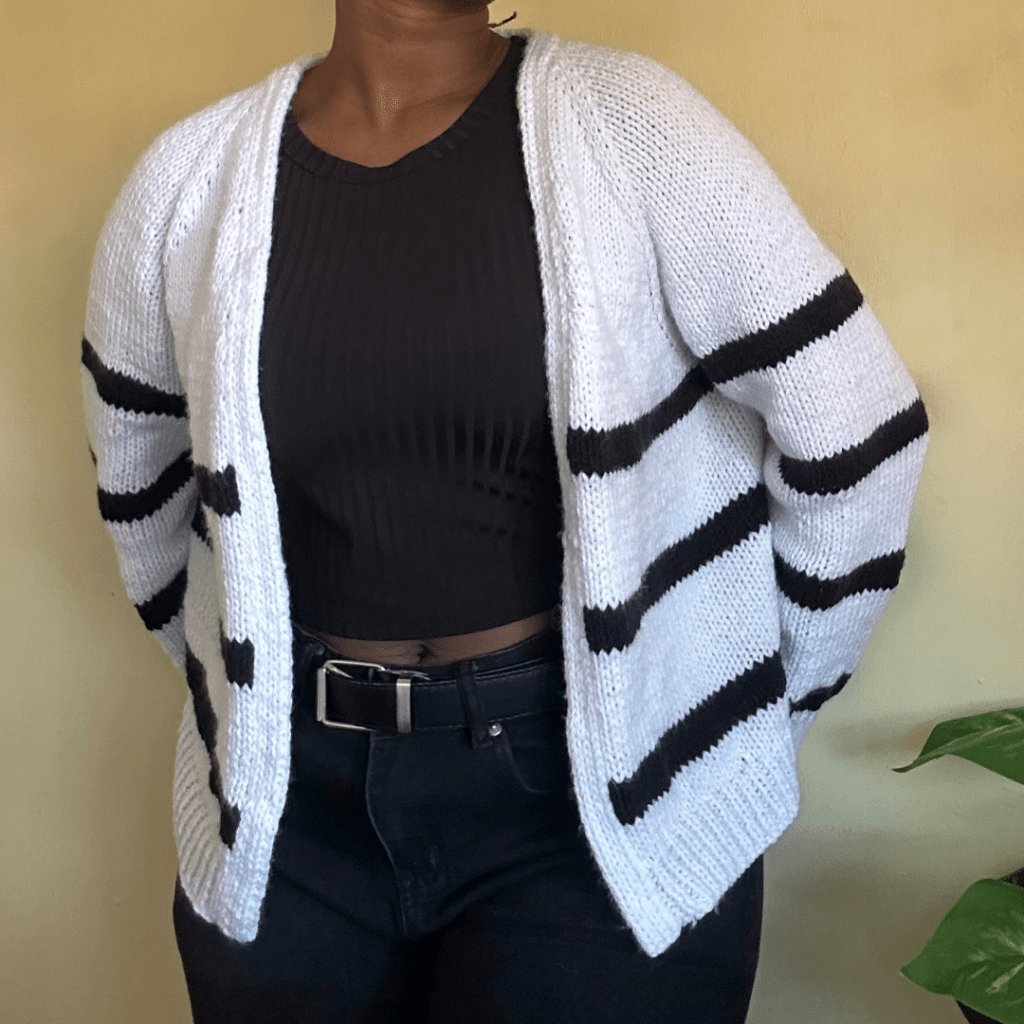
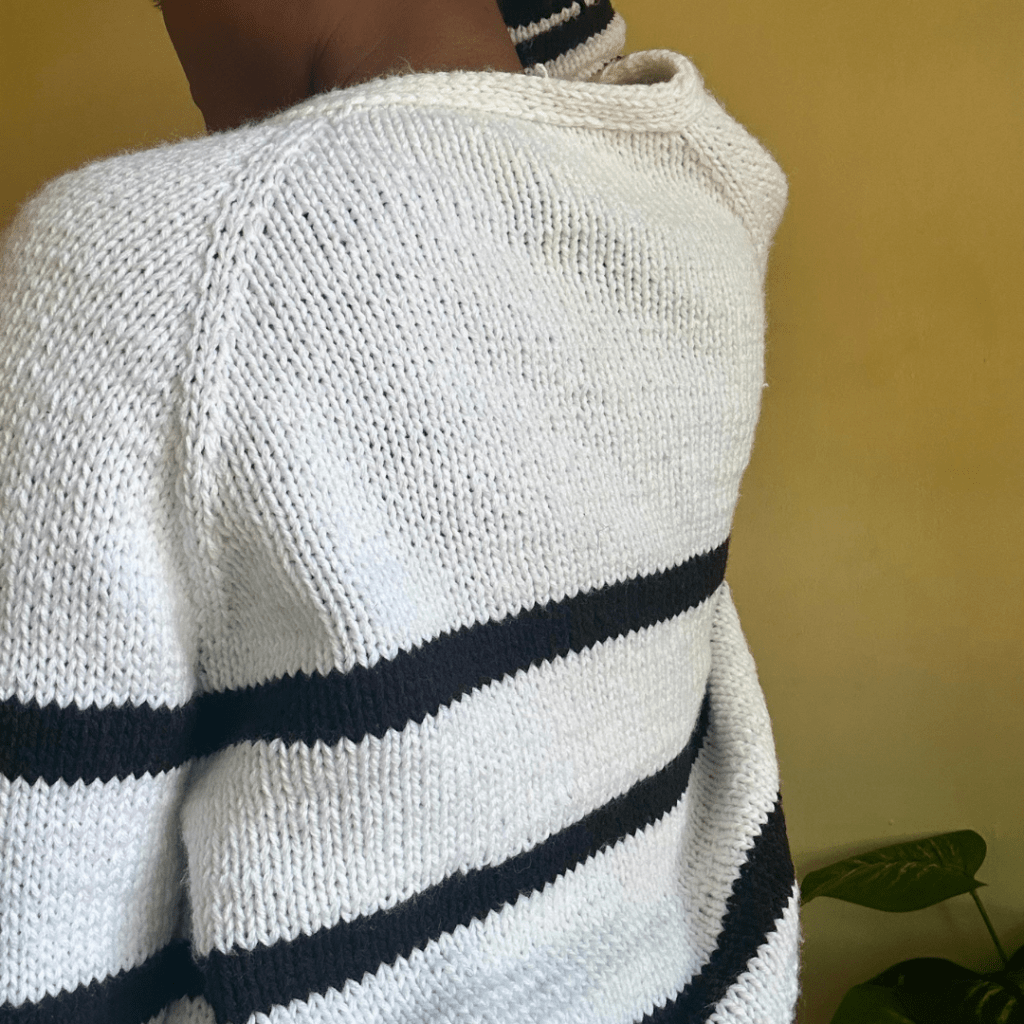
Construction (making the stripes)
This cardigan is a raglan cardigan that starts from the top going downwards. We work the double knitted collar at the end which can always be changed to your preferred collar style.
My bottom band together with sleeve band is made of 10 rows of ribs(k1,p1)
To achieve the stripes, i worked the top part of the cardigan in white till i separated the arm holes from the body. After the separation, i worked 2 extra rows in white to set the base then i switched to the black yarn.
I worked 5 rows of black then 15 rows of white. If the black was too thick for your liking or not enough, then you can always add more or less rows.
I did the same for the sleeves keeping in mind we were decreasing after a few rows according to your size. So you will have to keep count of your decreases and where to change yarn colors.

Serene Stripe Cardigan Pattern
BODY
With 5.5mm (80 or 100cm) circular needles, cast on (43, 45, 43) (45, 51, 55) (57, 59, 65) sts using a longtail cast on or your preferred cast on. The first row is a WS row. Purl while placing markers to indicate where the raglan sts will be as follows:
SET UP ROW (WS): P1, PM, p2, PM, p (6, 6, 4) (2, 2, 2) (2, 2, 2), PM, p2, PM, p (21, 23, 25) (31, 37, 41) (43, 45, 51), PM, p2, PM, p (6, 6, 4) (2, 2, 2) (2, 2, 2), PM, p2, PM, p1.
Now continue to work flat, working raglan increases on every RS row as follows:
ROW 1(RS): *K to marker, M1R, SM, k2, SM, M1L* four times, k to end of row (8 sts increased)
ROW 2 (WS): P all sts.
Work rows 1-2 a total of (8, 8, 9) (3, 2, 3) (3, 2, 1) times. Now continue to work raglan increases while also increasing at the start and end of the row to shape the V-neck as follows:
ROW1 (RS): * K to marker, M1R, SM, k2, SM, M1L* four times, k to end of row (8 sts increased).
ROW2: WS: P all sts.
ROW 3 (RS): K1, M1L, *k to marker, M1R, SM, k2, SM, M1L* four times, k to 1 st before end of row, M1R, k1 (10 sts increased).
ROW 4 (WS): P all sts.
Work rows 1-4 a total of (7, 8, 9) (12, 13, 13) (14, 15, 16) times. You should now have a total of (233, 253, 277) (285, 301, 313) (333, 345, 361) sts on your needles and the yoke is finished.
DIVIDE THE BODY AND SLEEVES
K (30, 33, 37) (40, 42, 43) (46, 48, 50) to marker, RM, k2, RM, put the next (50, 54, 58) (56, 58, 60) (64, 66, 68) sts (up to the next marker) on hold, cast on (4, 6, 6) (8, 8, 10) (12, 16, 16) sts for the underarm, RM, k2, RM, k (65, 71, 79) (85, 93, 99) (105, 109, 117) sts (up to the next marker), RM, k2, RM, put the next (50, 54, 58) (56, 58, 60) (64, 66, 68) sts (up to the next marker) on hold, cast on (4, 6, 6) (8, 8, 10) (12, 16, 16) sts for the underarm, RM, k2, RM, k (30, 33, 37) (40, 42, 43) (46, 48, 50) sts to the end of the row.
You should now have (141, 157, 173) (189, 201, 213) (229, 245, 257) sts on your needles.
FOR ALL SIZES:
Continue to work flat in stockinette (k all sts on RS rows, p all sts on WS rows) until the cardigan measures approximately (17, 18, 18) (18, 19, 19) (20, 20, 21) cm, or around 7cm less than your desired length, measured from the underarm cast on edge. You can try the cardigan on to decide this length. Feel free to make it longer or shorter if you preffer.
Finish with a RS row. The next row is a WS row.
Switch to 4.5mm needles and purl one row. Now work rib as follows:
Row 1 (RS): *K1, p1*, repeat *-* to 1 st before the end of the row, k1.
Row2 (WS): *P1, k1*, repeat *-* to 1 st before the end of the row, p1.
Repeat rows 1-2 until the ribbing measures approximately 7cm. Bind off with an Italian bind off or your bind off of choice.
SLEEVES
Transfer the sleeve sts left on hold onto 5.5mm needles.
Pick up (4, 6, 6) (8, 8, 10) (12, 16, 16) sts along the underarm cast on edge (while placing a BOR marker halfway through these newly cast on sts if necessary), k the sts which were left on hold. Work in the round from here.
Work in stockinette (k all sts) for (19, 13, 13) (10, 10, 10) (9, 7, 7) rows.
DECREASING THE SLEEVES
To decrease, K1, k2tog, k to 3 sts before the end of the round, ssk, k1.
Work 1 decrease round every (20, 14, 14) (11, 11, 11) (10, 8, 8) rows until you have completed a total of (3, 4, 4) (5, 5, 5) (6, 7, 8) decrease rounds. But remember to change yarn colors where necessary.
Continue to work in stockinette until the sleeve measures (32, 33, 33) (34, 34, 34) (35, 35, 35) cm measured from the underarm or approximately 7cm less than your desired length. Switch to 4.5mm needles and k one round.
Work *k1, p1* rib until the rib measures 7cm.
Bind off with an Italian bind off or your preferred bind off.
Work the second sleeve in the same way as the first.
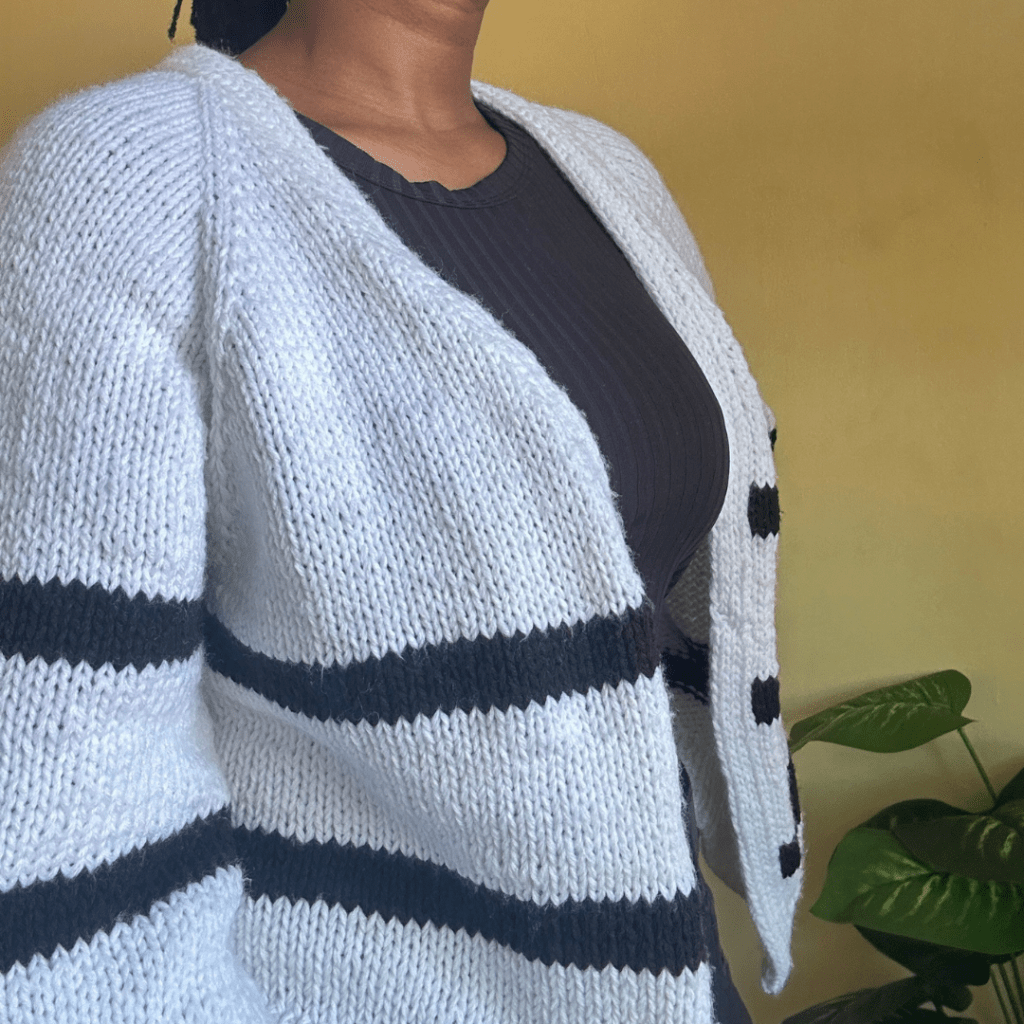
BUTTON BAND
With 4mm needles, pick up and knit sts along the front edge of the cardigan. Pick up 1 st in every row along the side edges and 1 st in every st along the cast on edge at the back of the neck.
Now place 8 markers to indicate the positions of the buttons. The markers are placed in pairs, indicating the top and bottom of each of the four buttonholes. Each pair of markers should have 3 sts between them, and the pairs should be evenly spaced. The bottom pair should be approximately 4 sts from the bottom right front of the cardigan, and the top pair should be placed just below where the neck increases finished. The exact spacing will depend on how long your cardigan is.
Break the yarn and slide the sts down to the other end of the needles. Rejoin the yarn and cast on 9 sts using the Italian cast on method.
Turn your work so the RS is facing you and work in double knitting as follows:
ROW 1 (RS): *k1, sl1 wyif* four times, k2tog tbl.
ROW 2(WS): *sl1 wyif, k1* four times, sl1 wyif.
Work rows 1-2 until you reach the first marker. Now create a buttonhole as follows:
First, continue to work in double knitting, but only over the first 5 sts of the row:
ROW 1(RS): *k1, sl1 wyif* two times, k1, turn work.
ROW 2 (WS): *sl1 wyif, k1* two times, sl1 wyif.
Work rows 1-2 a total of 2 times and work row 1 once more. Break the yarn and then rejoin it to continue working the button band over the next 4 sts.
Work double knitting over the remaining 4 sts:
ROW 1 (RS): sl1 wyif, k1, sl1 wyif, k2tog tbl.
ROW 2 (WS): *sl1 wyif, k1* two times.
Work rows 1-2 a total of 2 times and work row 1 once more. Remove the second marker from the pair of markers indicating the buttonhole placement.
Next row *sl1 wyif, k1* four times, sl1 wyif.
The buttonhole is now complete.
Continue to work the button band in double knitting, placing buttonholes where the pairs of markers are. When 9 sts remain, divide the sts between two spare needles of a similar size, alternating which spare needle they go onto, and then kitchener stitch to bind off.
Finishing
Weave in all ends. Wash and block the cardigan. Sew on buttons with sock yarn or similar.
You are done with your knitted Raglan Cardigan. Be sure to tag me on Instagram.