Are you ready to dive into the adorable world of crochet chicks and crochet chickens? These delightful little creatures are not only charming but also make for a fantastic crafting project.
Whether you’re an experienced crocheter or just starting out, we’ve got you covered with free crochet chick patterns that will bring a smile to your face. Get your yarn and crochet hooks ready, because we’re about to embark on a fun and fluffy adventure!
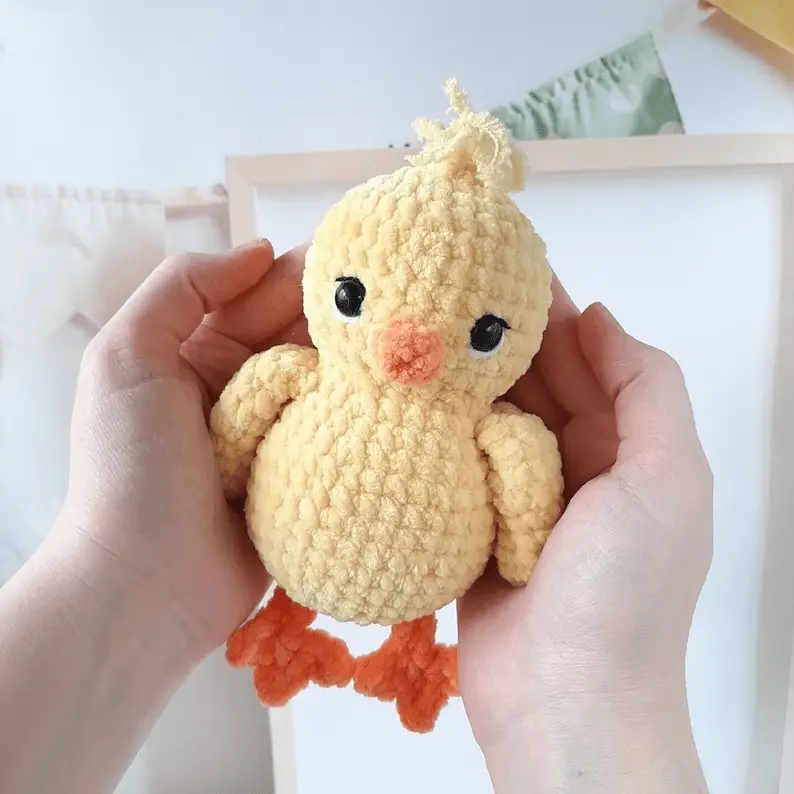
Adorable chicken Crochet Patterns
Picture a fluffy, yellow ball of cuteness with tiny beady eyes, perky wings, and a friendly smile.
That’s the crochet chick! With its irresistible charm, this little creation is perfect for Easter decorations, children’s toys, or simply as a whimsical addition to your crochet collection. The best part? You can make your very own crochet chick for free.
What is amigurumi?
Amigurumi is a Japanese art form that involves crocheting or knitting small stuffed toys, dolls, or figurines. The term “amigurumi” combines two Japanese words: “ami,” meaning crocheted or knitted, and “nuigurumi,” meaning stuffed doll or soft toy.
The quest for the perfect crochet chick pattern
If you’re on the hunt for a free crochet chick pattern, look no further. The internet is brimming with creative and generous crochet enthusiasts who share their patterns and tutorials for free.
Lucky for you, i have done that work for you. All you have to do is scroll down and find the pattern that best fits your level of experience.
If you are a beginner, we will explain what must be done to make the journey easy. But before we start sharing the crochet chick patterns, first, let’s see if you have all the materials.
Supplies For Crocheting Chickens
To crochet chick amigurumis, you’ll need a few basic supplies. Here’s a list of what you’ll typically need:
a. Yarn: Choose a soft and fluffy yarn in a bright yellow color for the body of the chick. You can also select other colors for the beak, wings, and any additional details you want to add.
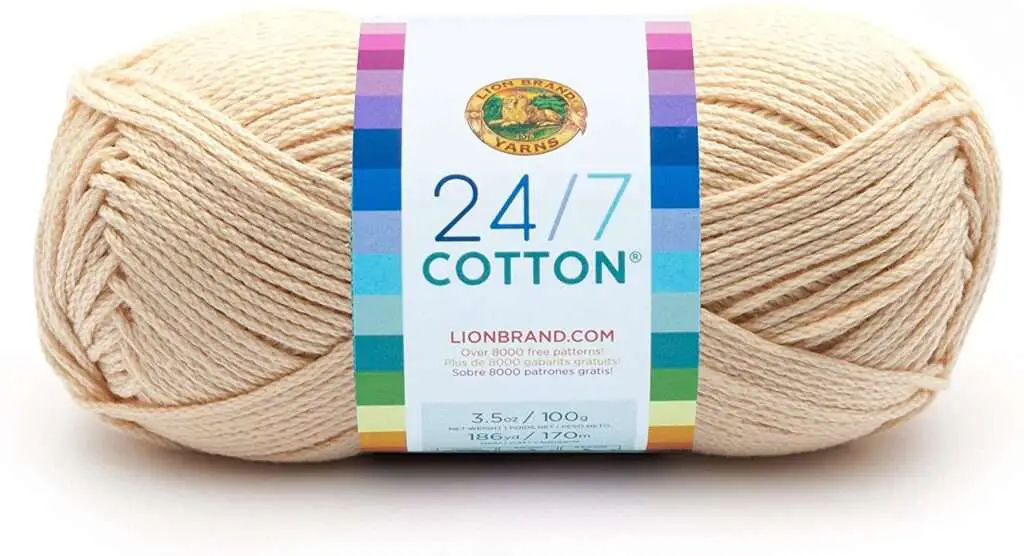
Lion Brand 24/7 Cotton Yarn
b. Crochet Hooks: Use crochet hooks in sizes suitable for your chosen yarn. The recommended hook size is usually mentioned in the pattern you’re following.
You could never have enough hooks!
c. Stuffing: You’ll need polyester fiberfill or another type of stuffing material to give your crochet chick its shape and make it cuddly.
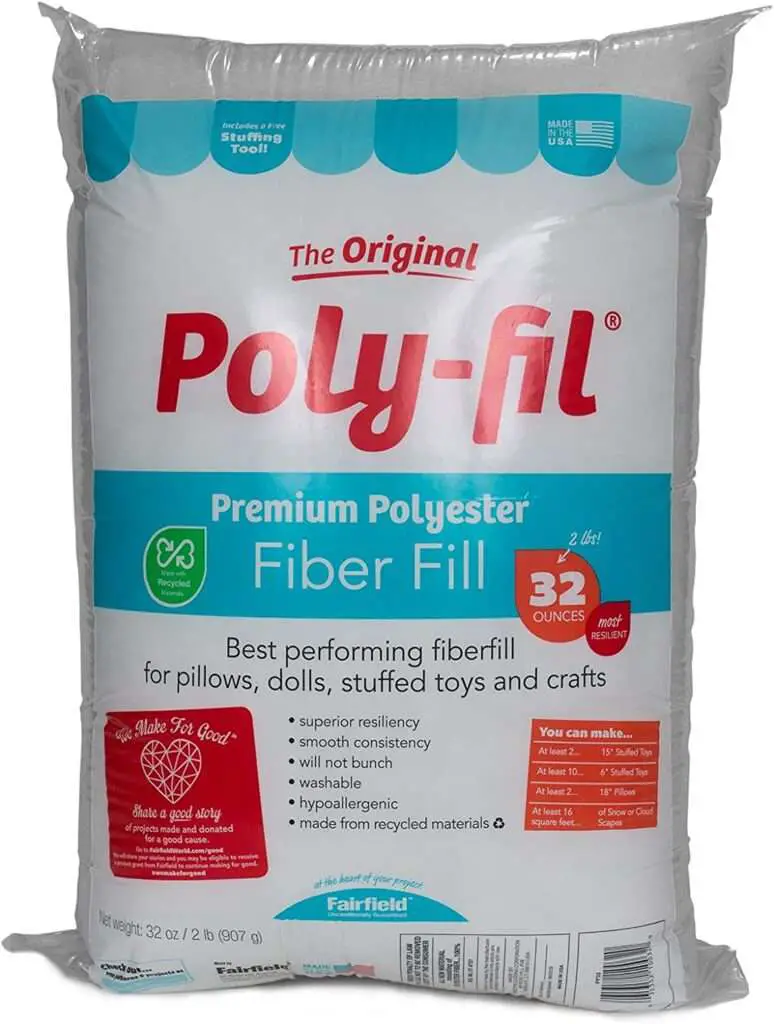
Gives the amigurumis perfect shaping!
d. Safety Eyes: Small plastic safety eyes give your crochet chick a cute and lifelike appearance. You can find these eyes in various sizes and colors. If you prefer, you can also use yarn or embroidery thread to stitch the eyes instead.
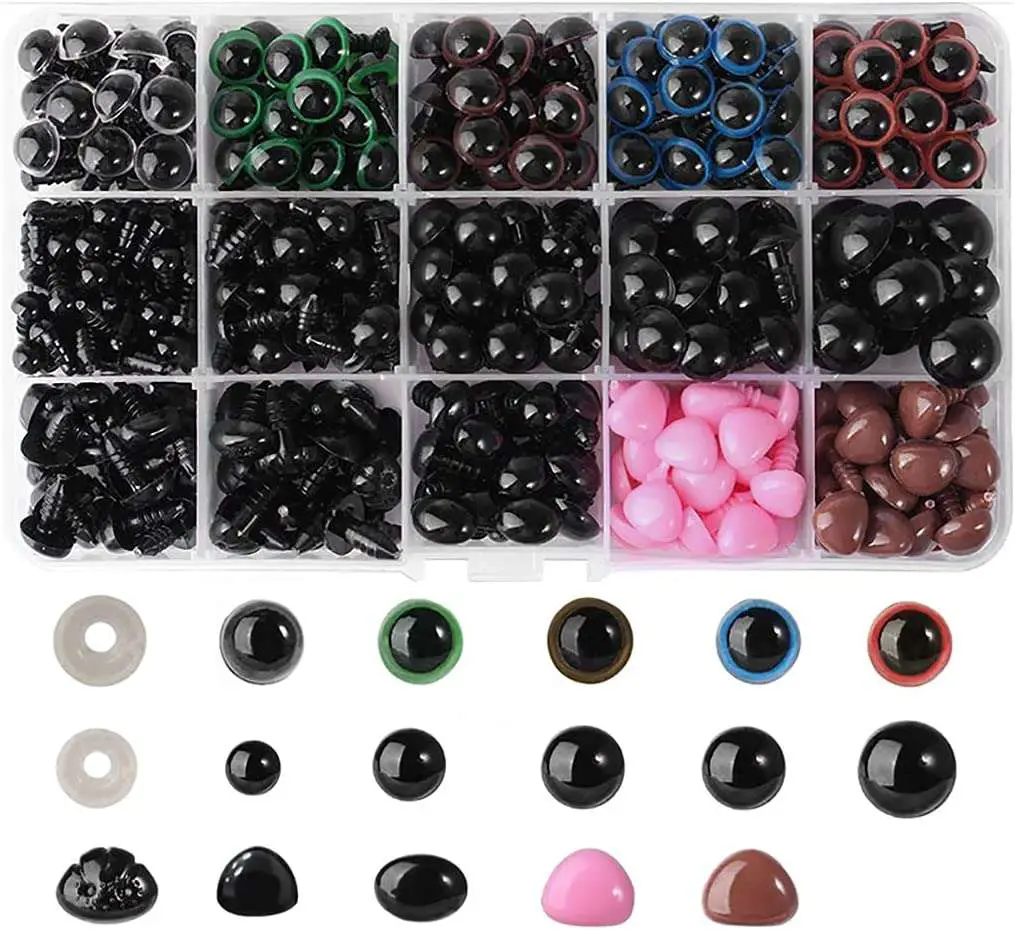
Assorted Safety Eyes & Nose
d. Yarn Needle: A yarn needle with a large eye is essential for weaving in ends and sewing different parts of the chick together.
Yarn Needle
e. Scissors: A pair of sharp scissors will come in handy for cutting the yarn and trimming any excess.
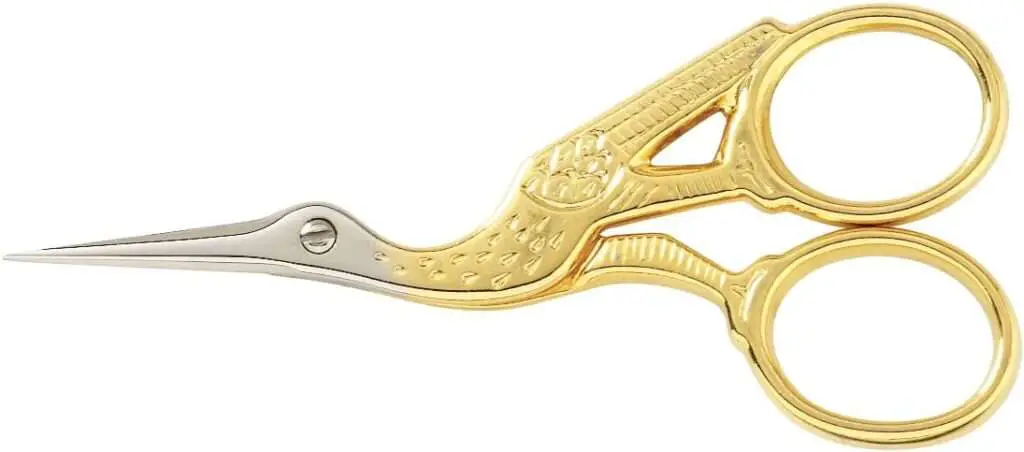
Embroidery Scissors
f. Stitch Markers: Use stitch markers to keep track of your stitches, especially when working in the round.
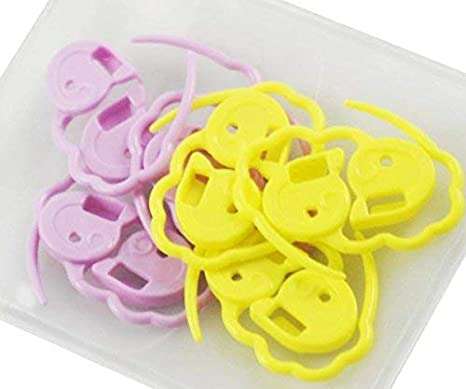
Stitch Markers
g. Optional Embellishments: If you want to add extra details to your crochet chick, such as a ribbon, bow, or tiny accessories, gather those as well.
Remember, the specific supplies you’ll need may vary depending on the crochet pattern you choose. It’s always a good idea to read through the pattern before starting to ensure you have all the necessary materials.
Special Stitches & Techniques To Crochet Chicks
When crocheting chicks, there are a few special stitches and techniques that can add charm and character to your creations. Here are some of them:
- Magic Ring/Adjustable Ring: The magic ring, also known as an adjustable ring, is a technique used to begin crocheting in the round without leaving a hole in the center. It’s commonly used when making amigurumi, including crochet chicks. This technique provides a tight and secure start to your project.
- Single Crochet Increase (sc inc): The single crochet increase is a stitch used to increase the number of stitches in a round. It involves working two single crochet stitches into the same stitch or space, resulting in an increase in stitches. This technique is often used to shape the body and head of crochet chicks.
- Invisible Decrease: The invisible decrease is a technique used to create a decrease in stitches without leaving a noticeable gap or hole. It gives a neater and more seamless appearance to your work. To make an invisible decrease, you’ll work the decrease over the front loops only of the next two stitches.
- Bobble Stitch: The bobble stitch is a fun way to add texture and dimension to your crochet chicks. It creates a small, raised ball or bobble on your work. This stitch is often used to create the fluffy feathers on the body of the chick.
- Embroidery or Surface Crochet: Embroidery or surface crochet is used to add details and facial features to your crochet chicks. You can use different colors of yarn or embroidery thread to stitch eyes, beaks, eyebrows, or other cute expressions onto the face of the chick.
- Appliqué Techniques: Appliqué techniques involve crocheting small shapes separately and then attaching them to your work. For example, you can crochet small wings, feet, or accessories like bows or flowers as separate pieces and sew them onto the crochet chick.
- Surface Slip Stitch: The surface slip stitch is a technique used to create lines, borders, or other decorative elements on your crochet chicks. It involves working slip stitches on the surface of your work, without adding or decreasing any stitches. This technique can be used to define areas or add extra details.
Remember to refer to the specific crochet pattern you’re using for any additional special stitches or techniques mentioned in the instructions. Enjoy exploring these techniques and adding your own creative touch to crochet chicks!
Tips To Crochet Chicks For Beginners
If you’re a beginner looking to crochet chicks, here are some helpful tips to get you started:
- Start with Simple Patterns: Begin with beginner-friendly crochet chick patterns that have clear instructions and fewer complex stitches. This will help you build confidence and grasp the basic techniques before moving on to more intricate designs.
- Choose the Right Yarn and Hook Size: Select a yarn that is easy to work with and appropriate for amigurumi projects. Worsted weight or DK (double knitting) yarn is a good choice. Match the yarn with the recommended hook size mentioned in the pattern to ensure your stitches are the correct size and the finished chick turns out as intended.
- Gauge Matters: Pay attention to your gauge. Crocheting too loosely or tightly can affect the overall size and appearance of your chick. If the stitches are too loose, consider using a smaller hook size, and if they’re too tight, try a larger hook size. Gauge swatches can help you determine the correct tension. Not sure how to check your gauge? Read this.
- Take It Slow: Crocheting amigurumi requires concentration and precision. Take your time to read the pattern carefully and understand each step before moving on. It’s better to go slowly and have well-executed stitches than rush and make mistakes.
- Use Stitch Markers: Place stitch markers at the beginning of each round to mark the starting point. This will help you keep track of your stitches and rounds, especially when working in continuous rounds.
- Count Your Stitches: Count your stitches regularly, especially when instructed to increase or decrease. Missing or adding stitches can affect the shape and proportions of your crochet chick. Take your time to ensure accuracy.
- Stuffing and Shaping: When stuffing your crochet chick, be gentle and avoid overstuffing, as it can distort the shape. Use small amounts of stuffing at a time and distribute it evenly. Adjust the stuffing as needed to achieve the desired firmness.
- Practice Seaming Techniques: Crochet chicks are typically made by crocheting different parts separately and then sewing them together. Practice basic seaming techniques, such as whip stitch or mattress stitch, to join the pieces neatly and securely.
- Enjoy the Process: Crocheting should be a fun and enjoyable experience. Embrace any mistakes or imperfections as part of the learning process. Each chick you create will improve your skills, and soon you’ll be crocheting with confidence!
Remember, practice makes perfect, so don’t be discouraged if your first attempts aren’t flawless. With time and practice, you’ll become more proficient in crocheting adorable chicks. Happy crocheting!
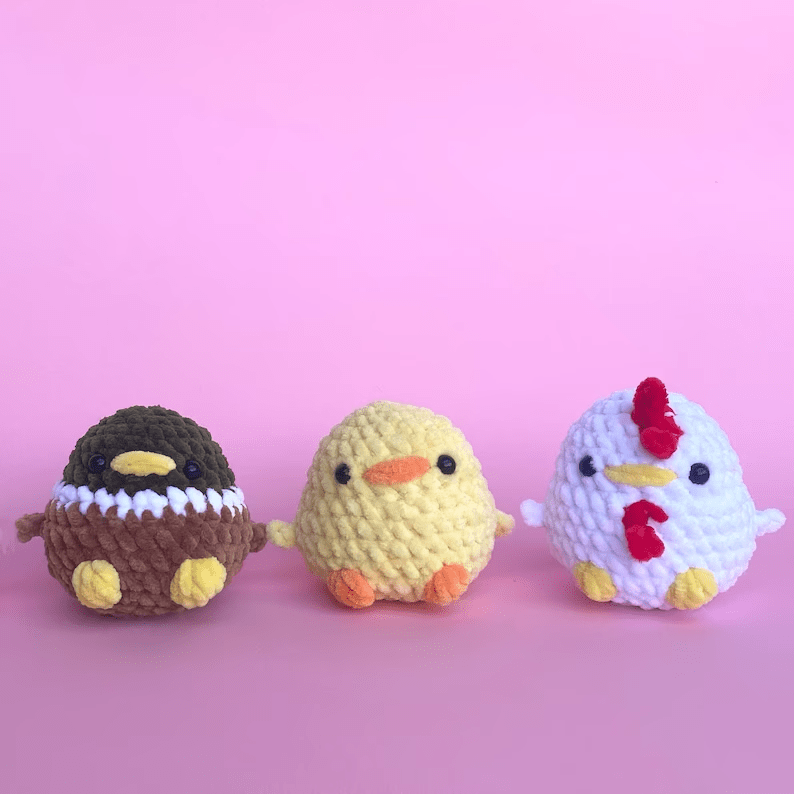
10 Crochet Chick Patterns
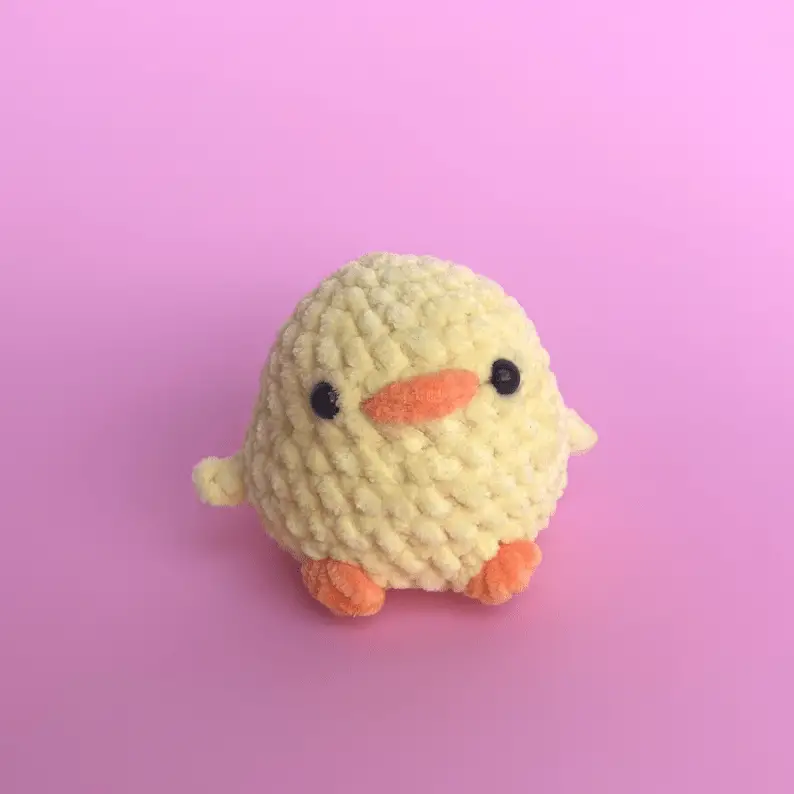
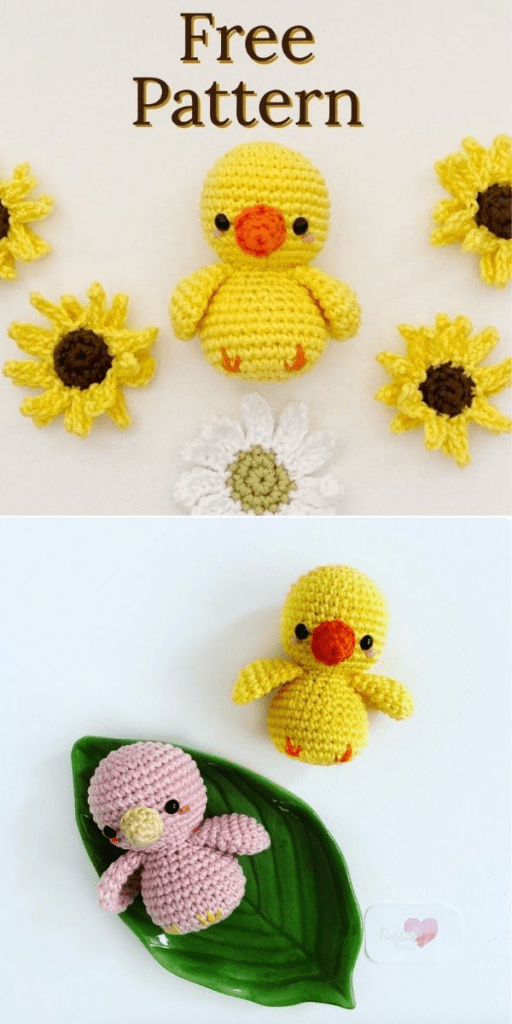
1. Amigurumi Free Crochet Chick Pattern
For the free crochet chicken pattern, head over HERE.
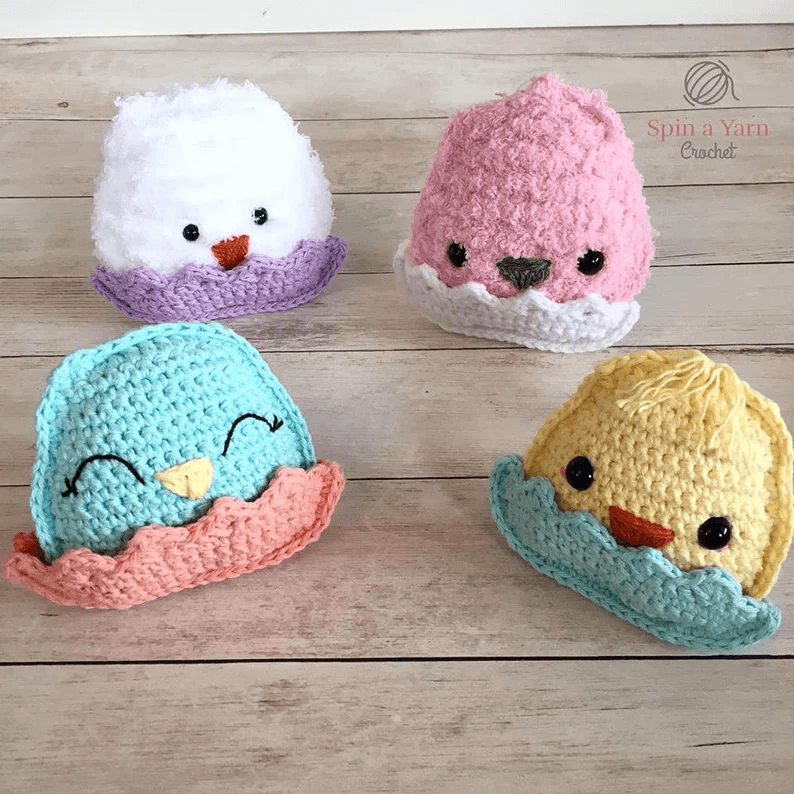
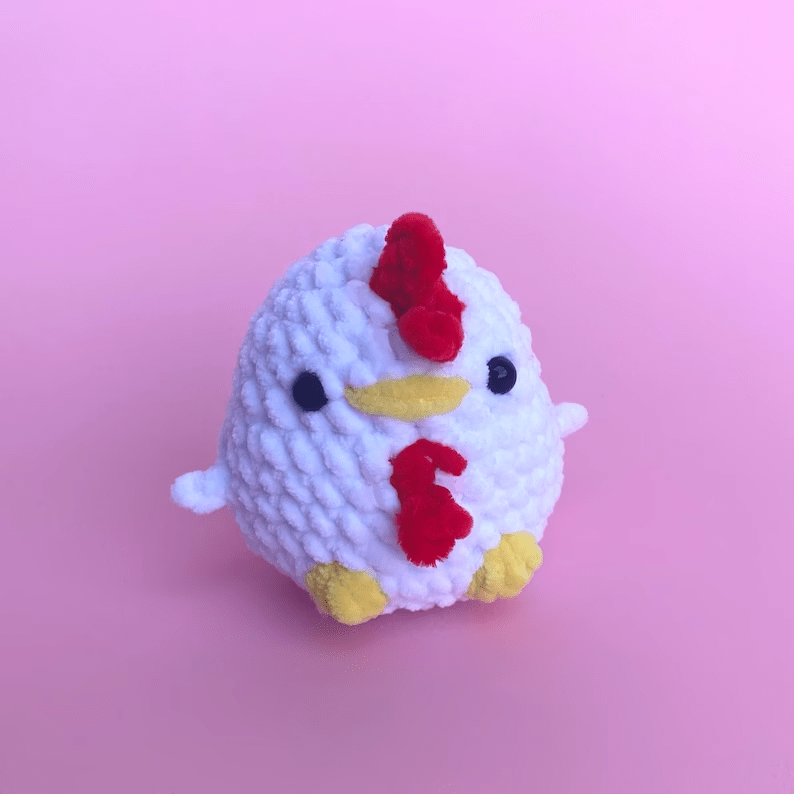
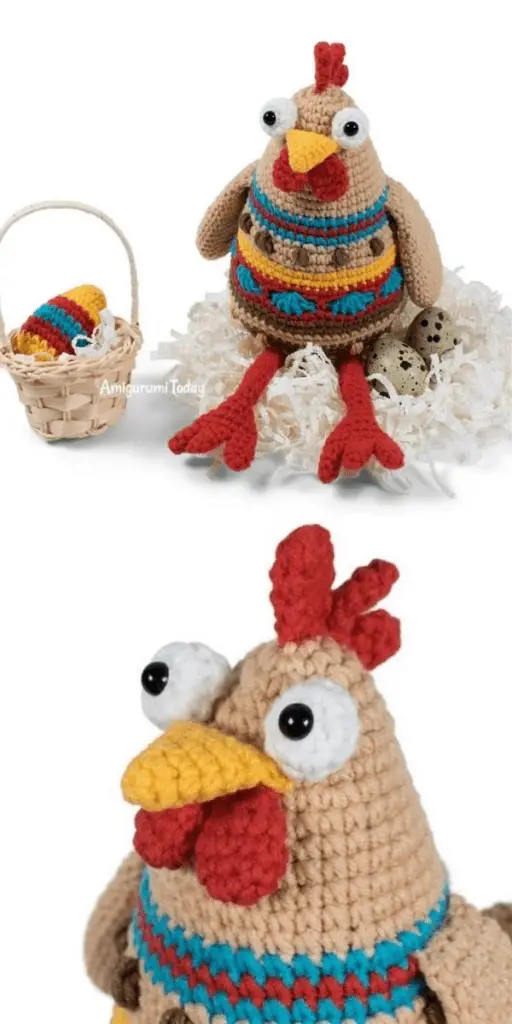
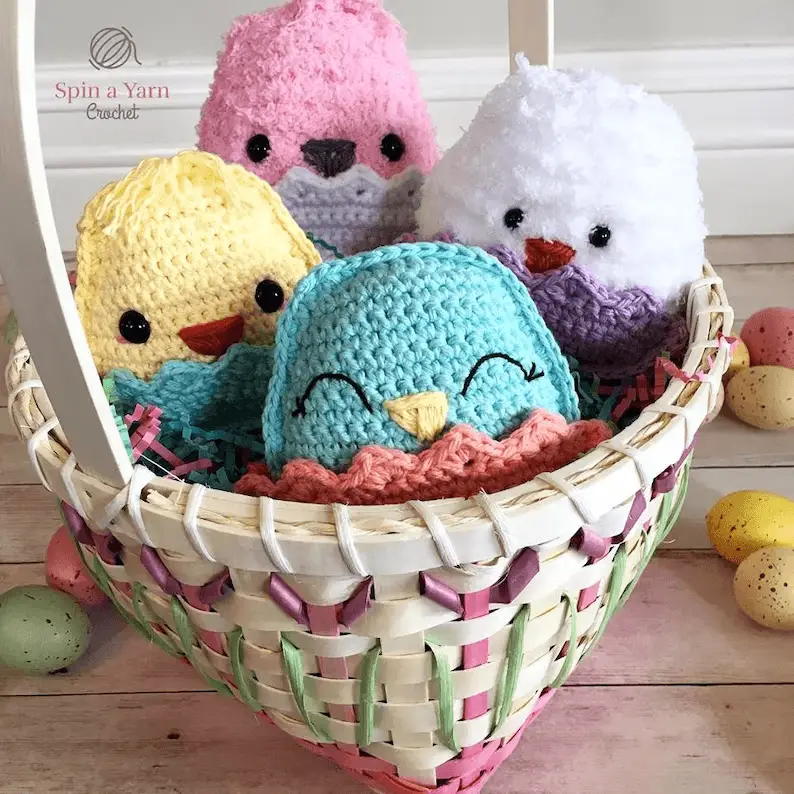
2. Easter Cicken Crochet Pattern
Find original free pattern on Instagram, the bottom photo is here
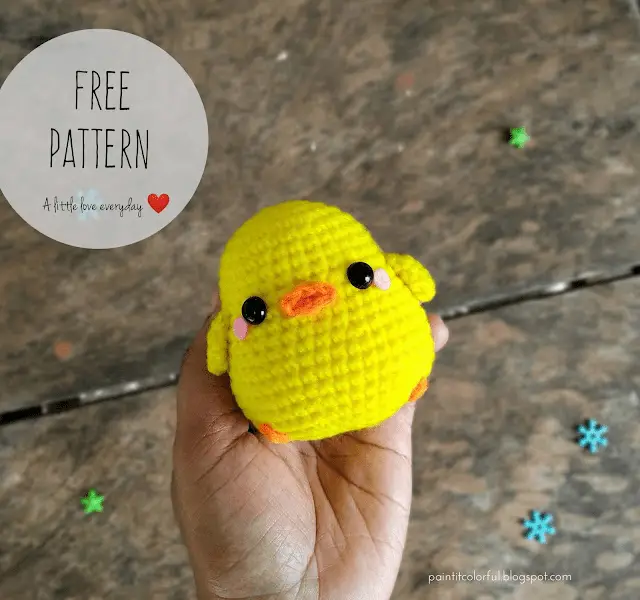
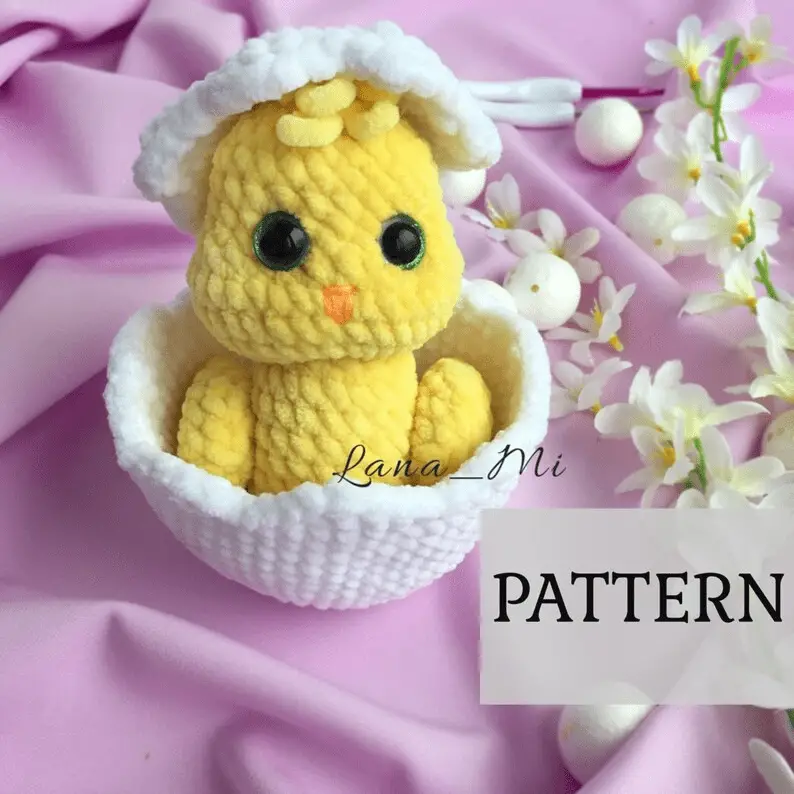
3. Chicken Crochet Pattern
Grab the free chcik crochet pattern HERE.
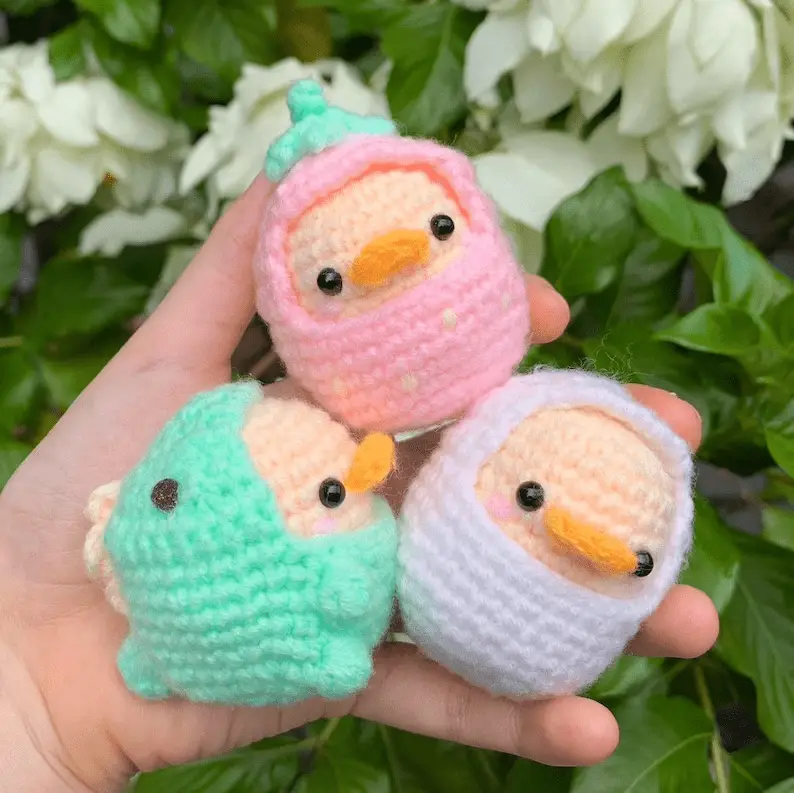
4. Crochet chick pattern
Grab the paid pattern HERE.
5. crochet chick in costume pattern
Grab the paid pattern HERE.
6. No sew Crochet chick pattern
Get the easy crochet chicken pattern HERE.
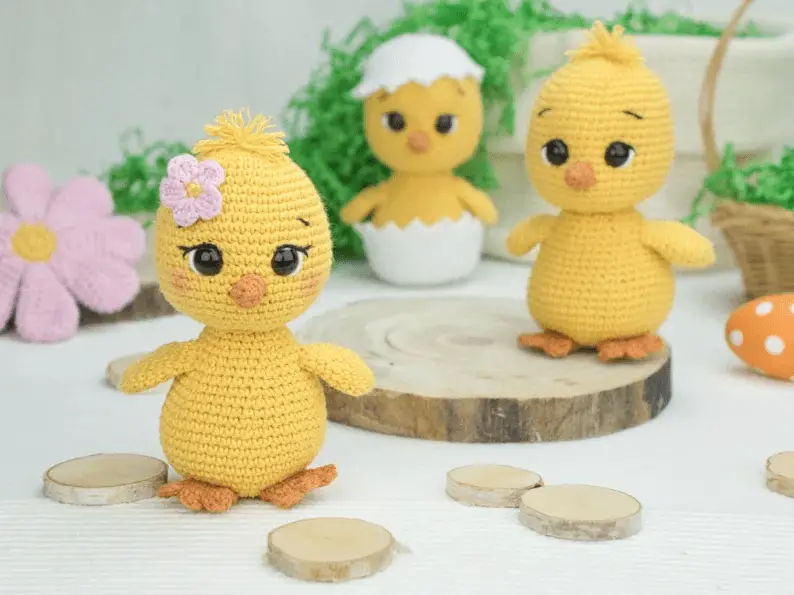
7. Crochet chubby chick pattern
Grab the crochet chick pattern HERE.
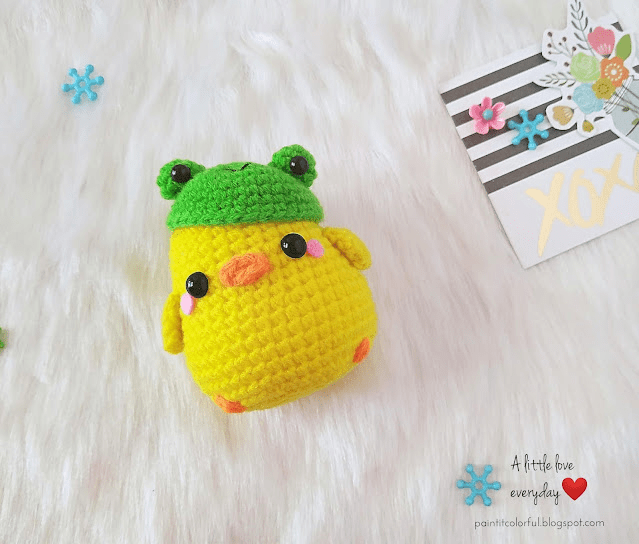
8. Crochet chick baby hat pattern
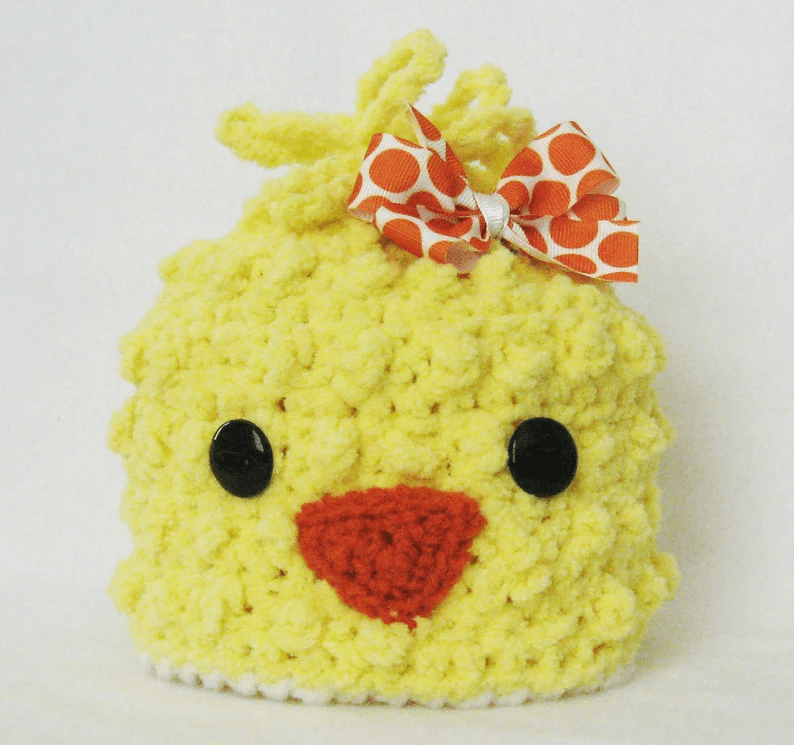
Grab the paid pattern HERE.
9. Merry Easter Crochet Chick Pattern
Grab the crochet pattern HERE.
10. Crochet pattern chicken
Grab the paid crochet chicken pattern HERE.
How to care for a crochet chick amigurumi
Caring for your crochet chick amigurumi is important to keep it looking its best and ensure its longevity. Here are some tips to help you care for your adorable creation:
- Handle with Clean Hands: Before handling your crochet chick, make sure your hands are clean to avoid transferring dirt, oils, or stains onto the yarn. This will help keep your amigurumi clean and prevent any discoloration.
- Keep Away from Pets and Small Children: While crochet amigurumis are generally durable, it’s best to keep them away from pets and small children who may be tempted to chew on or tug at the stitches. This will prevent any damage to your creation.
- Avoid Excessive Sunlight: Prolonged exposure to direct sunlight can cause the colors of your crochet chick to fade over time. To preserve its vibrant appearance, display or store it away from direct sunlight.
- Store in a Clean and Dry Place: When not in use, store your crochet chick in a clean and dry place. Avoid damp or humid areas, as moisture can lead to mold or mildew. Consider placing it in a sealable bag or container to protect it from dust and potential damage.
- Gentle Spot Cleaning: If your crochet chick gets dirty or stained, gently spot clean the affected area with a mild detergent or soap and lukewarm water. Avoid scrubbing vigorously or soaking the entire amigurumi. Rinse carefully and gently squeeze out excess water before allowing it to air dry completely.
- Avoid Rough Handling: While crochet amigurumis are durable, excessive pulling or rough handling can strain the stitches and cause them to unravel. Handle your crochet chick gently and avoid tugging on any parts or limbs.
- Repair Any Damage Promptly: If you notice any loose stitches, tears, or other damage to your crochet chick, repair it promptly to prevent further unraveling or deterioration. Use a yarn needle and matching yarn to stitch up any openings or secure loose parts.
By following these care tips, you can keep your crochet chick amigurumi in excellent condition for years to come. Enjoy the company of your fluffy friend and cherish the memories it brings!