Crocheting is a wonderful way to express creativity and make unique and special gifts for loved ones. One charming item to crochet is a “peas in a pod” design, which can be made into a keychain, a baby toy, or even a decorative piece. Here is a brief guide to creating your very own crochet peas in a pod.

How to crochet the perfect peas in a pod
Here are some tips to help you crochet the perfect “peas in a pod”:
- Use a stitch marker to keep track of the beginning of each round. This will help you avoid mistakes and keep the shape of the pea consistent.
- Use the same tension throughout your work. If your tension is too tight or too loose, the shape and size of the pea may be affected.
- Stuff the peas lightly to keep them plump and round. Over-stuffing can distort the shape of the pea and make it difficult to close the pod.
- When sewing the peas into the pod, position them so that they are touching each other in the center of the pod. This will create a more realistic “peas in a pod” look.
- If you are having trouble with the magic ring technique, you can also start with a ch 2 and sc 6 into the second chain from the hook.
- Finally, don’t be afraid to experiment with different yarn colors to create different types of peas, such as snow peas or sugar snap peas. This will give your project a unique touch and make it more personal.
By following these tips, you can create perfect “peas in a pod” that will be a joy to crochet and a delight to give as a gift.
Crochet peas in a pod supplies
Here are the supplies you will need to crochet peas in a pod:
- Green yarn (worsted weight)
- Small amounts of light green and white yarn (worsted weight)
- Crochet hook (size G/4.25mm)
- Stuffing
- Yarn needle
- Scissors
These supplies should be readily available at most craft stores or online. When selecting your yarn, look for a soft and durable yarn that is easy to work with. You can choose any shades of green and white that you like, depending on your personal preferences and the purpose of your project.
Make sure to choose a crochet hook that is appropriate for the yarn weight you have selected. With these supplies, you will have everything you need to create a charming and delightful crochet peas in a pod project
How to use crochet peans in a pod
There are several ways to use crochet “peas in a pod,” depending on the size and purpose of your project. Here are a few ideas:
- Baby toy: Crochet several “peas in a pod” and string them together to make a soft and cuddly baby toy. The peas can be different colors or textures to provide sensory stimulation for the baby.
- Keychain: Crochet a single “pea in a pod” and attach it to a keychain to make a unique and personalized accessory. You can add a tassel or other embellishments to make it even more special.
- Decorative piece: Crochet several “peas in a pod” and place them in a bowl or on a shelf for a charming and whimsical decoration. You can also use them as table centerpieces or party favors for a garden-themed event.
- Stress ball: Crochet a “pea in a pod” and stuff it with rice or beans to make a simple and fun stress ball. You can use it at work or school to relieve tension and anxiety.
By using crochet “peas in a pod” in these ways, you can add a touch of handmade charm to your life and create something special for yourself or someone you love.
Easy Crochet Peas In A Pod Patterns
1. Peas in a pod amigurumi
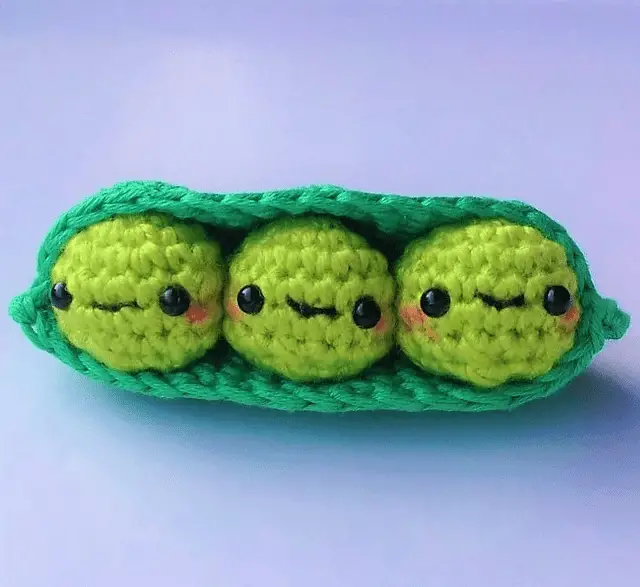
For the PDF pattern of this crochet peas in a pod, head over to Ravelry
2. Jumbo crochet peas

Looking for something to decorate a bed or an area with? Grab this jumbo crochet peas pattern HERE.
3. Three peas in a pod crochet pattern
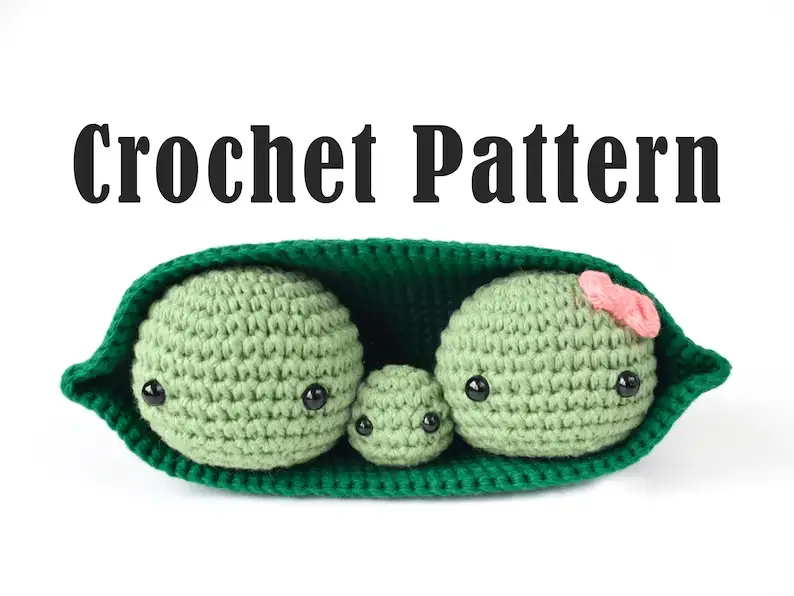
I just love this crochet peas in a pod family! Can it get any cuter? Grab your peas in a pod family crochet pattern HERE
4. 2 In 1 crochet peas keychain
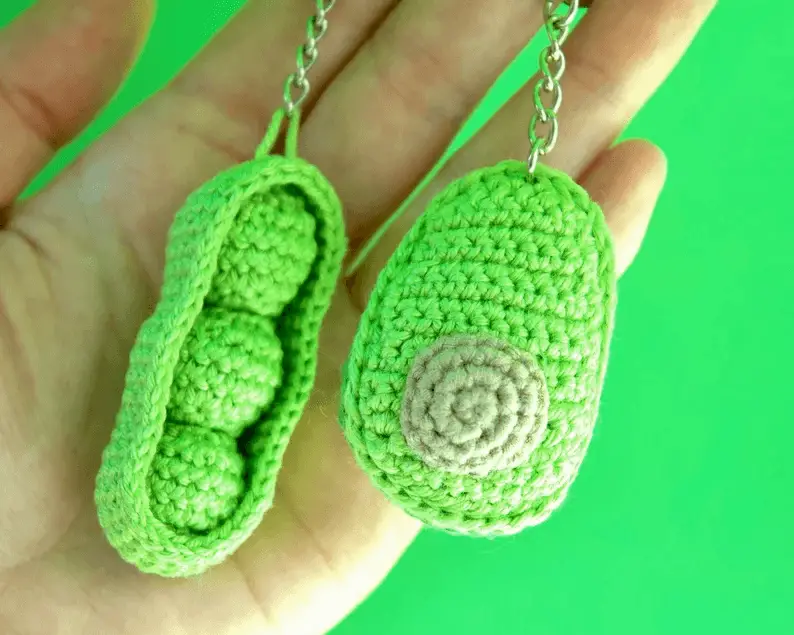
Another way to use a crochet peas in a pod pattern is by making it a keychain! Grab the crochet pattern and they will thank you forever!
5. Peas in a pod
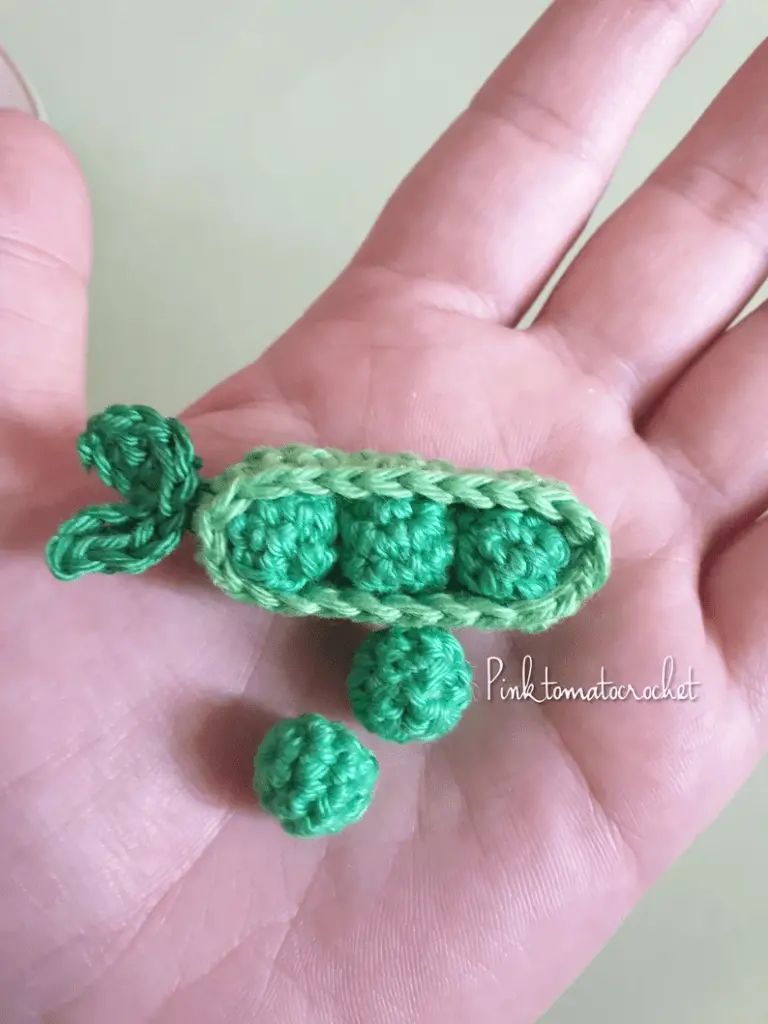
Grab the pattern HERE.
In conclusion, crocheting “peas in a pod” is a fun and creative project that can be used in many different ways.
By following the stitches and techniques outlined above, and using the tips and supplies provided, you can create charming and unique “peas in a pod” that will be a joy to crochet and a delight to use or give as a gift.
Whether you are making a baby toy, keychain, decorative piece, or stress ball, your “peas in a pod” are sure to be a hit. So why not give it a try and see what fun and creative projects you can come up with!