If you are a lover of top-down crochet sweaters and cardigans, then you will love the crochet yoke even more. In this post i will teach you how to crochet a sweater or cardigan for all sizes with a simple trick a learnt a few years back.
When mmoost people talk about the crochet yoke, the one thing they love to point out is the fact that you get to try your projeect os as you work to be sure you have got the sizing right. Which is true.

Personally, i love the fact that you get to crochet a sweater for any size nd all sizes with the crochet yoke method. Most crochet patterns are from XS-3XL and 5XL is some cases, that does not cover all the sizes, so in this article , i will teach you how to cover all the sizes.
What Is A Crochet Yoke
A yoke is a crochet shaped pattern piece that grows tp form a garment, usually fitting around the neck and shoulders which then grows to seperate the arms and body all in one piece.
A yoke can be closed for sweaters or open on the chest for cardigans while allowing you to have different neck styles at the same time. Either a round neck or a V neck.
Types Of Yokes
1. Raglan Yoke
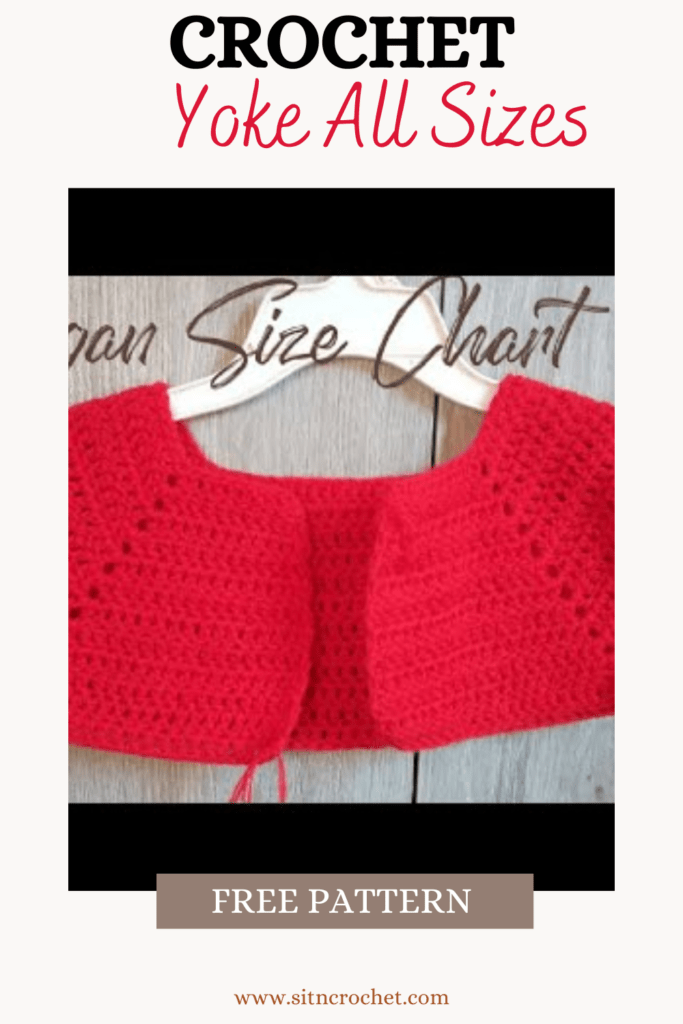
The raglan yoke is well known for it’s type of sleeve which is joined to the bodice with a diagonal seam which starts from the neckline and extends to the underarm. This diagonal seam as opposed to a set in sleeve moulds the shoulders and makes for a very forgiving and appealing sleeve pattern.

The raglan yoke has 4 corners that are used to increase the cardigan or sweater. These 4 corners are also what will later on seperate the body and the sleeves.
The raglan can be a V neck if you desire that or as the image above illustrates. The raglan yoke can give limitations to styling as compared to the round neck yoke since you are only limited to increase in the 4 corners.
Round Yoke
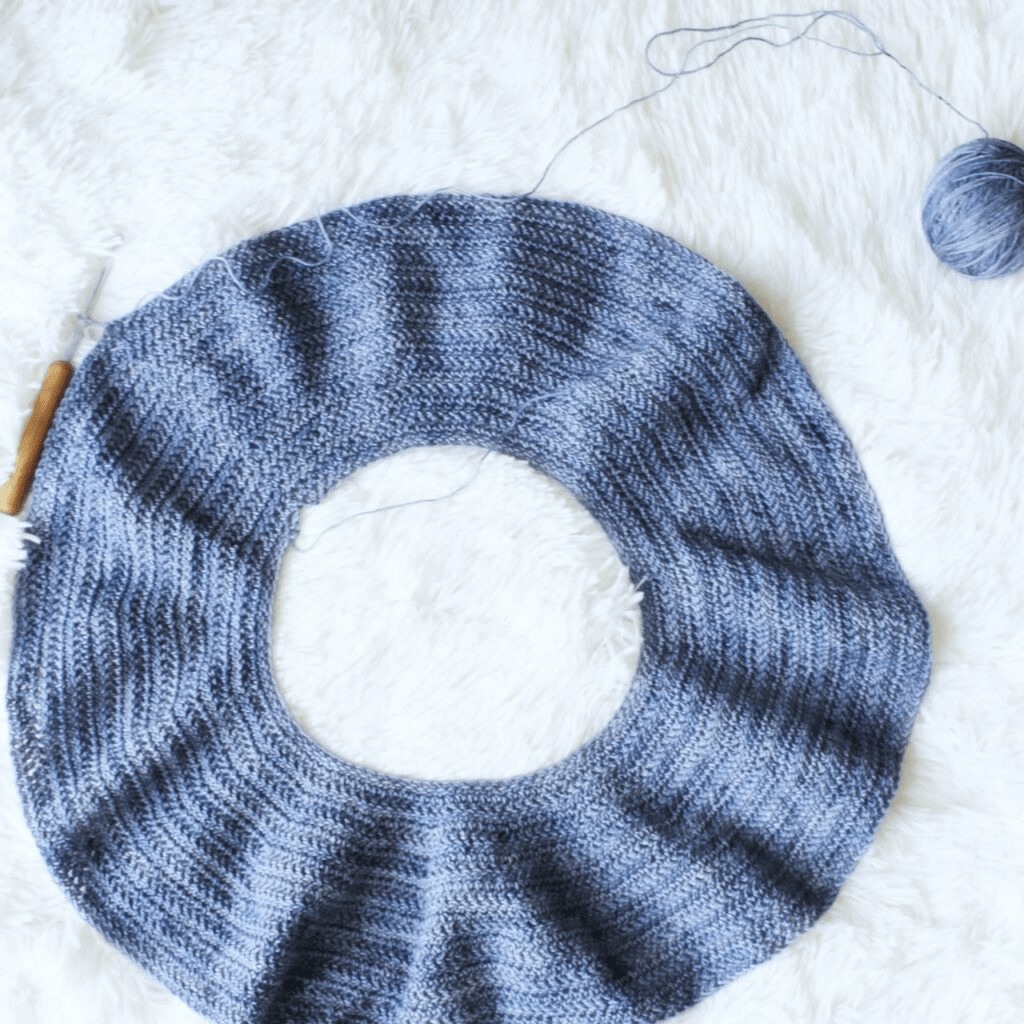
The round yoke as the name suggests, is made in a perfecr cirlce. If you compare it to the raglan yoke, the raglan almost looks like a square when you lay it down.
When working a rouch crochet yoke, you increase evenly unlike in 4 courners with the raglan toke.

The difference in a round neck and raglan yooke cna be seen in how the sweater rests on the shoulders of the one wearing it. The rglan has a stiff fit, the shoulders are formed as you work the sweater so when you wear it, it is easier to note, where as the round neck yoke has a cape like fit since it is worked in a flat cirlce.
How to Crochet Yoke All Sizes
You are here to learn how to crochet a garment in al sizes using the yoke method. The little trick i am going to teach you in this article will be mainly for the raglan yoke, however, i will walk you through the round yoke too.
Materials
Before you begin, be sure to hae access to the following materials:
- A well fitting shirt
- Measuring tape
- Note book
- Yarn
- Corresponding crochet hook
Step 1: Make a gauge swatch. Chain 100, and double crochet the whole chain. If you wish to make a half double crochet garment, then use that stitch for the gauge swatch.
Step 2: Grab the measuring tape and the top that fits you well (body hugging will be best). Mesure the neck opening. From one shoulder to the other. With the same number of inches, assume you found 9 inches, you will rest the measuring tape on the gauge swatch and see how many stitches make 9 inches. I got 34 stitches, these stitches will represent the back of our garment.
This step will call for the diary and math brain!
Sketch a rectangle that leaves an open in the front. The back of the rectangle will be the back of the cardigan , the two sides will be the sleeves and the two fronts that will not touch eachother will be the front panels.
Front
The 9 inches gave us 34 stitches for the back, so write 34 on the back of the rectangle we sketches. Divide 34 by two to get the front stitch numbers which will give us 17. So that is 17 for one front panel and 17 for the other. If you were working a sweater, it would also be 34 for the front.
Sleeves
To get the sleeve number, we will take the front panel numbers. In this case we have 17. Divide 17 by 2, it will give you 8.5, always take the number before the decimal if you got a number with a decimal. Add the 8 to the 17 to get 25. For the sleeves, we will work 25 stitches.
So now we know how many stitches we need to create the back , front and sleeves which is a total of 118 stitches, however, remember we are working a raglen crochet yoke, so we will need 4 stitches for the 4 corners which takes our stitch count to 122 stitches.
So now you know how many chains you need to crochet your sweater, make a chain of the number you foud, in my case, 122 plus 2 to turn.
Into the fourth chain from the crochet hook, place your first double crochet stitch,that will count for two double crochets. We are starting with the fist front panel so we will go into the first 17 stitches. The next stitch is the corner stitch of the 4 corners, in this stitch, place a double crochet, chain 2 and double crochet in the same stitch. We hae made our first increase.
Double crochet in the next 25 stitches for the sleeve, then increase. Follow this by crocheting into the next 34 stitches for the back, then increase, 25 stitches, increase again and finish off with the last 17 stitches for the front.
We are still working the crochet yoke, so chain 1 and turn, chaining of 1 does not count as a stitch in this case. Double crochet in all the stitches, increase at the corners as we did in the first row.
Work the number of rows it takes your crochet yoke to fit you then we will move to seperating the sleeves from the main body.
Seperating
When you have worked enough rows to cover the upper body and ready to make the sleeves, we will not do any more increasing at the increase sections. When you get to the increase corner, ch 4 and double crochet in the next increase corner. You will have left a hole which will grow into an arm. Double crochet to the next corner and repeat this. We have seperated the body and arms on our crochet yoke.
Continue growing the body. When you get to the chained place, place half double crochet in the chains and continue as normal till the body grows to your desired length. To know how to finish off this type of crochet sweater, read this article.
Using this trick, you can crochet a sweater or cardigan in any size given you have their shirt size.
Now What?
Did you think this was helpful?
Pin this post: Save this tutorial to your Pinterest boards so that you can come back to it later.

Leave a comment: We love to hear your feedback. Tell me in the comments below!
Share on Instagram or Facebook: When you make this project, share it on social media and tag me,We love to see what you make!
