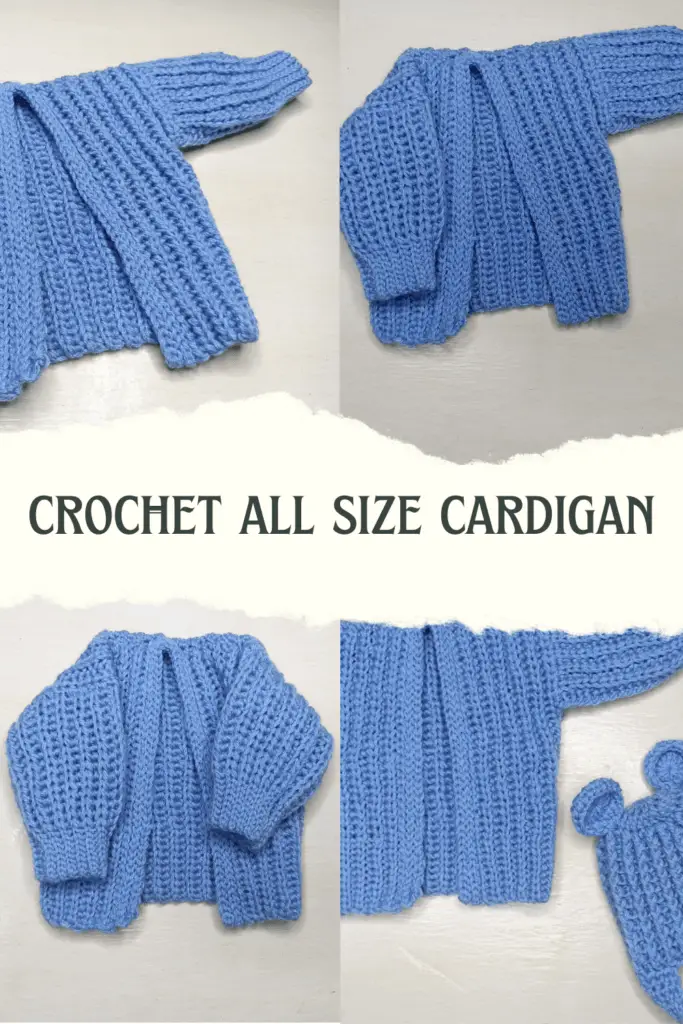
Ever wanted to have a matching outfit for you and your baby or someone, you can with this crochet cardigan pattern that covers all sizes!
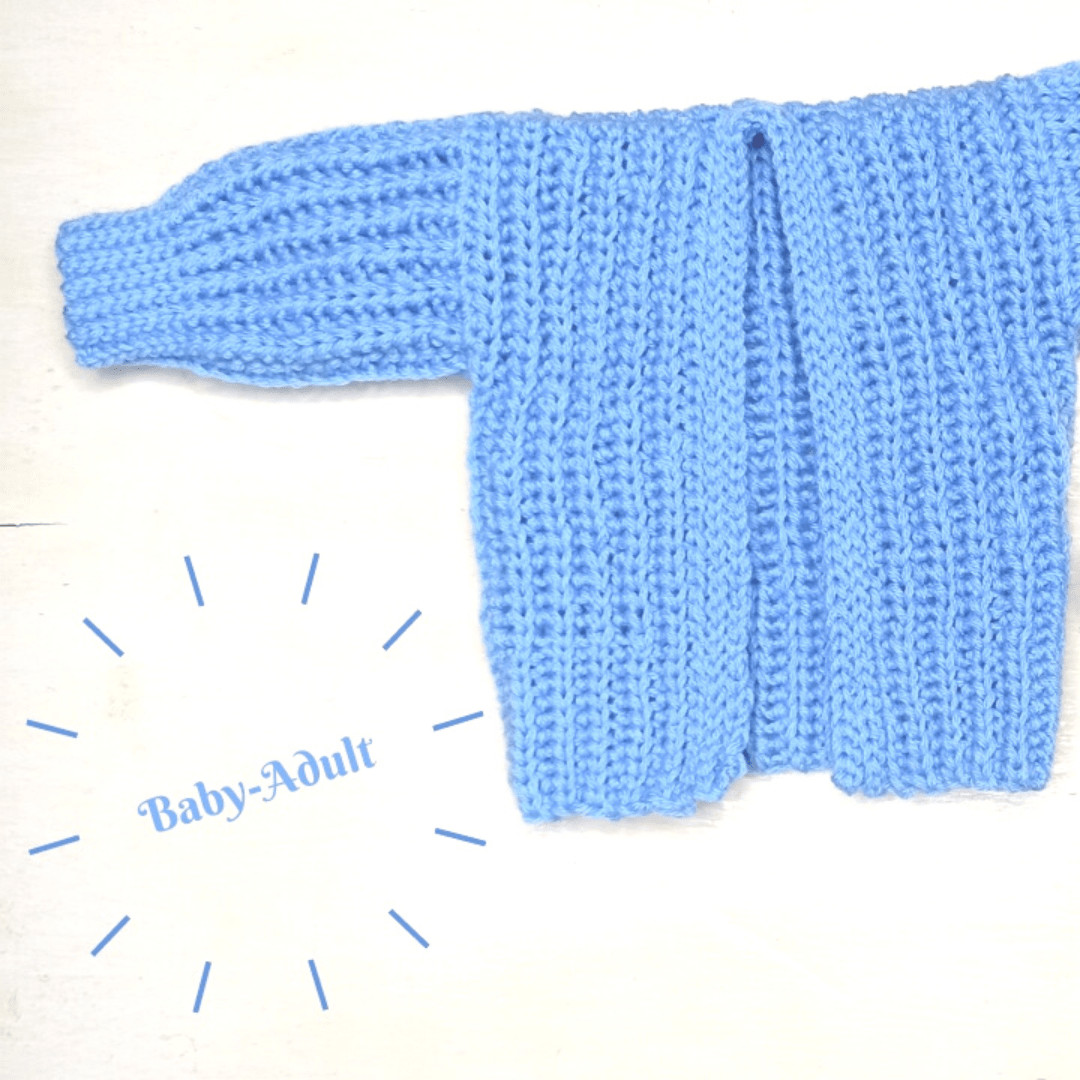
The crochet cardigan i made was for a 0-3 months old baby, but the pattern has been made before for adults in 9 sizes. But, with this patter, you can make it in absolutely any size.
As always, you can find the affordable crochet pattern over on Ribblr for $1.50 or head to Etsy.

Easiest All Size Crochet Cardigan
This crochet cardigan pattern uses the half double slip stitch, also known as the knit stitch simply because it resembles a knitting stitch.
If you are a visual learner like i am, then remember that this pattern is accompanied by a video tutorial that explains every step of the way.
How to crochet a cardigan for any size
To crochet a cardigan for any size will need you to have that person you are making it for near you. If it is a crochet present, then you can always take a piece of clothing (shirt) that they own that fits them well, as for this crochet all size cardigan, it is slightly oversized, so you will make the cardigan a little bigger than the shirt.
If you are trying to make the perfect fit, then learn how to crochet a yoke for all sizes, this will help you.
Best Yarn For Crochet Cardigns
To get the best looking crochet cardigan, be sure to use the Premier Anti-Pilling Yarn. If you have your own stash of DK yarn, then it is fine to use that as well, If not, remember this is an affiliate link, so i make a small commission when you purchase. No added expenses to you!
MEASUREMENTS
Gauge: 16 stitches in 15 rows = 4” X 4”
Sizes: All sizes
Finished measurement: shoulder to bottom: 9”
Under arm to underarm: 8.5 “
Armhole opening: 4”
Sleeve: 5.5”
CROCHET BABY CARDIGAN NOTES
- Ch 1 does not count as a stitch
- We work the whole cardigan in the back loops
- We work the whole body in one panel and connect the arms to it.
- We switch to the 3.5 to work the ribbing
- The sleeves ribbing is worked using the slip stitch
- The body ribbing is worked using the single crochet
MATERIALS (for 0-3 months)
- 1 ball of 100g Yarn :
- 4.5 mm crochet hook
- 3.5mm crochet hook
- Stitch markers
- Yarn needle
- Scissors
STITCH LIBRARY
- Hdslst- Half double slip stitch
- Ch- chain
- Slst- Slip stitch
- Sc- single crochet
- Rep- repeat
- Cont- continue
CROCHET CARDIGAN PATTERN
With the 4.5mm hook, ch 40, with a 3.5 mm crochet hook, hdslst in the back bumps for 10 ch, place a stitch marker, switch to the 4.5mm hook and hdslst all the way to the top. Ch 1, turn
Hdslst all the way down. Switch to the 3.5mm hook, ch 1, turn. Rep this for 12 rows (for 0-3 months). For the other sizes,work rows that cover the shoulder to your satisfaction. Keep the number of rows and be sure it ended at the bottom.
BACK PANEL
Hdslst till you have 14 stitches left at the top of your work, and ch the 14 + 1 to turn, for the other sizes, see how long you want your sleeves opening to be and leave that number of ch out. Write the number down.
In the back bumps of the ch, hdslst all the way down.
For the back panel work two times the front panel rows plus 3 extra rows to end at the bottom.
For 0-3 months, work 27 rows. This should have you at the bottom of the row.
FRONT PANEL
Start the row as normal, but leave the last 14 stitches unworked. For the other sizes, leave the same number of stitches as you did for the other sleeve opening.
Work the same number of rows as the other front panel. 12 rows for 0-3 months.
ASSEMBLING
Close the cardigan and sew it close at the shoulders. Keep the wrong side facing you so we can do all the sewing on that side.
SLEEVES
To work the sleeves, connect the yarn to the under arm of the cardigan, ch 23. For the other sizes, ch the length of your arm and a bit more since the ch will reduce in length when you work on it.
In the first 8 ch, witht he 3.5mm hook, slst in the back loops, place a stitch marker, switch to the 4.5 mm crochet hook and hdslst uo, when you reach the end of the row, slst to the next stitch on the arm to join the row, slst to the next stitch on the arm to start a new row, turn, and work down.
Rep this for the whole sleeve.
COLLAR
Connect the yarn to the bottom section of the cardigan with the 3.5mm crochet hook slst all the way round for 6 rows.
Ch 1, cut the yarn. Weave in the ends. Turn the cardigan right way round.
You are done!
Now What?
Did you think this was helpful?
Pin this post: Save this tutorial to your Pinterest boards so that you can come back to it later.

Leave a comment: We love to hear your feedback. Tell me in the comments below!
Share on Instagram or Facebook: When you make this project, share it on social media and tag me,We love to see what you make!

