Raccoons are adorable creatures that have a distinctive appearance and personality. You can now bring a touch of the wild into your home with a crochet raccoon toy. This DIY project is easy to complete, even for beginner crocheters, and is perfect for kids and adults alike.
In this post, we’ll share a few of our favorite beginner-friendly raccoon crochet animal patterns. So whether you’re looking for a little project for yourself, or want to make a handmade gift, you’ll find the perfect pattern right here.
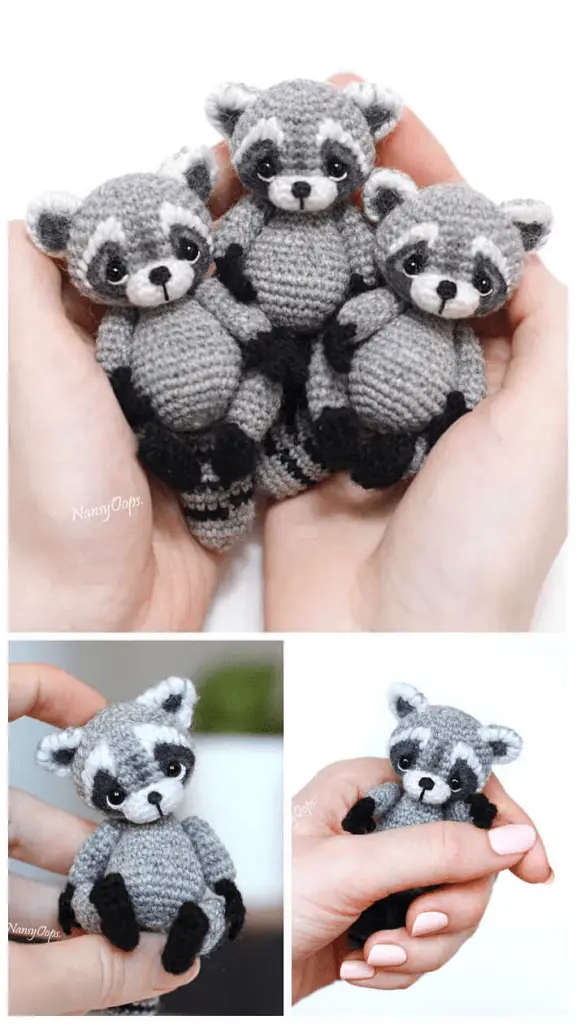
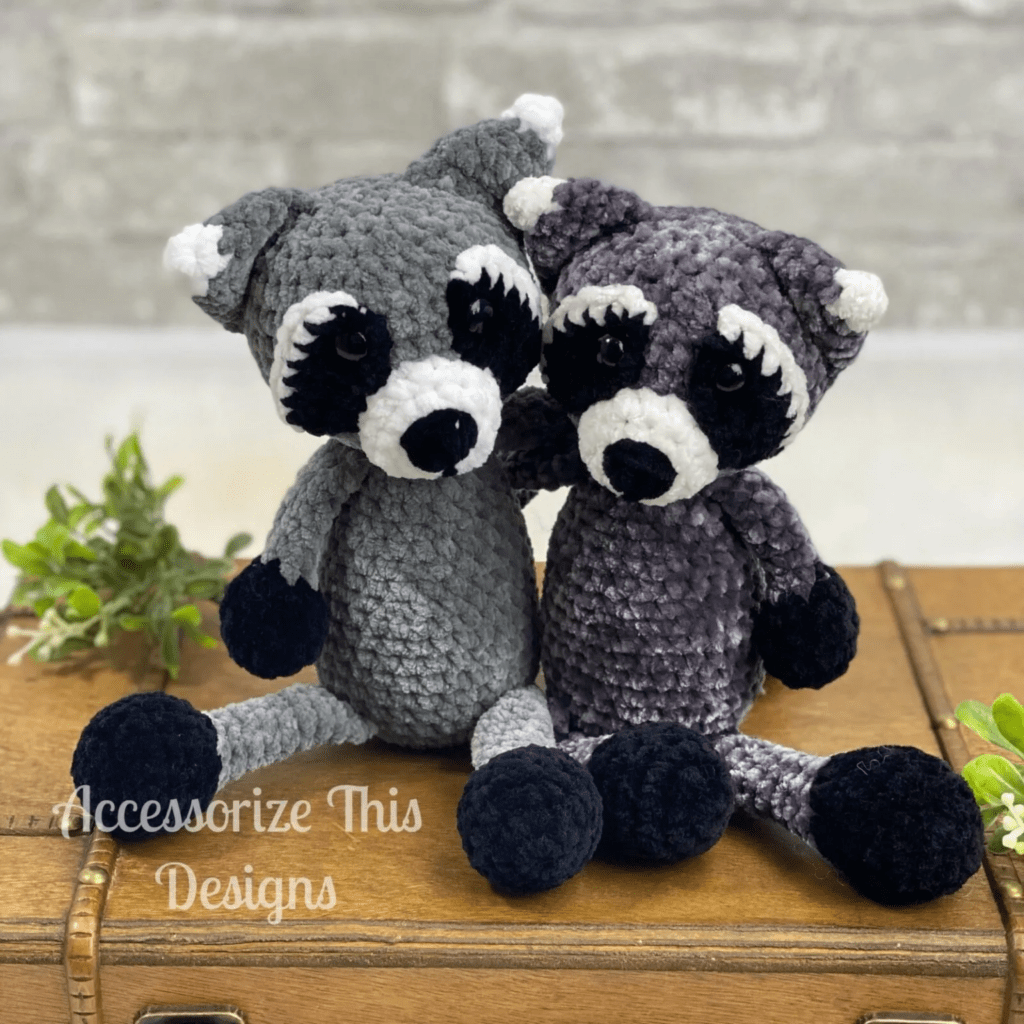
Free Raccoon Crochet Pattern
In this article, we will guide you to various easy and creative crochet raccoon patterns that will bring a new touch to your hoe or a smile on someones face. Not so good at crochet amigurumis?
Worry not, we will not only walk you through the steps on how to crochet a raccoon, but we will give you a few tips to keep a look out for when you are making your fist raccoon crochet pattern.
How to crochet a raccoon: Step-by-step
Keep note that not all patterns will follow this method, however, most beginner friendly patterns will.
Step 1: Start with the head and body. Crochet a magic ring and work 6 single crochets (sc) into the ring. Then increase each round by 6 until you reach the desired size of the head and body.
Step 2: Add the details. After finishing the body, add the stuffing, then attach the safety eyes and sew on the black embroidery floss to form the raccoon’s mask.
Step 3: Crochet the arms and legs. Use grey yarn and work in the round to make 4 long, skinny tubes for the arms and legs. Attach these to the body, making sure to stuff them as well.
Step 4: Crochet the tail. Use grey yarn and work in the round to make a long, skinny tube for the tail. Attach it to the body and stuff it.
Step 5: Finish the raccoon. Use white yarn to crochet a few small pieces to form the raccoon’s white patch on its belly.
Tips to crochet your first raccoon
If you’re looking to crochet your first raccoon, here are some tips to help you along the way:
- Choose the right materials: You will need worsted weight yarn in grey, black, white, and brown. You’ll also need a crochet hook in size H (5mm), stuffing, safety eyes, black embroidery floss, and a tapestry needle.
- Follow a pattern: Crocheting a raccoon can be a challenging project for a beginner, so it’s best to follow a pattern. There are many free raccoon patterns available online, or you can purchase a pattern from a crochet magazine or book.
- Take your time: Don’t rush through the process of crocheting your raccoon. Take your time and focus on each step, making sure that everything is properly aligned and securely attached.
- Don’t skimp on stuffing: Stuffing is an important part of the crochet raccoon. Make sure you use enough stuffing to give the raccoon a plush and soft feel.
- Pay attention to the details: The details of the raccoon, such as the black mask, white patch, and arms and legs, are what make the toy so adorable. Pay close attention to the pattern and make sure each detail is accurate and properly placed.
- Have fun: Crocheting a raccoon is a fun and creative project. Don’t be discouraged if your first attempt doesn’t turn out perfectly. Keep practising and have fun with the process.
With these tips, you’ll be on your way to creating an adorable crochet raccoon that you’ll be proud to show off.
Crochet raccoon supplies
- Worsted weight yarn in grey, black, and white
- Crochet hook in size H (5mm)
- Stuffing
- Safety eyes
- Black embroidery floss
- Tapestry needle
Stitches & Techniques you’ll need to know
Here are some of the most important stitches and techniques to know when crocheting a raccoon:
- Single Crochet (sc): This is the most basic stitch in crochet and is used to create a tight and dense fabric. The single crochet stitch is ideal for the body of the raccoon.
- Increase: To increase, you simply add an extra stitch in each round. This is used to create the round shape of the head and body of the raccoon.
- Decrease: To decrease, you work two stitches together. This is used to taper the end of the arms and legs.
- Magic Ring: This is a method of starting a crochet project in the round. It’s ideal for starting the head and body of the raccoon.
- Crochet in the Round: Crocheting in the round means working in a continuous spiral, without turning at the end of each row. This is used to create the body, arms, legs, and tail of the raccoon.
- Stuffing: Stuffing is an important part of the raccoon and is used to give the toy a plush and soft feel. Make sure to stuff each piece firmly, but not too tightly, to prevent the stuffing from shifting or losing its shape.
- Safety Eyes: Safety eyes are plastic or glass eyes that are securely attached to the raccoon. They are safer than using traditional buttons or beads, which can come loose and pose a choking hazard.
By mastering these stitches and techniques, you’ll be well on your way to creating a cute and cuddly raccoon.
Free Raccoon Crochet Patterns
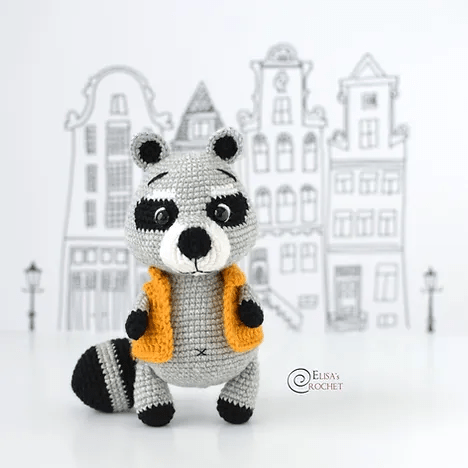
Crochet plush raccoon pattern
Get the free crochet raccoon pattern HERE
Gigi the raccoon
Get the crochet pattern HERE
Pocket raccoon free pattern
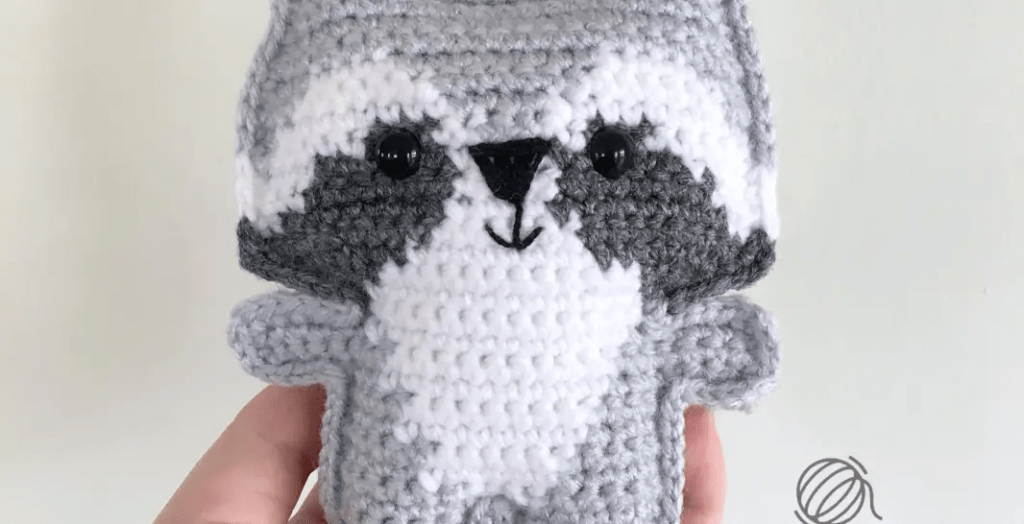
Get the free crochet raccoon pattern here
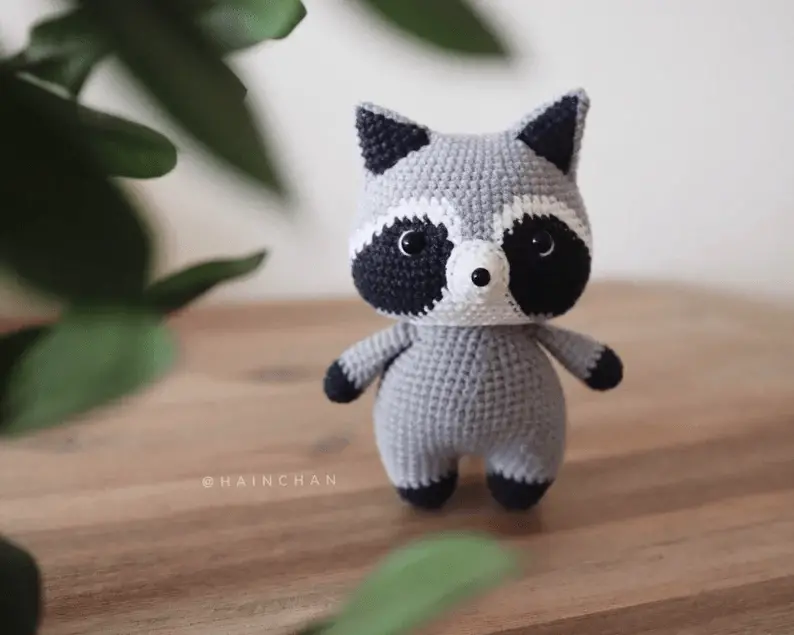
Amigurumi Raccoon Crochet Pattern
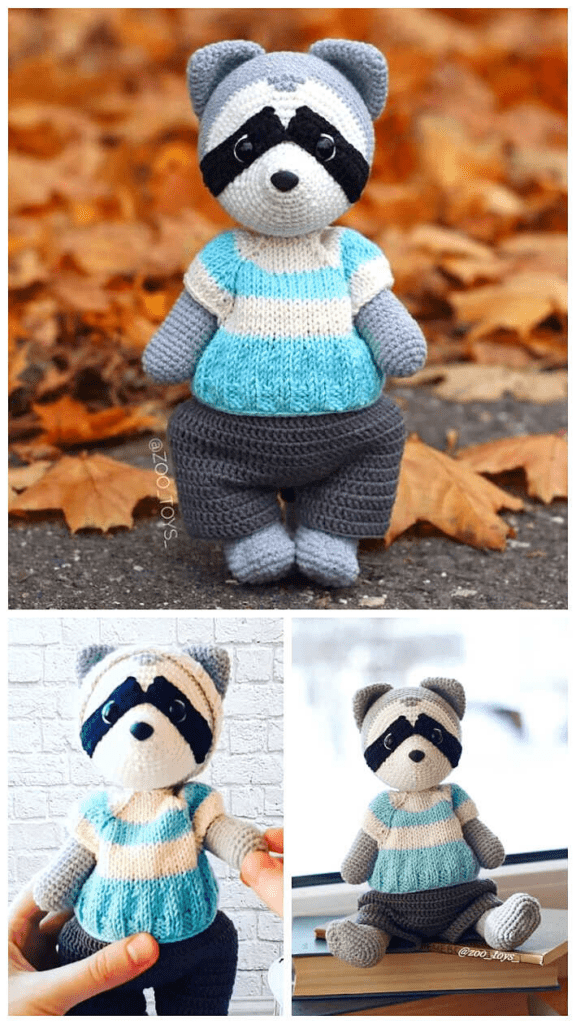
Get the crochet pattern HERE
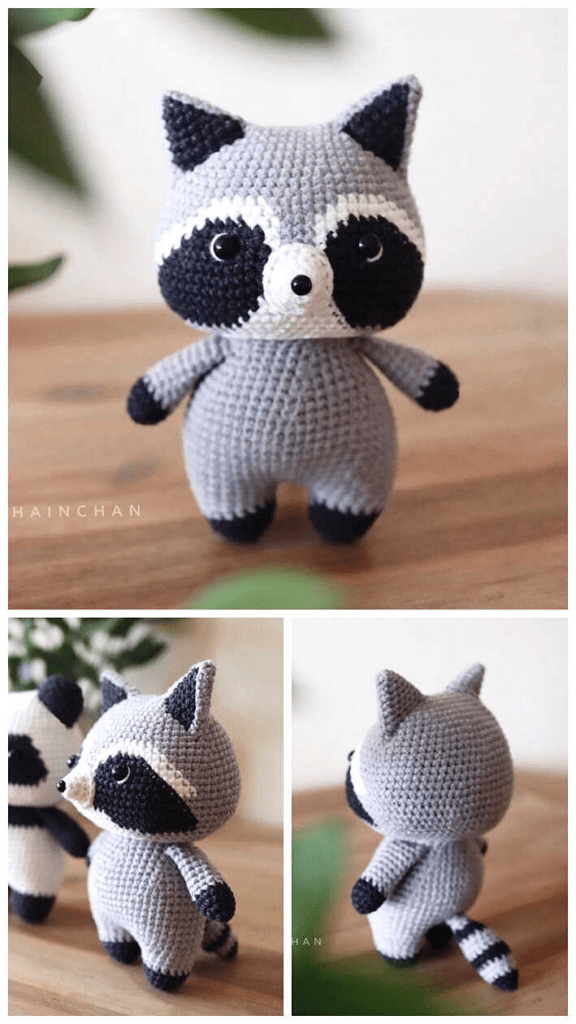
Raccoon Amigurumi Crochet Pattern
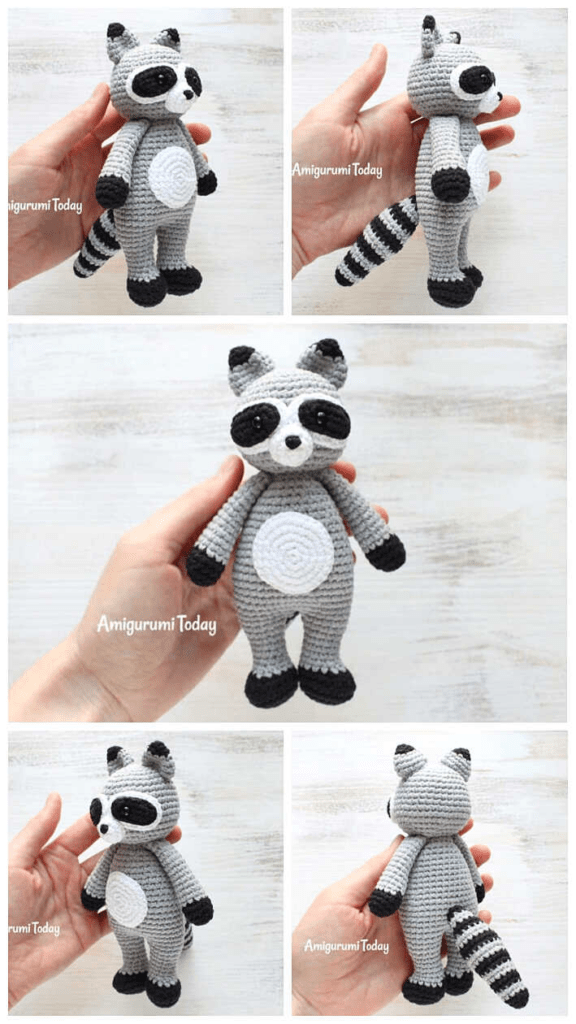
Get the free raccoon crochet pattern HERE
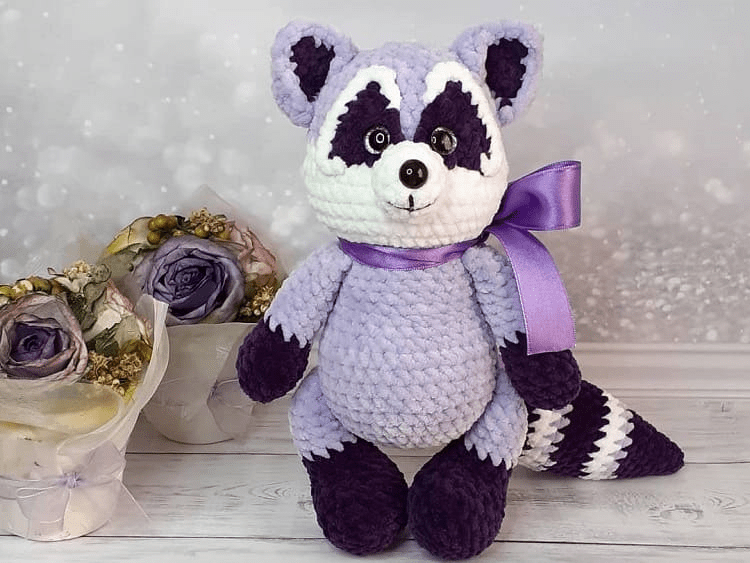
Flip flop raccoon
Get the free crochet pattern HERE
Congratulations, you’ve just created an adorable crochet raccoon toy! This project is fun, easy, and a great way to bring a touch of nature into your home. You can use different colors and adjust the size to make your raccoon unique. Happy crocheting!
Other articles you might like
- Free Jumper Knitting Pattern- Basic Sweater

- Free Crochet Granny Stripe Blanket Pattern
- Must Have Crochet Zip Sweater Pattern

- 10 Chunky Crochet Baby Blanket Free Pattern
Until next time, happy crafting!