
Crochet toys are a fun and creative DIY project that can be enjoyed by people of all ages. If you’re looking to crochet a polar bear.
How to : crochet polar bear step-by-step
- Choose the right materials: You will need worsted weight yarn in white, a crochet hook in size H (5mm), stuffing, safety eyes, black embroidery floss, and a tapestry needle.
- Start with the head: Using white yarn, begin by making a magic ring. Work 6 sc into the ring, then inc in each stitch around (12 sc). Continue working in the round, inc in every other stitch (18 sc), then every third stitch (24 sc), until the head reaches the desired size.
- Make the body: Continue crocheting in the round, working sc stitches until the body reaches the desired length. Make sure to stuff the body firmly but not too tightly.
- Attach the safety eyes: Once the body is stuffed, attach the safety eyes to the head. The placement of the eyes will vary depending on the pattern you are using, but typically they are placed about 2 stitches apart and 2 rows down from the top of the head.
- Add the details: Using black embroidery floss, add a nose and whiskers to the polar bear’s face. You can also add a tail and ears by crocheting a cylinder shape and stuffing them firmly, then attaching them to the body.
- Finish: Once all the details are added, close the remaining stitches on the head and body. Weave in any loose ends to secure them.
By following these steps, you’ll be able to create a cuddly polar bear that’s ready for adventure.
Crochet polar bear supplies
Whether you’re an experienced crocheter or just starting out, having the right supplies is essential to making the most of your crochet polar bear project. Here are some of the best supplies for crocheting polar bears.
- Yarn: The most important supply for crocheting a ear is yarn. You can choose any color or type of yarn that you like, but opt for a soft and lightweight yarn that is easy to work with.
- Crochet hook: Choose a crochet hook that is appropriate for the weight of your yarn. Hooks come in various sizes, so check the yarn label for the recommended hook size.
- Scissors: You’ll need a pair of sharp scissors to cut the yarn when you’re finished crocheting your polar bear.
- Yarn needle: A yarn needle is essential for weaving in the ends and adding any embellishments to your crochet bear.
- Stitch marker: A stitch marker can help you keep track of where you are in the pattern, especially if you’re making a long polar bear.
- Stuffing: To give your polar bear a soft and plush feel, you’ll need stuffing material such as polyester fiberfill.
Tips to crocheting a polar bear
- Start with the head: The head is the starting point for the polar bear, so make sure it’s the right size and shape. Use a magic ring to begin and increase in each stitch around until you reach the desired size.
- Stuff Firmly: Make sure to stuff the body of the polar bear firmly but not too tightly. This will give the toy a plush and cuddly feel.
- Pay Attention to Detail: Adding details like the polar bear’s nose, whiskers, and ears can make a big difference in the overall appearance of the toy. Take your time and make sure the details are accurate and well-placed.
- Use a Tapestry Needle: A tapestry needle is a useful tool for sewing the pieces of the polar bear together and weaving in the ends. It makes the process much easier and more precise.
By following these tips, you’ll be well on your way to crocheting a beautiful and cuddly polar bear. Happy crocheting!
Crochet polar bear patterns
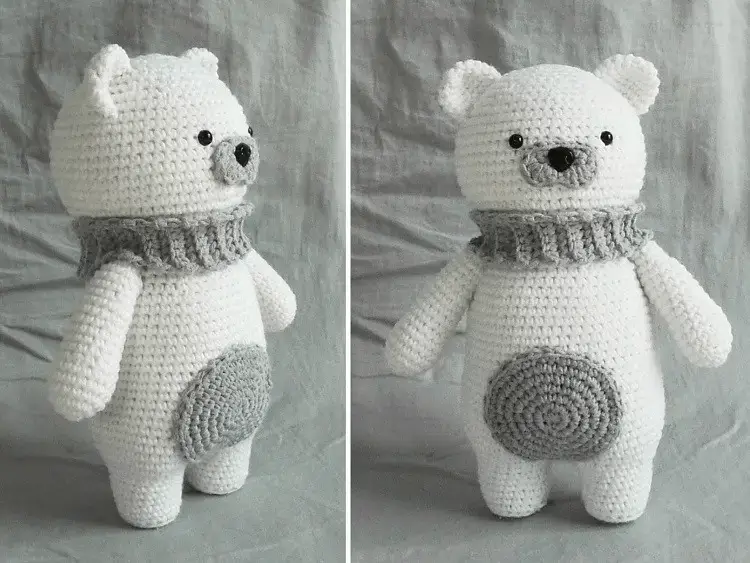
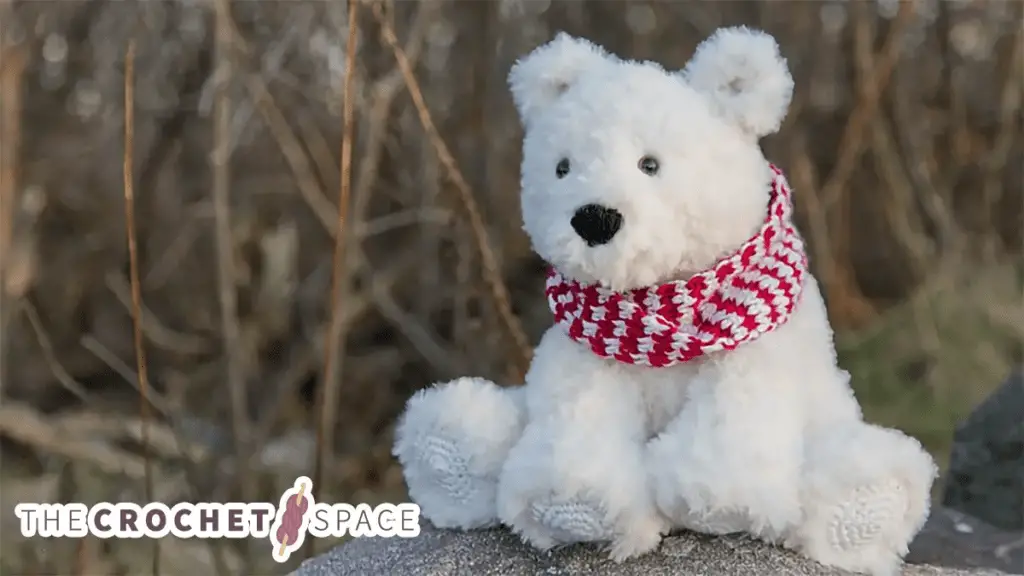
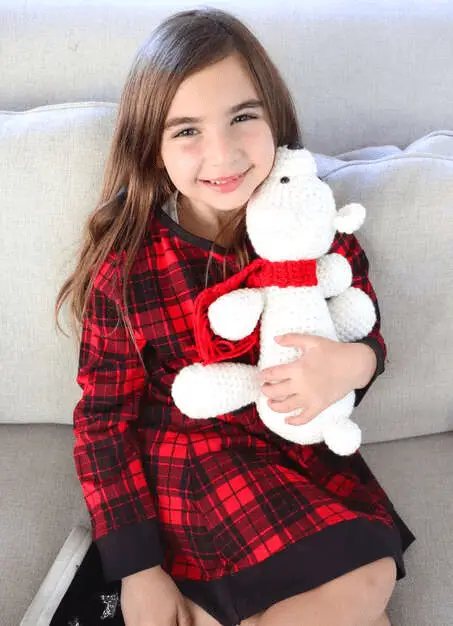
Crochet polar bear plush
Get the free crochet pattern HERE
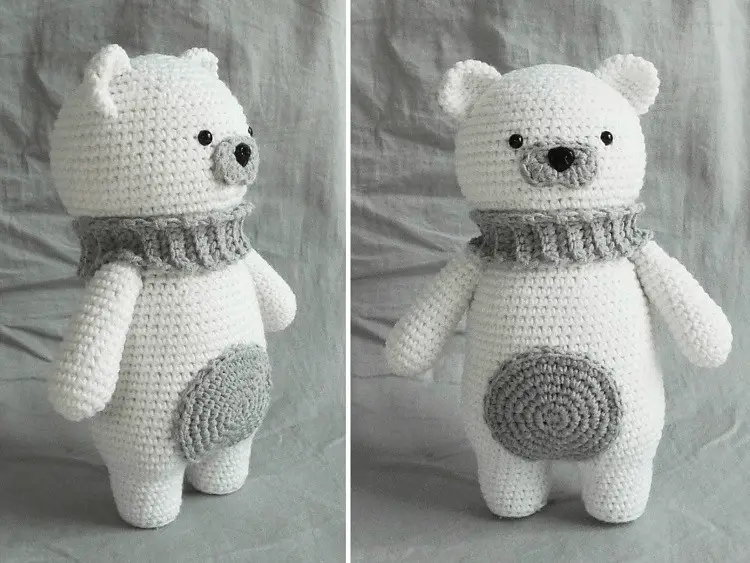
Orion the polar bear crochet pattern
Find the free crochet polar bear pattern HERE
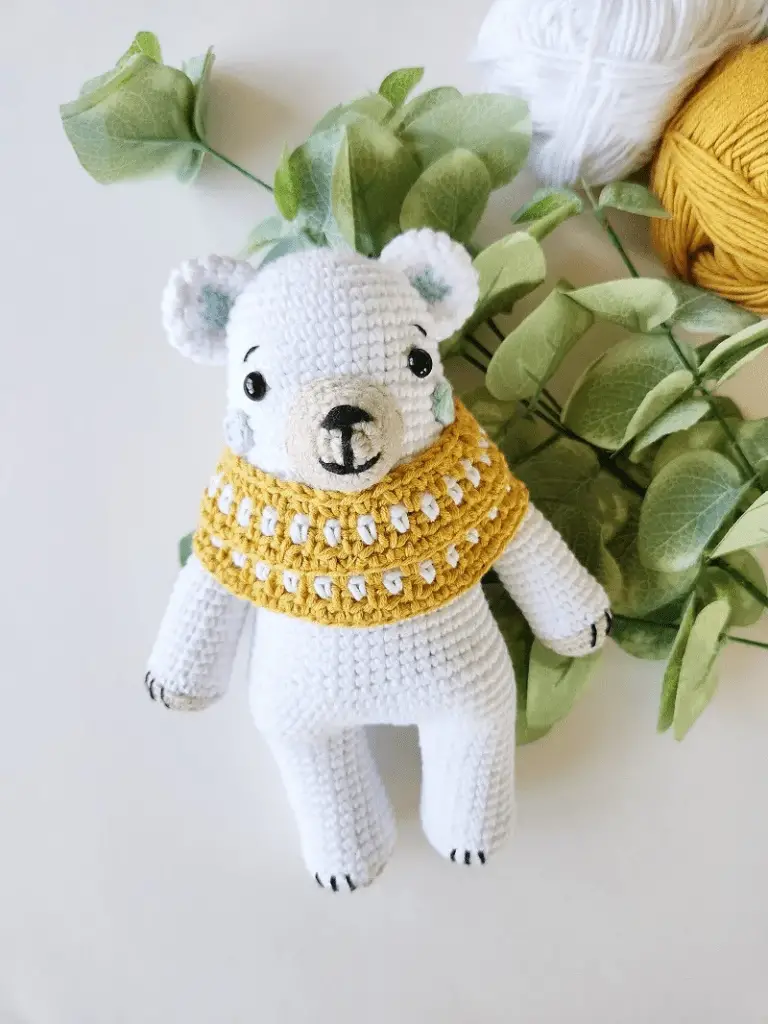
Amigurumi polar bear free crochet pattern
Get the free crochet pattern HERE
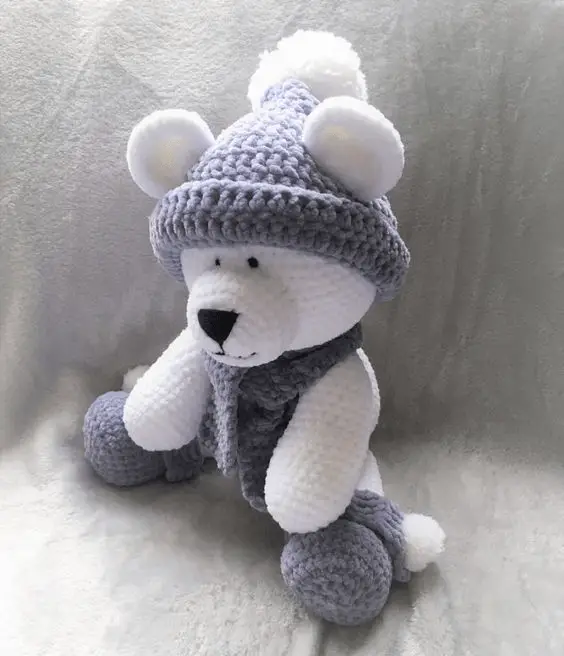
Crochet furry polar bear pattern
Get the free pattern of the polar bear HERE
crochet polar bear pattern
get the free pdf pattern here