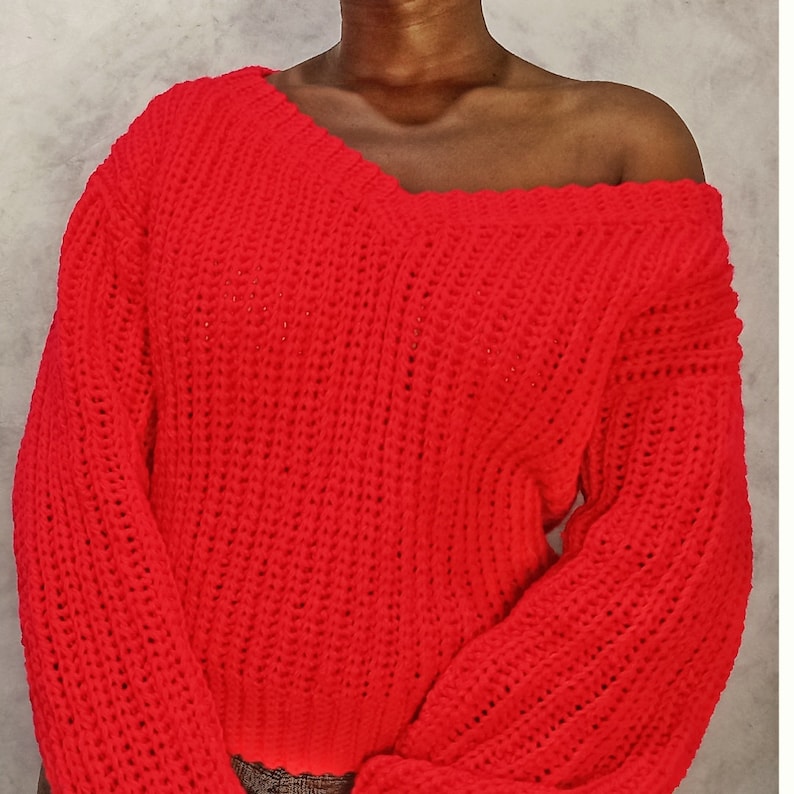
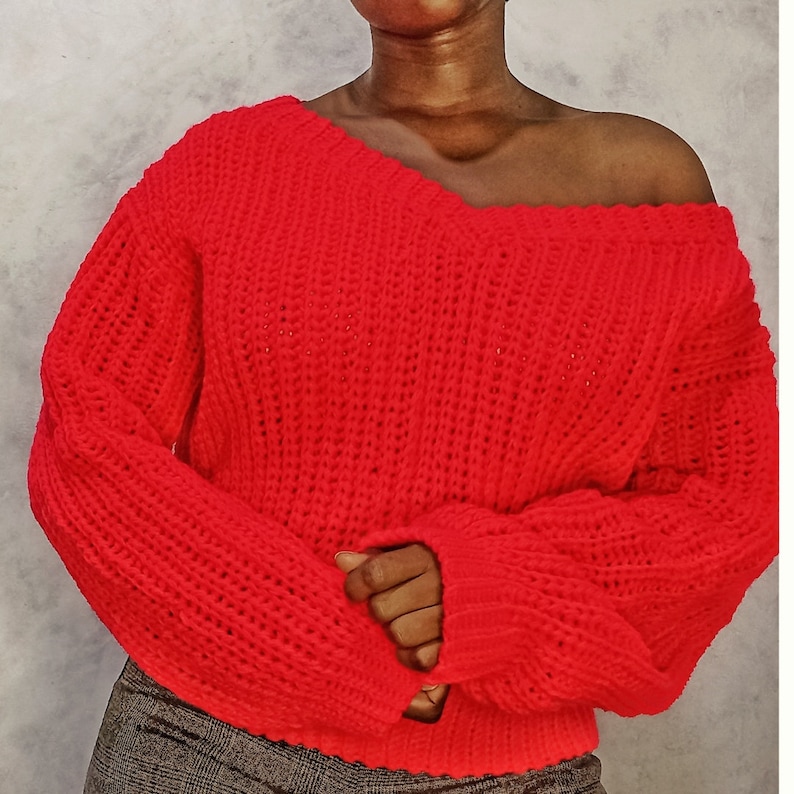
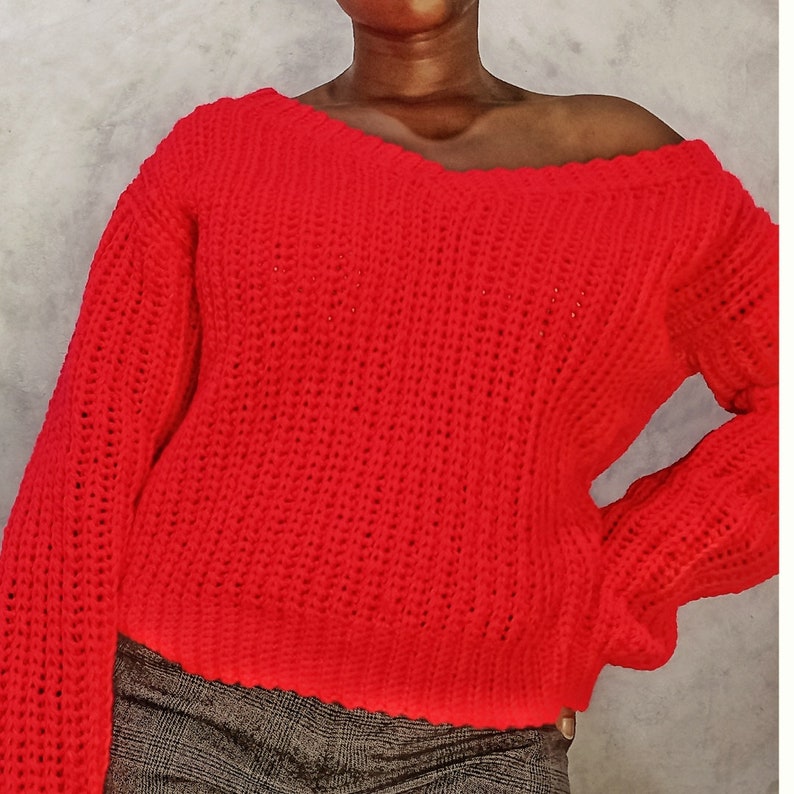
Looking for the perfect crochet valentines sweater pattern? Well this V-neck off shoulder sweater is the best thing. Keeping you warm and stylish while you celebrate your loved one!

There is a printable PDF Pattern for this crochet V-neck sweater on Etsy along with other lovely crochet patterns. Be sure to check them out. Did you know we have a FaceBook group? JOIN!!! Follow on Instagram and Pinterest, let us grow this business together…<3
Crochet Off Shoulder Sweater Pattern
Somebody please tell me why i have not made a V-neck sweater yet? What took so long? Because now trust me you will not be able to get me out of this one. Fit’s just right, looks just right, and is just the right valentines present. Right?

YouTube taught me to crochet, and after i came across one crocheter who changed the crochet game for me, i have not been able to see crochet any other way. Collar first then the body follows, and life works easier that way. Not forgetting the knit look attached to it, mwa! perfect.

A cup of tea tastes different when you have the right swewater on. Right? LOL
This crochet V-neck sweater promises warmth, comfort and love.
Other patterns you might love: Crochet Crop Sweater Pattern
difficulty
Intermediate
terminology
US
measurements
Gauge: 16 stitches in 14 rows 4”X4”
For bust: 34”
Sizes :XS, (S, M, L, XL ,2XL ,3XL ,4XL,5XL)
Materials
-
5.5 mm Hook
-
4.00 mm hook
-
Stitch marker
-
Worsted weight Yarn
-
Measuring tape
-
Scissors
-
Darning needle
amount of yarn needed
-
5 balls of 100g worsted weight yarn for XS
-
6 balls for S,
-
7.5 balls for size M,
-
9 balls for L,
-
11 balls for XL,
-
13 balls for 2XL,
-
15 balls for 3XL, 1
-
7 balls for 4XL,
-
19 balls for 5XL.
stitch library
-
Hdslst- Half Double Slip Stitch
-
Ch- Chain
-
Bl-Backloop
-
St- Stitches
-
Rep- Repeat
-
Decr- Decrease
-
Incr- Increase
-
Tog- Together
good to know
Take note that the pattern is worked in the back loop only throughout.
The sweater is worked using half double slip stitch, a video tutorial is available incase the stitch is new to you.
We will begin by working the V-neck collar before we start on the body and then we will attach the body to the collar as we work the crochet sweater.
The chaining of one does not count as a stitch.
construction
I do my level best to limit the use of the crochet needle because i cannot stand sewing pieces together, it takes away my joy LOL. So we eliminate that as much as we can. The only sewing you will do in this crochet sweater pattern is to connect the sides, and close the arms. That is all. Unless you count weaving ends in sewing.
So we will begin by making the collar, and then we will start to work on the body shoulder which we will then connect to the collar as we work, this will be done for the front and back panel. Then, we will sew the sides closed leaving the arm holes open, connecting to one of the armhole opening (in the underarm section,) we will make a chain long enough the length of out arm and then we will begin to work the sleeve, the sleeve will be worked on the body of the sweater as we will be connecting with a slip stitch to the sweater arm opening. Then we will sew the sleeve close, repeat the same for the other side and your crochet sweater is all done!!!.
size guide
The sizing guide follows size XS(S, M, L, XL, 2XL, 3XL, 4XL,5XL) E.g. “Ch 41(41, 45, 45, 49, 49, 53, 53,… ) means Ch 41 for XS, Ch 41 for Small, Ch 45 for Medium, Ch 45 for Large, Ch 49 for XL, Ch 49for 2XL, Ch 53 for 3XL, Ch 53 for 4XL… etc
FREE CROCHET OFF SHOULDER SWEATER PATTERN
collar
To work the collar, using the 4.00 mm crochet hook, begin by making a ch of 6+1 for all sizes. Sc in to the second ch from the hook and sc all the way down. Ch 1 at the end and turn. From here onwards, we will sc in to the back loops only to create the ribbing effect.
Sc into all the back loops, ch 1 and turn at the end. Rep this for 80(100,110,120,130,140,160,170,180) rows.
To form the V-neck, follow carefully!! If the explanation is difficult to understand, follow the video tutorial.
video tutorial
Place a stitch marker into the fifth stitch from each end of the band. So count the first 5 stitches of the band place a stitch marker and then count the last 5 stitches of the band and place a stitch marker.
Now, connect the yarn to the middle of the collar and place sc ito every side sc row till you hit your stitch marker. Now grab the other end of the collar and overlap the other side.

Now grab the other end of the collar and overlap the other side. See picture below
Now insert your hook into the first stitch of the front panel but be sure to insert into the back panel too. Work a total of 5 sc into both panels you should have reached the corner or tip of the V-neck continue placing sc to till the next stitch marker of the collar still working with both panels till the stitch marker. Then proceed placing sc into the side sc rows till you reach the first sc you made. Ch 1 and cut. Your collar is made.
To separate the front collar and back, place a st marker at the dip of the V-nevk and count half of the half chains. I know that was confusing. I will use the size small for example. We worked a total of 100 rows which means we also have a total of 100 sc, split that into half we will have 50. Sp placing a stitch marker at the dip of the V-neck, count 25 on the left side and place a st marker, and then count 25 on the right side including the stitch marker. That should have you separate the V-neck sweater front side from the back.

body (front panel)
ROW 1: With the 5.5mm hook, Ch65(70,75,80,85,90,95,100,105) +1. Working into the back bumps of the chain. Into the second ch from the hook, hdslst, hdslst all the way down leaving 10 ch at the end, in the last 10 ch, switch to the 4.00 mm hook and place sc in the last 10. Ch 1 and turn
ROW 2: in to the back loops only, place 10 sc , at the stitch marker, switch to your 5.5mm hook and process with the 5.5mm hook. Hdslst all the way to the last st, ch 1 and turn, ch1 does not count as a stitch remember that.
ROW 3: hdslst into all the st till the stitch marker and switch to the 4.00, sc into the last 10. Rep rows 1-3 till row 8(10,14,18,22,26,30,34,38). Do not chain one to turn, slst into the first stitch marked sc of the front panel, to connect the row, to begin the next row, slst into the next sc and turn, into the first two st, place a hdslst tog to decrease. Finish the row as normal, ch 1 and work back up. In the ast two st, place another decr. Cont to decr till the V-neck dip where there should be a stitch marker, place your last decr in there.
From here on, working to the other side of the V-neck sweater, we will incr. To incr we will place 2 hdslst into the last and first st of the collar. Incr till the last stitch marker of the front panel where we will continue to ch 1 as normal and work 8(10,14,18,22,26,30,34,38) normal rows. At the end, ch1 and cut. The front panel is done.
back panel
ROW 1: With the 5.5mm hook, Ch65(70,75,80,85,90,95,100,105) +1. Working into the back bumps of the chain. Into the second ch from the hook, hdslst, hdslst all the way down leaving 10 ch at the end, in the last 10 ch, switch to the 4.00 mm hook and place sc in the last 10. Ch 1 and turn
ROW 2: in to the back loops only, place 10 sc , at the stitch marker, switch to your 5.5mm hook and process with the 5.5mm hook. Hdslst all the way to the last st, ch 1 and turn, ch1 does not count as a stitch remember that.
ROW 3: hdslst into all the st till the stitch marker and switch to the 4.00, sc into the last 10. Rep rows 1-3 till row 8(10,14,18,22,26,30,34,38). Do not chain one to turn, slst into the next available sc of the back pannel, to connect the row, to begin the next row, slst into the next sc and turn, work your way down and up wards again to the collar. Slst to join the rown, slst to the next available sc to start the new row. The back pannel has no decr or incr so work the remaining collar till the last available sc. Then we will continue to ch 1 as normal and work 8(10,14,18,22,26,30,34,38) normal rows. At the end, ch1 and cut. The back pannel is done.
Lay the front and back panel on top of each other because we are now about to allocate the arm holes. Close the sides from the bottom band upwards with your needle leaving 20(22,25,28,31,34,37,40,43) stitches at the top for the arms/ sleeves.
sleeves (make 2)
Connecting your yarn to the armpit section or underarm of the collar, ch 60(65,70,75,80,80,85,85,90) +1, into the first 10 ch, with the 4.00 mm hook in the back bumps of the ch, slst till the tenth stitch. Then switch to the hdslst with the 5.5mm hook when you reach the arm opening, the sc rows should be visible, slst to the next available sc to join the row, slst to the next available sc to start the new row.
Rep this till the arm/ sleeve is complete, sew it shut. Rep the same for the other side.
Weave in all the ends that are sticking out and your V-neck off the shoulder sweater is all done!!!!
