A Crochet wedding veil is an iconic accessory that has been a staple in bridal fashion for centuries. While there are many different styles of veils, a crocheted veil adds a unique touch of elegance and charm to any bridal ensemble.
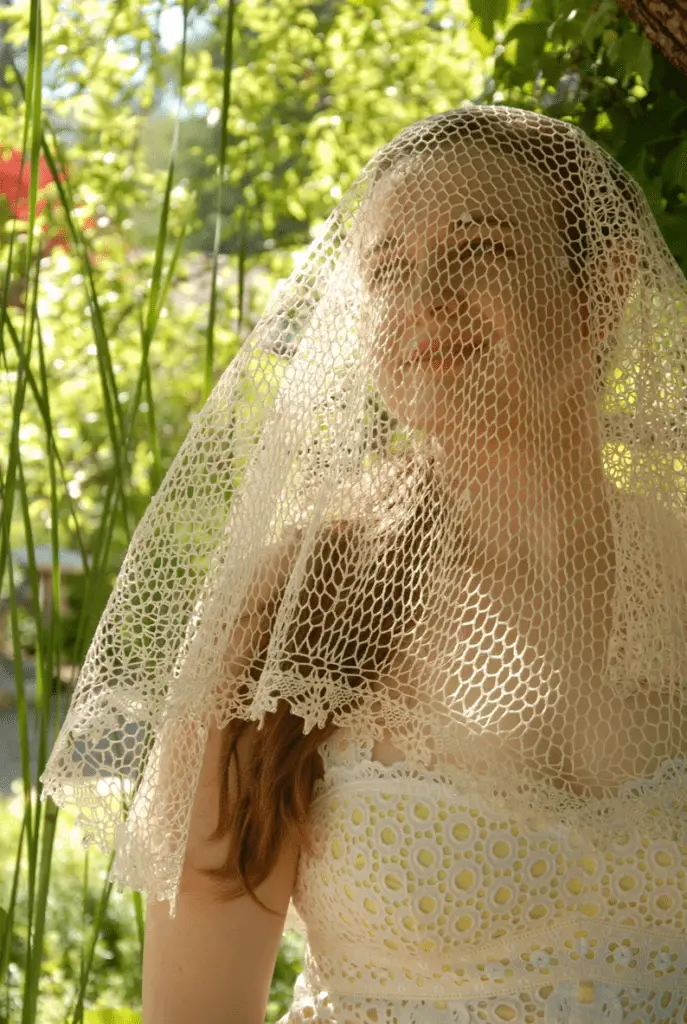
In this step-by-step guide, we’ll explore how to create a crocheted veil that’s perfect for your big day, or someones big day.
Materials to crocheting wedding veils
Crochet wedding veils is not like any regular crochet project, to get the best results, be sure to have access to these materials.
- Crochet hook
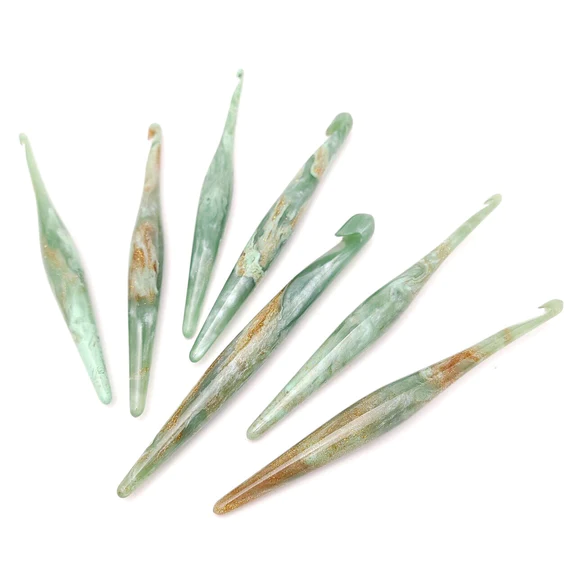
You could never have enough hooks!
- Thread or yarn (preferably in white or ivory)
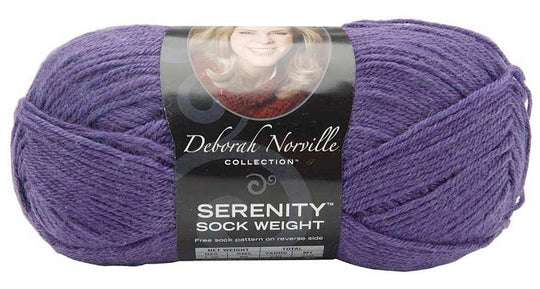
Fingering weight yarn $2.99
- Scissors

Yay or Nay
- Tape measure
- Sewing needle
Steps to crochet a wedding veil
While this guide will not give you the finished crochet wedding veil you are looking for, it will give you an outline of what the process will be like.
- Choose the design and length of your veil. You can go for a classic cathedral veil, a fingertip veil or a birdcage veil. Keep in mind the theme of your wedding, the style of your dress and the overall look you want to achieve.
- Measure the length of your veil. Use the tape measure to determine the length of your veil. This will depend on the style you’ve chosen, and it’s important to get this measurement right.
- Create a foundation chain. Using your crochet hook and yarn, create a foundation chain that’s the same length as your veil. This will serve as the base for your veil.
- Create the tulle pattern. This is the fun part! Using a series of double crochets and chains, create a pattern that mimics the look of tulle. You can experiment with different patterns and stitches to create the perfect look for your veil.
- Add any embellishments. If you’d like to add some extra flair to your veil, you can add embellishments such as beads or sequins. Sew them onto the veil by hand, taking care not to damage the delicate crocheted fabric.
- Finish off the edges. Once you’ve completed your pattern and added any embellishments, it’s time to finish off the edges. You can do this by creating a border of single crochets, or by creating a scalloped edge.
- Attach the veil to a comb or headpiece. Once your veil is complete, you’ll need to attach it to a comb or headpiece so that it can be worn. You can purchase a pre-made comb or headpiece, or you can create one using wire and beading.
A wedding veil is an essential accessory for any bride on her special day. It adds a touch of elegance and romance to the wedding gown, and makes the bride look stunning. Make a crochet flower bouquet.
While there are many options available for purchasing a wedding veil, crocheting your own veil can be a unique and personal touch that makes your wedding even more special.
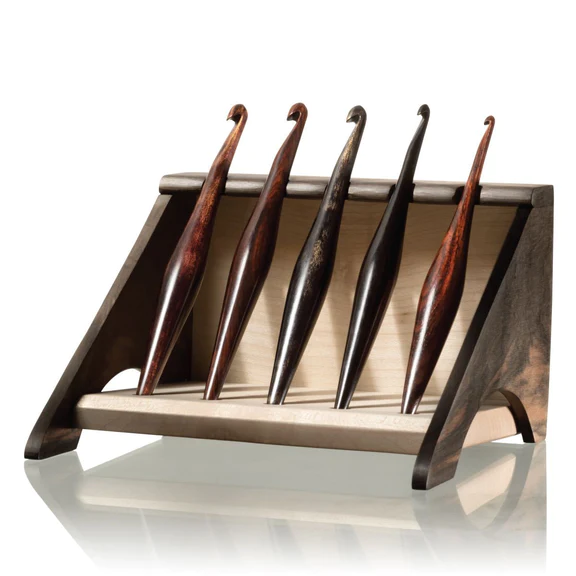
Furls 5 Hook Standing Display
Crocheting a wedding veil is not as difficult as it may seem. In fact, it’s a relatively simple project that can be completed in just a few hours. With the right materials and some basic crocheting skills, you can create a beautiful and unique wedding veil that is perfect for your big day
Can a beginner crochet a wedding veil?
Yes, a beginner can crochet a wedding veil! The process of crocheting a wedding veil is not particularly difficult, but it does require some patience and attention to detail.
If you’re new to crochet, it’s a good idea to start with a simpler project first to get comfortable with the basics. You can practice with some basic stitches, such as single crochet and double crochet, and work on creating a simple scarf or a small doily.
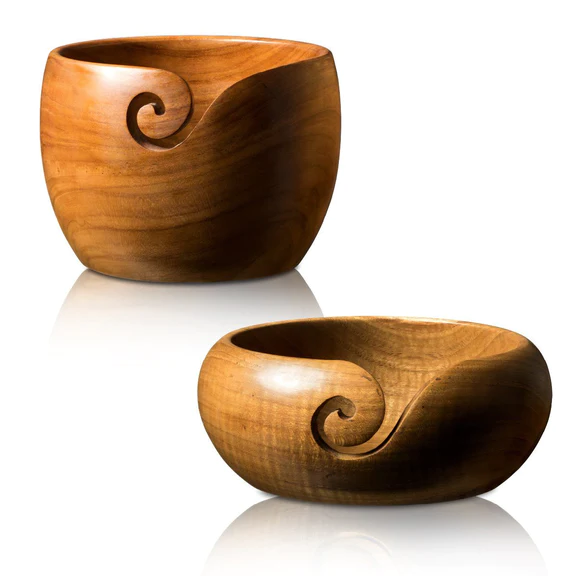
Handmade Teak Wood Yarn Bowls
Once you feel comfortable with these basic stitches, you can move on to creating a wedding veil. You may want to start with a shorter veil, such as a birdcage veil, which requires less material and is quicker to make. As you become more experienced, you can work your way up to longer, more elaborate veils.
It’s important to choose the right materials for your veil, as this can greatly affect the final result. Look for lightweight, airy materials that are easy to work with, such as cotton, silk, or lace.
In addition, it’s a good idea to follow a pattern or tutorial when crocheting a wedding veil, as this will help guide you through the process and ensure that you create a veil that is the right length and size.
Keep your hooks organised!
Not only stylish but useful!
Overall, while crocheting a wedding veil may seem daunting at first, with some practice and patience, even a beginner can create a beautiful and unique veil for their special day.
Stitches & Techniques to crochet wedding veils
Here are some common stitches and skills needed to crochet a wedding veil:
- Chain stitch – this is the most basic stitch in crochet and is used to start most projects.
- Single crochet – this stitch is commonly used to create a solid fabric in crochet and is often used in wedding veils for its simplicity.
- Double crochet – this stitch is slightly taller than a single crochet stitch and is often used in wedding veils to create a lacy effect.
- Treble crochet – this stitch is even taller than a double crochet stitch and is often used in wedding veils to create a more open, lacy effect.
- Picot stitch – this decorative stitch is often used as an edging on wedding veils to create a delicate and feminine look.
In addition to these stitches, you will also need to have some basic crochet skills, such as:
- Reading a pattern – most wedding veil patterns will include specific instructions on the size, stitches, and materials needed for the veil. It’s important to be able to read and understand these instructions before you begin.
- Counting stitches – it’s important to keep track of the number of stitches you are making to ensure that your wedding veil is the correct size and shape.
- Working with fine yarn or thread – wedding veils are typically made with fine, lightweight materials, which can be more difficult to work with than thicker yarns.
- Blocking – blocking is the process of shaping your wedding veil by stretching it out and pinning it into place. This is an important step to give your veil a polished, finished look.
By practising these stitches and skills, you’ll be well on your way to creating a beautiful and unique wedding veil that you’ll treasure for years to come.
Crochet Wedding Veil Patterns
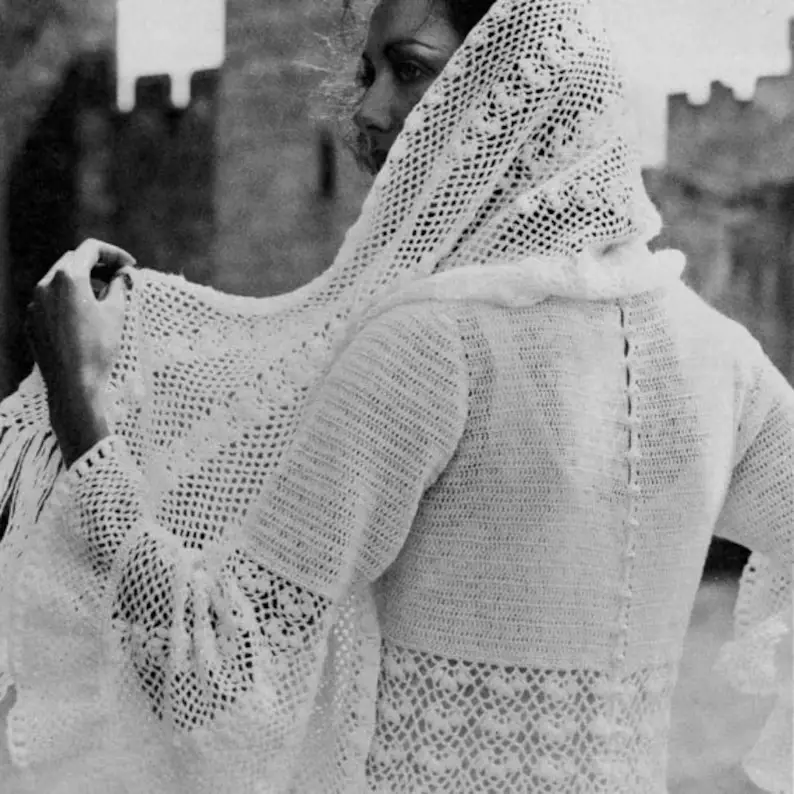
1. Crochet Bridal Head Wear Pattern
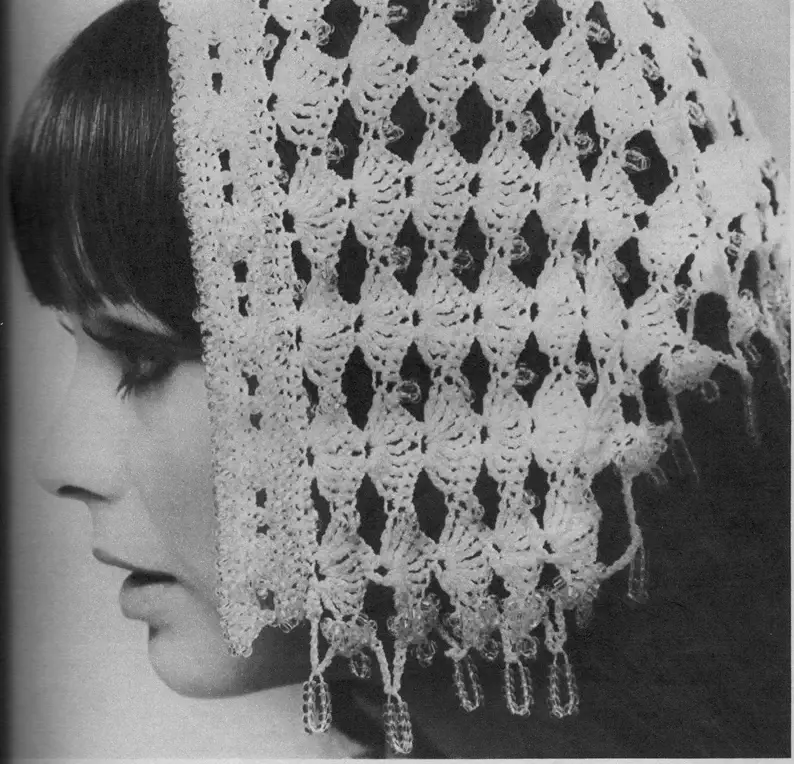
This vintage crochet wedding veil pattern can be made much longer to cover more if you desire, but with a few crochet shell stitches and some beads, you will have yourself a lovely crochet veil! Grab the pattern HERE.
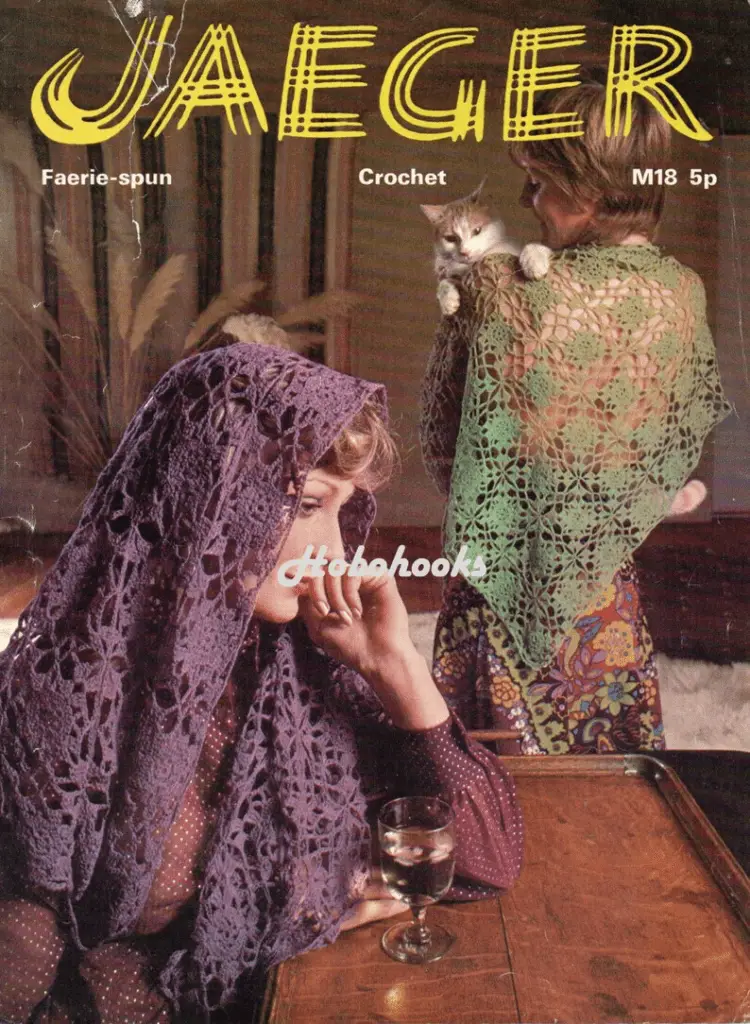
2. Crochet wedding dress & Vail pattern
Here is a 2 on one crochet payttern. Grab yourself a wedding dress and a crochet wedding veil all in one! Grab HERE
3. Crochet wedding veil pattern
Grab the crochet wedding veil pattern HERE
4. Lacy Crochet wedding veil pattern
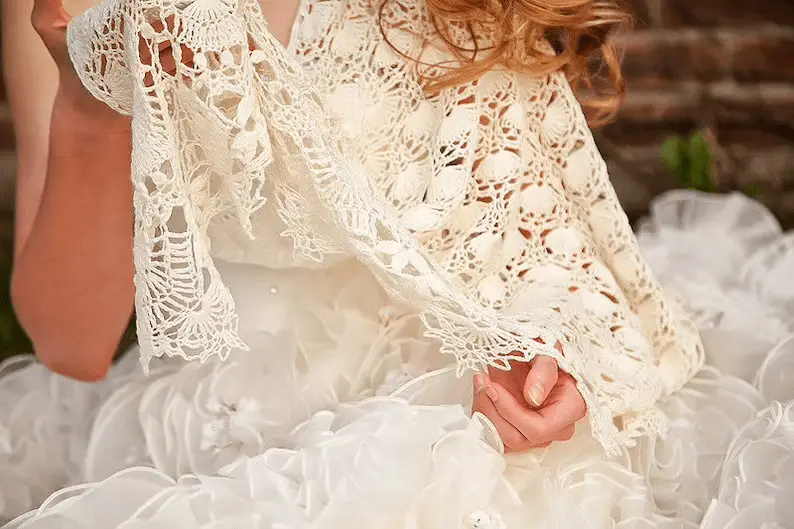
Grab the crochet wedding veil pattern HERE.
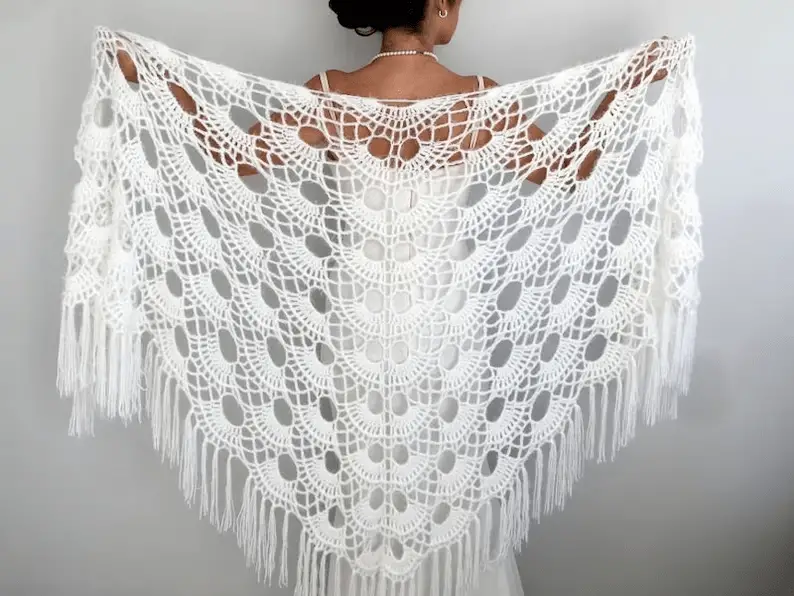
5. Mandala shawl crochet pattern
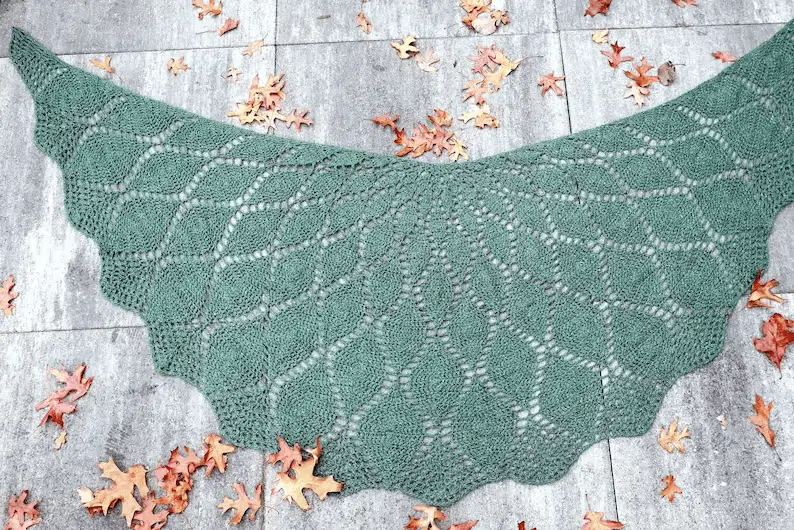
As much as this is a shawl, it can easily be turned into a crochet wedding veil. Grab the patter HERE.
Conclusion
In conclusion, crocheting a wedding veil is a beautiful way to add a personal touch to your special day. While it may seem daunting at first, with some practice and patience, even a beginner can create a stunning veil that reflects their unique style and personality.
By mastering basic stitches such as single, double, and treble crochet, as well as the picot stitch, and developing basic crochet skills such as reading a pattern, counting stitches, and blocking, you can create a one-of-a-kind crochet wedding veil that you’ll treasure for years to come.
With the right materials, pattern, and guidance, crochet wedding veil can be a rewarding and satisfying project for any crocheter, regardless of their level of experience.