If you’re a fan of animals and love the charm they bring, then why not try your hand at a delightful hippo crochet pattern? In this article, we’ll explore the world of crochet and guide you through the process of making your very own crochet hippo using a hippo crochet pattern.
Free Hippo Crochet Pattern
Crocheting is a wonderful hobby that allows you to create beautiful and unique items with just a hook and some yarn. And if you are a lover of crochet amigurumi animals just like i am, you are in for a treat.
Getting Started: Supplies
Before diving into the project, gather the necessary materials. You’ll need a crochet hook (appropriate for the yarn weight), a tapestry needle for sewing, stuffing, safety eyes, and, of course, the perfect yarn in the colours of your choice. It’s important to select a soft yarn that will provide a cuddly texture for your crochet hippo.
- Free Hippo Crochet Pattern
- Getting Started: Supplies
- Finding the perfect Hippo Crochet Pattern
- Understanding the crochet pattern
- Can beginners crochet hippos?
- Tips to make the perfect hippo crochet toy
- Stitches and Techniques to hippo crochet amigurumis
- Free & Paid Hippo Crochet Pattern
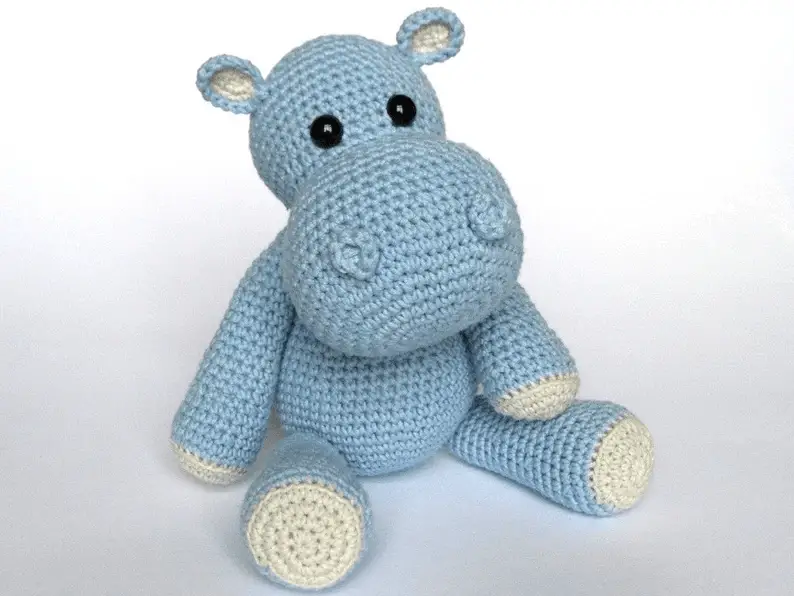
- 1. Hippo Crochet Amigurumi Free Pattern
- 2. Hippo Amigurumi Crochet
- 3. Amigurumi Hippo Free Crochet Pattern
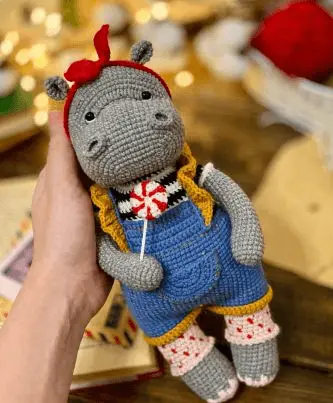
- 4. Amigurumi hippo crochet pattern
- 5. Harry the hippo crochet pattern
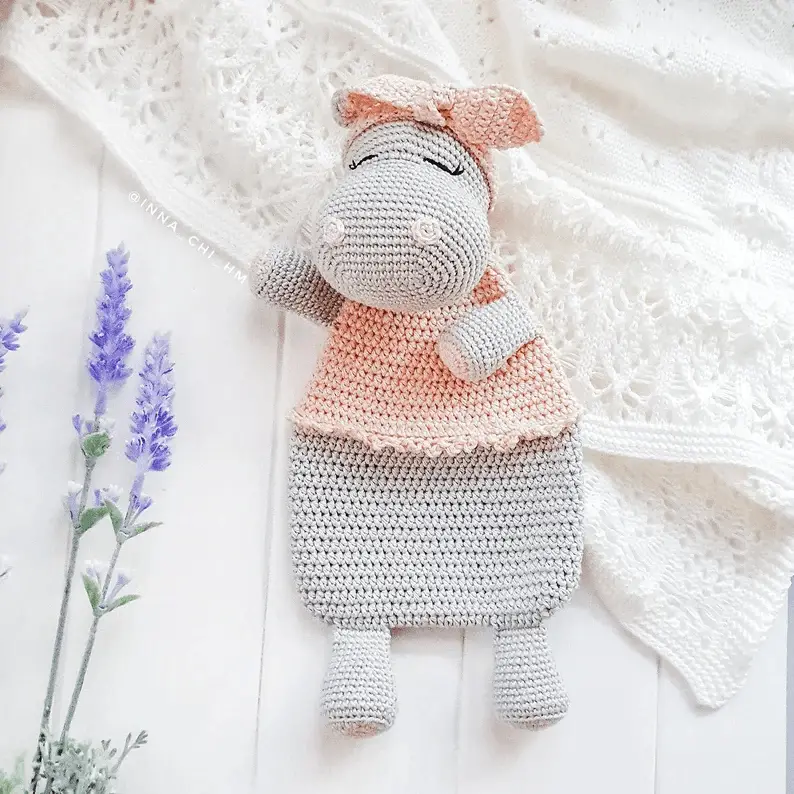
- 6. Hippo snuggler crochet pattern
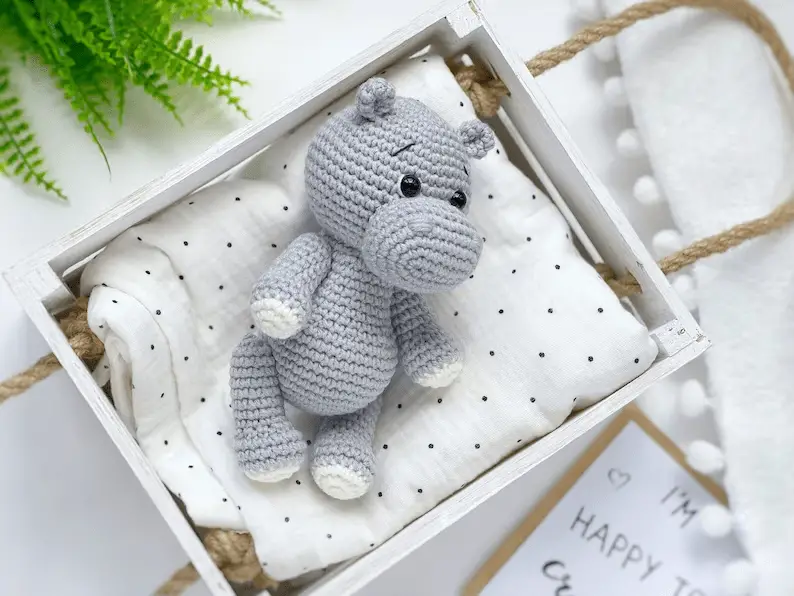
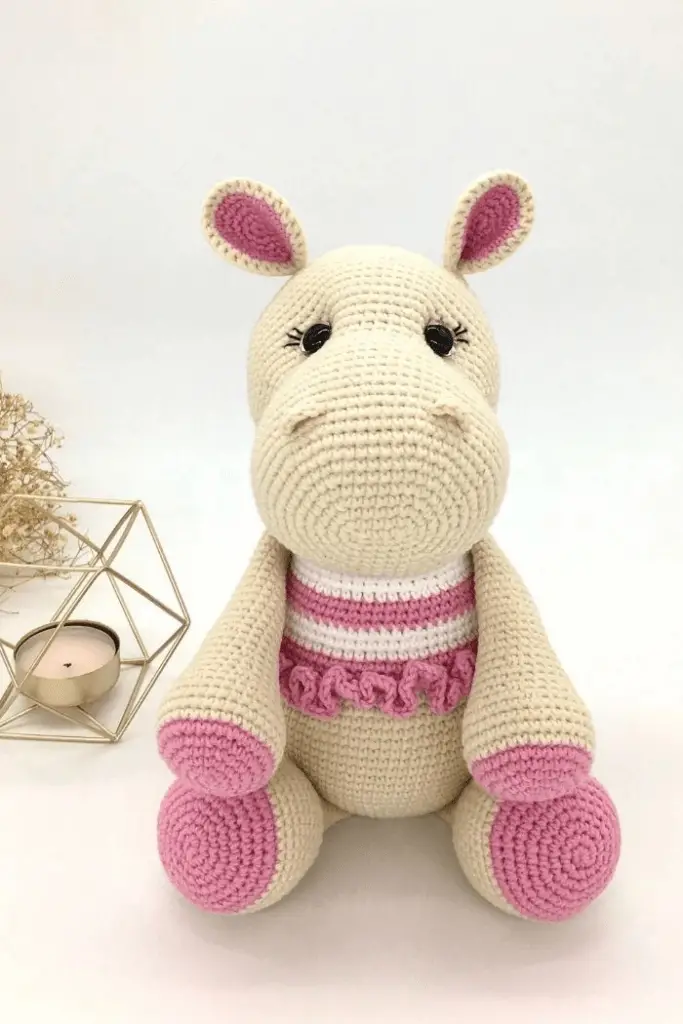
- 7. Little Hippo Crochet Pattern
- 8. Hippo Lovey Crochet Pattern
- 9. Free Crochet Hippo Pattern
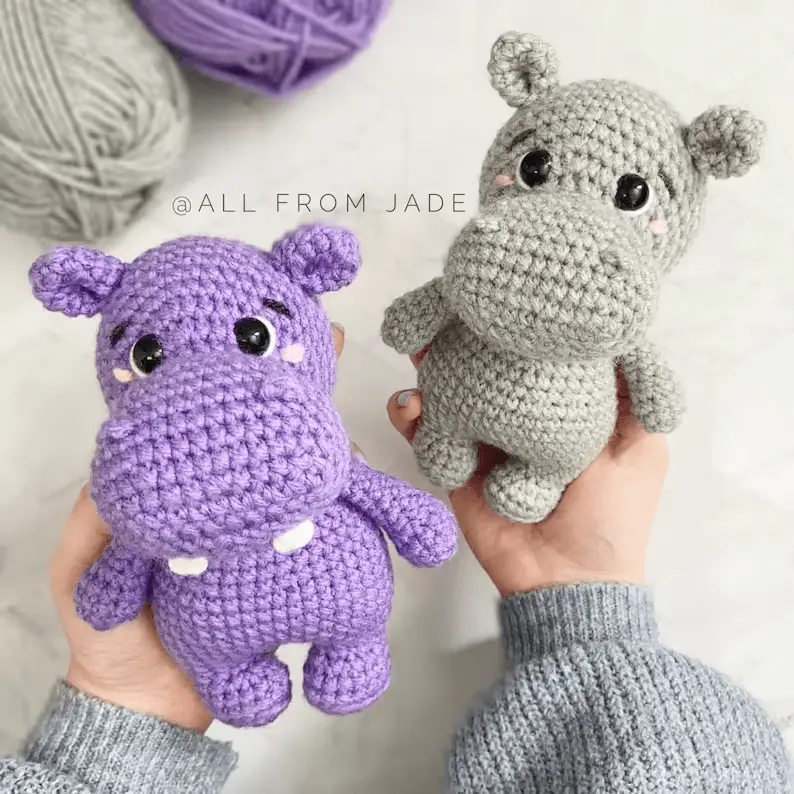
- 10. Amigurumi Gray Hippo Crochet Pattern
- Now what?
Finding the perfect Hippo Crochet Pattern
The first step is to find a suitable hippo crochet pattern. Luckily, this article covers just those: Free and paid crochet hippo patterns.
Look for a pattern that suits your skill level and offers clear instructions. You can quickly scheme through the patterns to find out the difficulty level of the hippo crochet pattern you might wish to make. Make sure to read reviews and check for any available tutorials or additional guidance.

Understanding the crochet pattern
Once you’ve selected your desired hippo crochet pattern, take the time to thoroughly read through it before starting. Familiarise yourself with the stitches, techniques, and any special instructions provided.
This will ensure a smoother crocheting experience and minimise confusion along the way. Smooth crochet projects are always relaxing.
But if you get frustrated along the way, you can always reach out to the pattern designer for some assistance.
Can beginners crochet hippos?
Absolutely! Beginners can certainly crochet hippos. While some crochet patterns may be more complex and require advanced techniques, there are plenty of patterns designed specifically for beginners.
These beginner-friendly patterns typically include detailed instructions and explanations of basic stitches, making them accessible to those new to crocheting.
Tips to make the perfect hippo crochet toy
Here are some tips to help you make the perfect crochet hippo:
- Choose the right yarn and hook: Select a soft and cuddly yarn that matches the desired texture for your hippo. Consider the recommended yarn weight mentioned in the pattern and choose a corresponding crochet hook size. This ensures that your stitches are even and the finished product has the desired size and appearance.
- Gauge swatch: Before diving into the main project, create a small gauge swatch using the specified yarn and hook size. This will help you determine if your tension matches the pattern and allow you to adjust your hook size if needed. Achieving the correct gauge ensures that your finished hippo will have the right proportions.
- Count stitches and use stitch markers: Counting stitches is crucial to maintain the correct number of stitches per row or round. Marking the first stitch of each round with a stitch marker can be especially helpful in keeping track of your progress and preventing mistakes.
- Pay attention to tension: Consistent tension throughout your crochet work is essential for a polished finish. Avoid making your stitches too tight or too loose. If you find that your tension varies, practice maintaining a steady tension by crocheting small swatches before starting the main project.
- Follow the pattern instructions: Read the pattern carefully and follow the instructions step by step. Take note of any special stitches or techniques mentioned. If the pattern includes charts or diagrams, use them as visual aids to understand the construction and shaping of the hippo.
- Take breaks and check your progress: Crocheting for long periods can strain your hands and lead to fatigue. Take regular breaks to rest your hands and assess your progress. Step back and examine your work to ensure it aligns with the pattern instructions and matches your expectations.
- Finishing touches: Once you’ve completed all the crochet pieces, pay attention to the assembly and finishing details. Ensure that the parts are securely attached and the stuffing is evenly distributed. Take your time to embroider facial features neatly and add any additional embellishments, such as bows or accessories, if desired.
- Practice and patience: Remember that perfection comes with practice and patience. If your first attempt doesn’t turn out exactly as expected, don’t get discouraged. Embrace the learning process and keep practicing. Each project will improve your skills, and with time, you’ll be able to create beautiful crochet hippos.
By incorporating these tips into your crochet journey, you’ll be on your way to creating the perfect crochet hippo. Enjoy the process, have fun, and don’t be afraid to add your personal touch to make each hippo unique!
Stitches and Techniques to hippo crochet amigurumis
When crocheting amigurumi hippos or any other stuffed animal, you can use a variety of stitches and techniques to achieve the desired shape and appearance. Here are some common stitches and techniques used in amigurumi:
- Single Crochet (SC): This is the most basic stitch used in amigurumi. It creates a tight and dense fabric, which is ideal for stuffing. Most amigurumi patterns are worked primarily with single crochet stitches.
- Magic Ring (also known as Magic Circle or Adjustable Ring): This technique is used to start crocheting in the round without leaving a hole in the center. It provides a neat and secure beginning for amigurumi projects.
- Increase (INC): This stitch is used to add stitches and increase the number of stitches in a round. It helps shape the body parts of the amigurumi, giving them a rounded and three-dimensional look.
- Decrease (DEC): This stitch is used to decrease the number of stitches in a round and shape the amigurumi. It creates a tapered effect and allows the piece to curve or close up.
- Slip Stitch (SL ST): This stitch is commonly used to join rounds, close stitches, or create decorative effects. It is also useful for attaching different parts of the amigurumi together.
- Magic Ring Increase (MR INC): This technique involves making two single crochet stitches into a single stitch of the magic ring, increasing the stitch count by two instead of one. It provides a smoother start and helps prevent gaps in the first round.
- Colour Changes: To add different colours to your amigurumi, you can switch yarn colours at specific points indicated in the pattern. Typically, the last stitch of one colour is completed with the new colour to create a seamless transition.
- Embroidery: Embroidery techniques, such as back stitch or satin stitch, are used to add details like eyes, mouth, or other facial features to the amigurumi. These details bring the character to life and give it a personalised touch.
Remember to refer to the specific pattern you’re following for the exact stitches and techniques required for your amigurumi hippo. Each pattern may have its own instructions and variations. With practice and familiarity, you’ll become more comfortable with these stitches and techniques, allowing you to create adorable and unique amigurumi hippos.
Free & Paid Hippo Crochet Pattern
Why don’t you go through this list of crochet hippo patterns and decide which one you love:
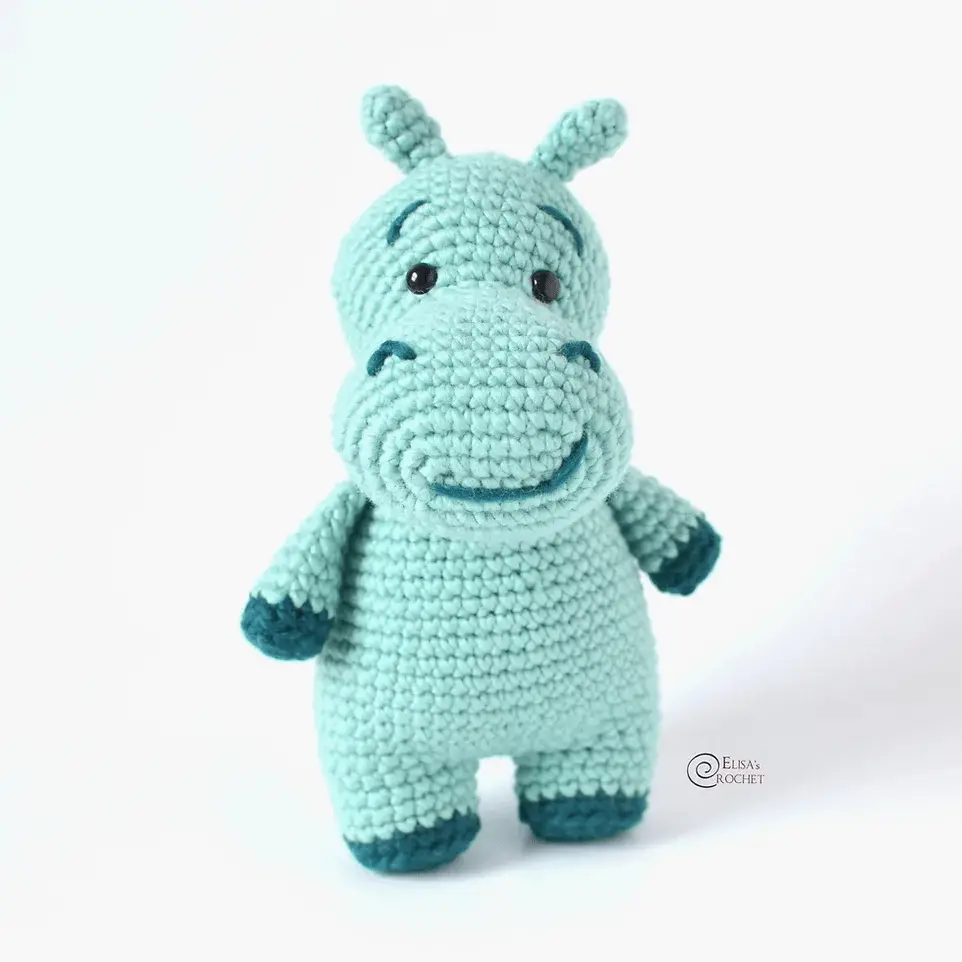
1. Hippo Crochet Amigurumi Free Pattern
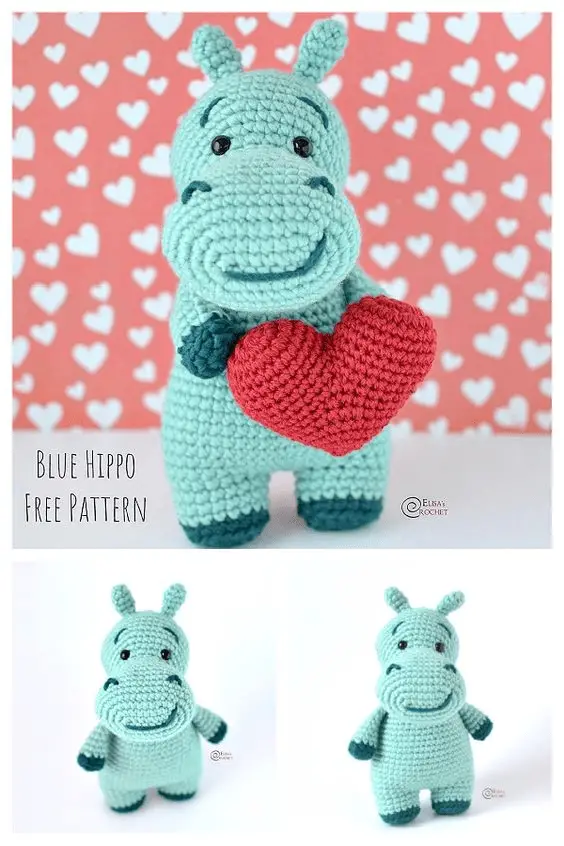
Grab the free crochet pattern HERE.
2. Hippo Amigurumi Crochet
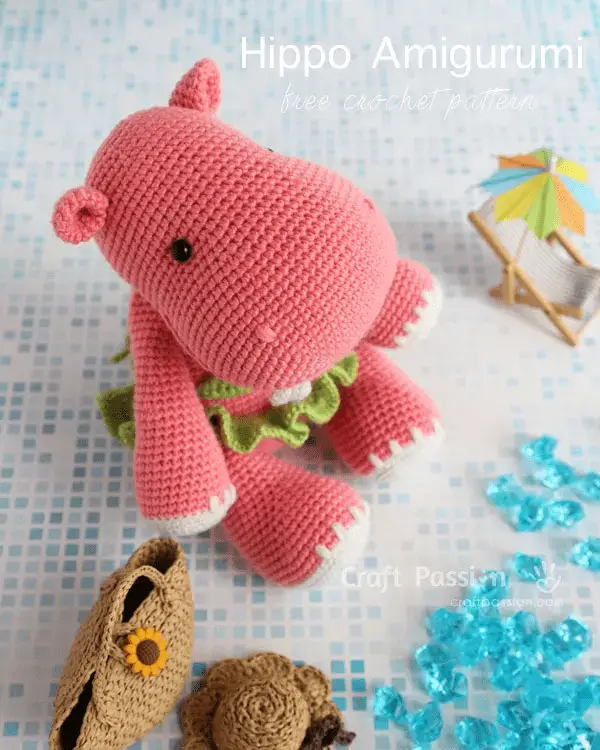
For the free hippo crochet pattern, head HERE.
3. Amigurumi Hippo Free Crochet Pattern
Grab the free crochet pattern HERE
4. Amigurumi hippo crochet pattern
Grab the paid crochet pattern HERE.
5. Harry the hippo crochet pattern
Grab the paid crochet pattern HERE.
6. Hippo snuggler crochet pattern
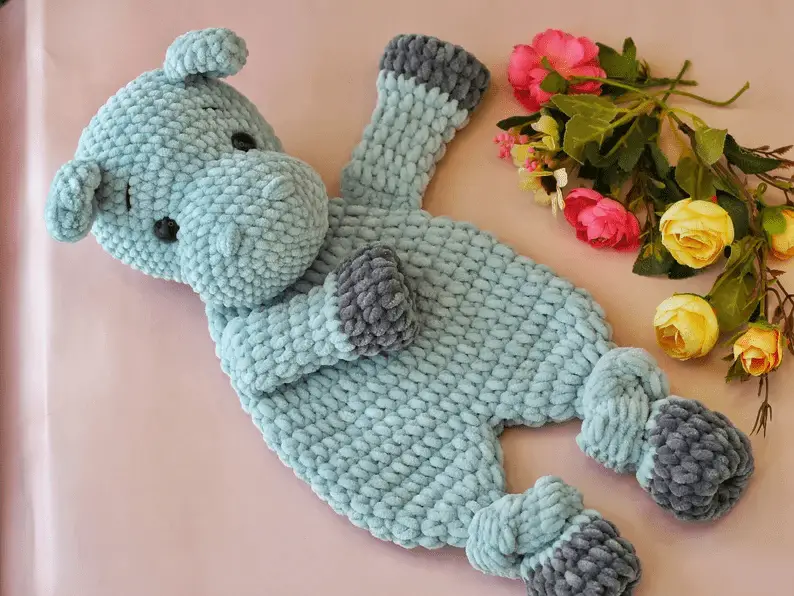
Grab the paid crochet pattern HERE
7. Little Hippo Crochet Pattern
Grab the crochet pattern HERE.
8. Hippo Lovey Crochet Pattern
Grab the crochet pattern HERE.
9. Free Crochet Hippo Pattern
Grab the free crochet hippo pattern HERE.
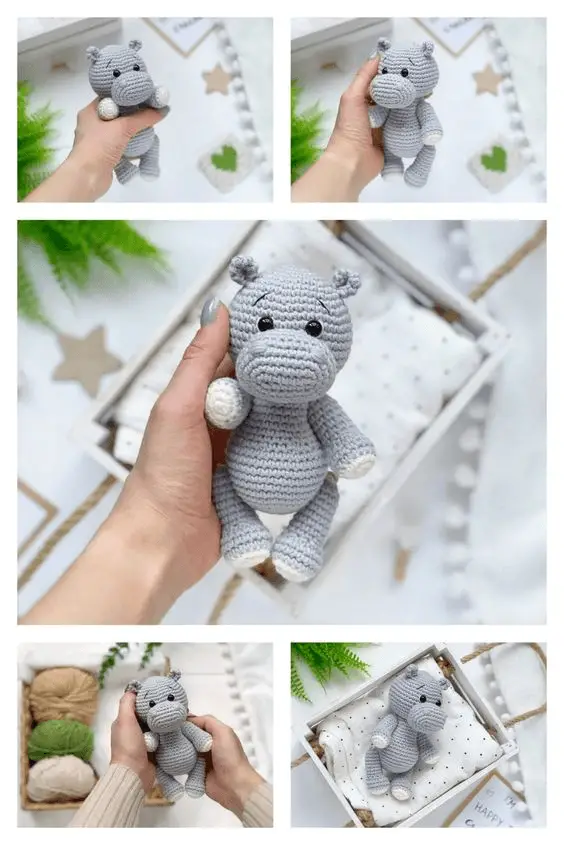
10. Amigurumi Gray Hippo Crochet Pattern

Grab the crochet pattern HERE.
Now what?
Using a crochet pattern is a fantastic way to create a cute and cuddly hippo amigurumi. By following the pattern instructions step by step, gathering the necessary materials, and paying attention to details like stitch counts and colour changes, you can bring your crochet hippo to life.
Happy crocheting!