Learn how to crochet this Christmas granny square! It is not much. If you are looking for some quick and easy Christmas crochet patterns, then this Christmas tree granny square is the perfect place to start!
What i love about the festive season is the DIY Christmas ornaments! And of course, i have a few of those patterns for you. From crochet Christmas trees, Crochet ornaments, to Crochet Christmas sweaters!
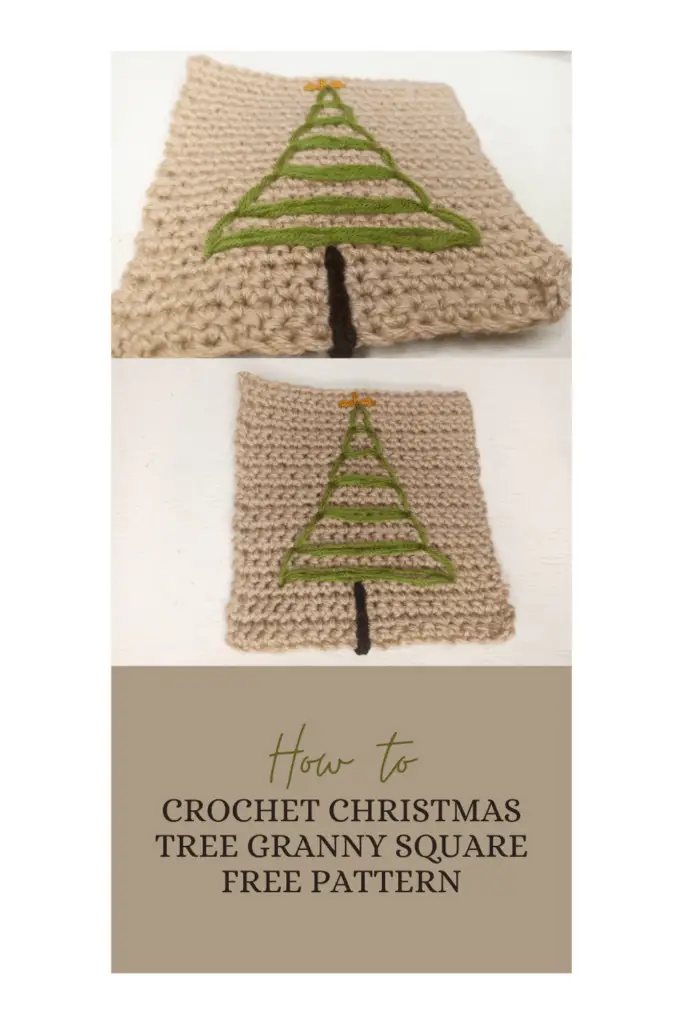
Christmas Granny Square Crochet Pattern
As the festive season is quickly creeping up on us, you could never bee too early to get started on those Christmas pieces! This one, lucky for you, is a very quick one! Make a few and hang them on the fire place in place of Crochet Christmas socks!
Make a few and hang them on your trees too. If you already havent made one, consider these Crochet Christmas tree skirts. Your tree will look great!
Supplies Needed
- Worsted weight yarn in your preferred festive colors.
- A crochet hook that corresponds to the yarn weight.
- Yarn needle for embroidery.
- Scissors.
- Stitch markers (optional).
Crochet Christmas Granny Square Free Pattern
Measurements
width: 5.2″
Length: 5.5″
Gauge: 16 stitches in 18 rows= 4″X4″
Difficulty: Experiences intermediate.
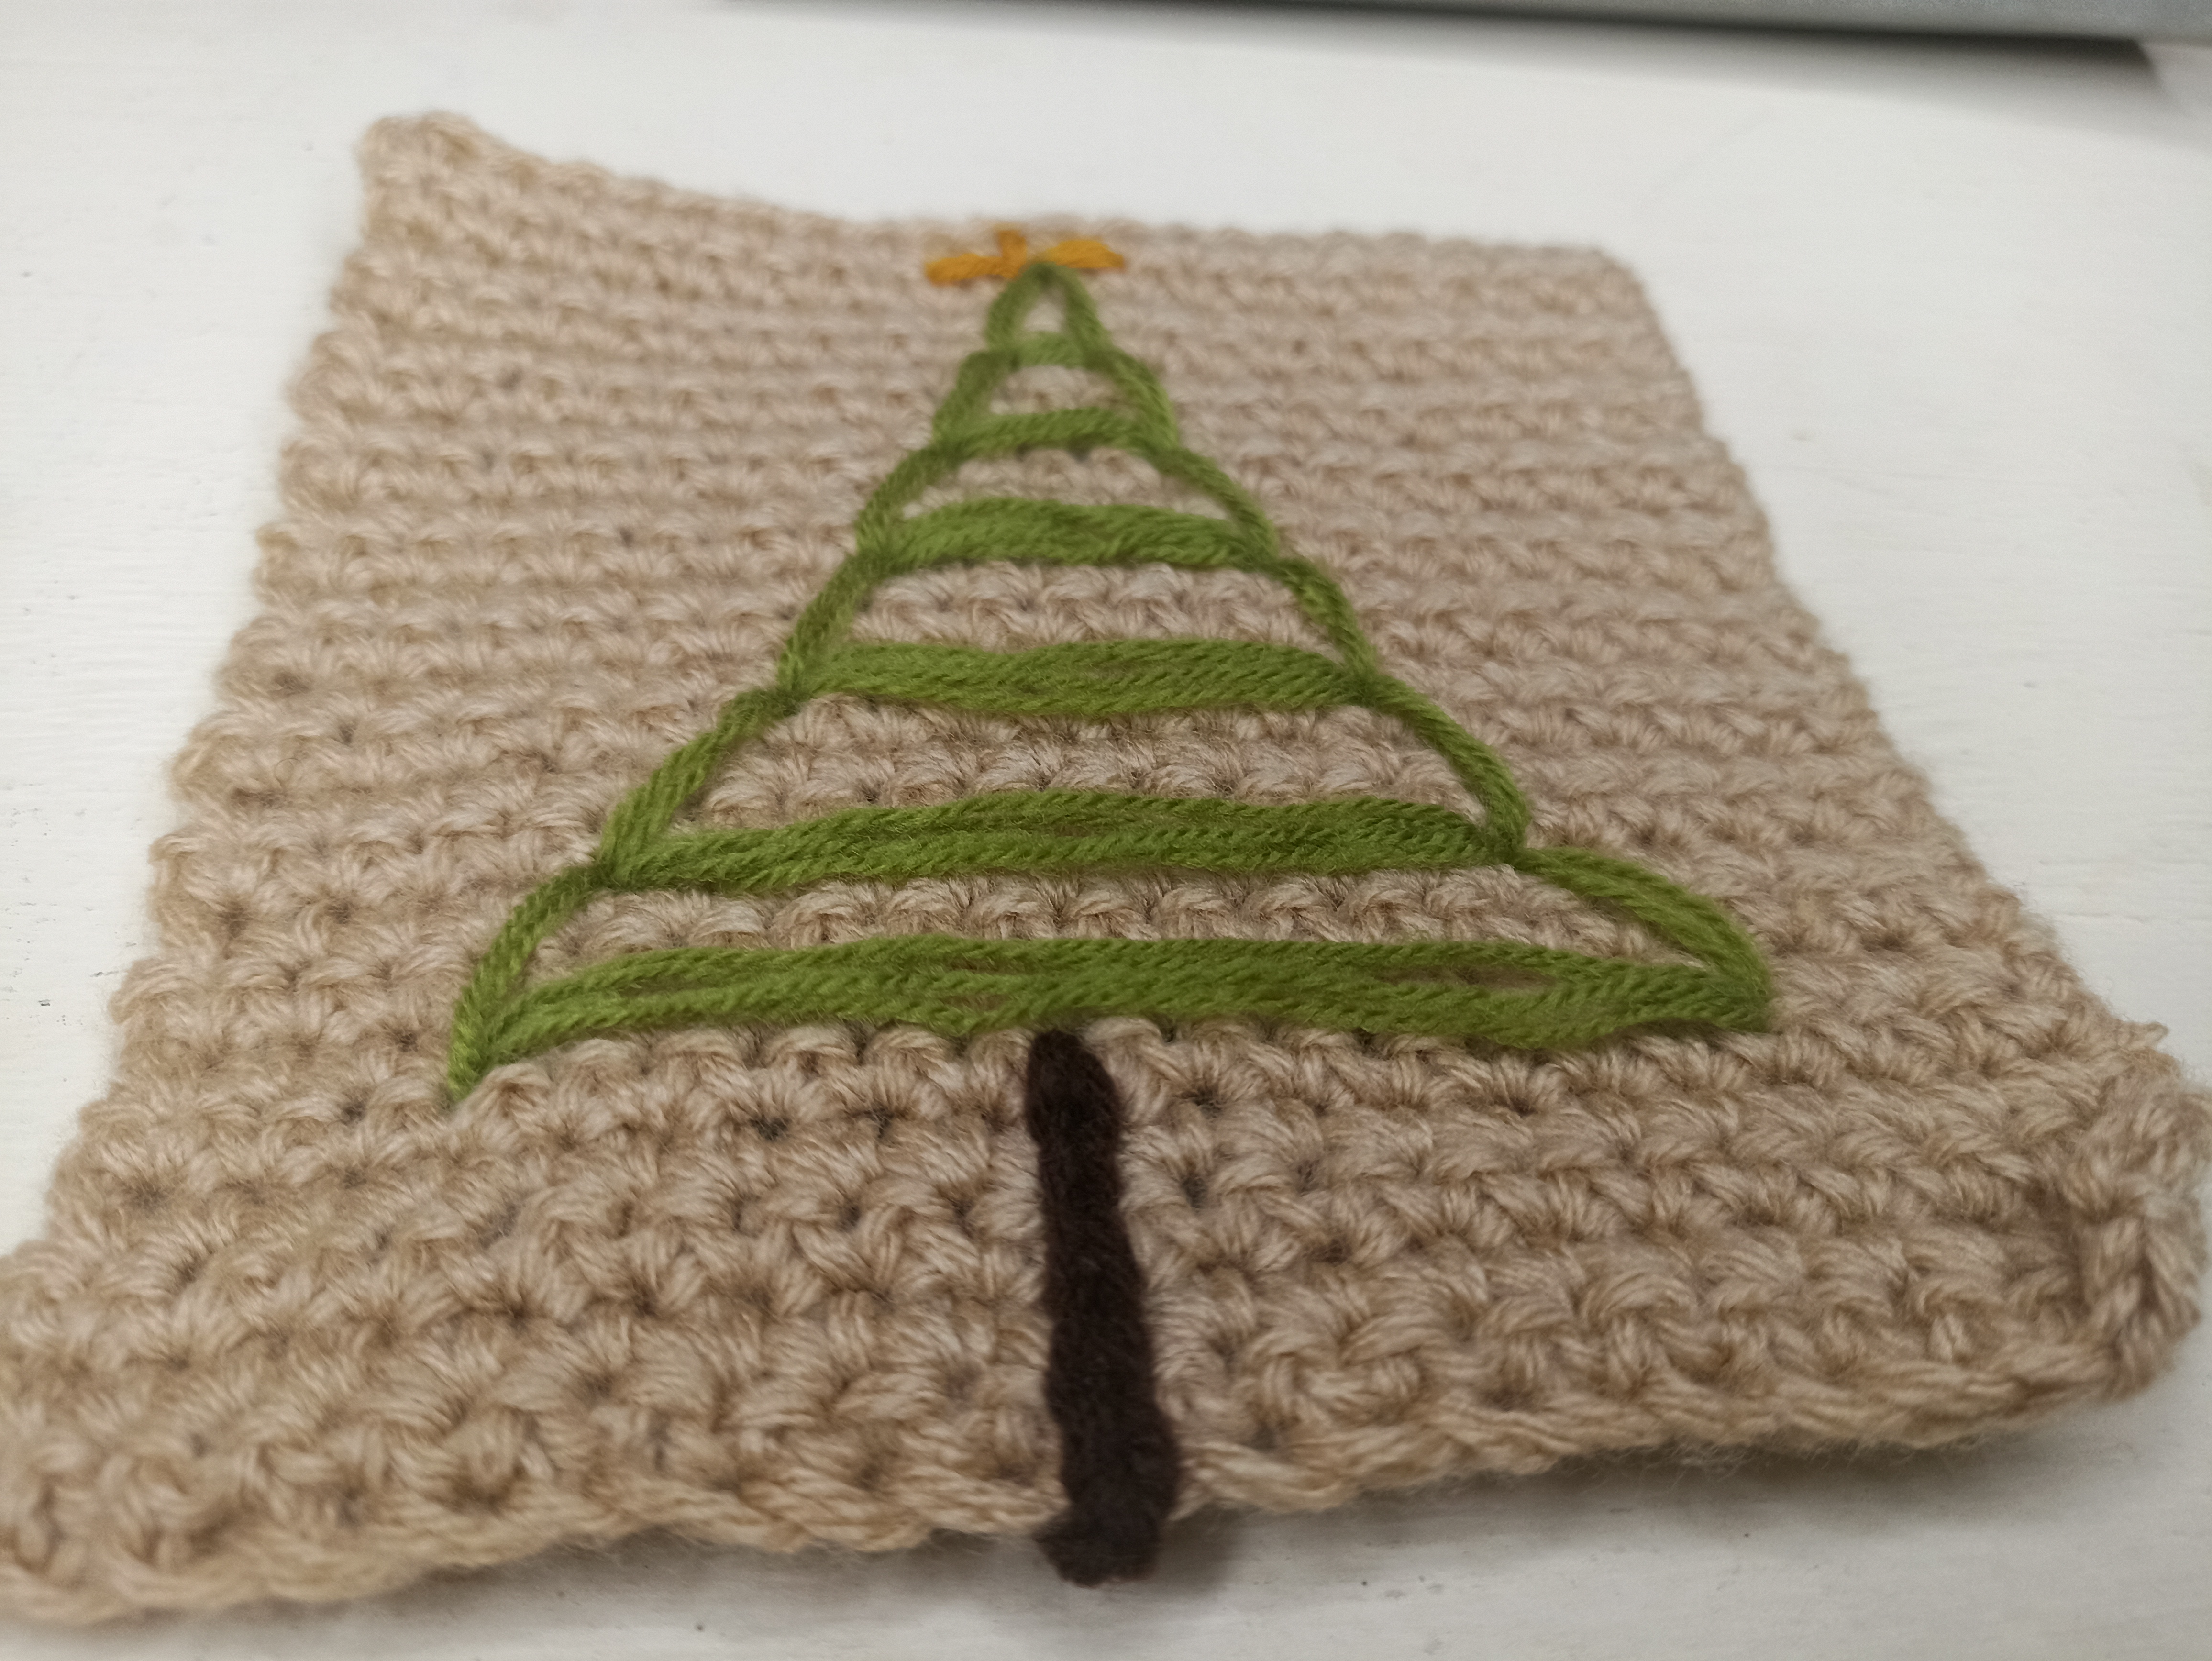
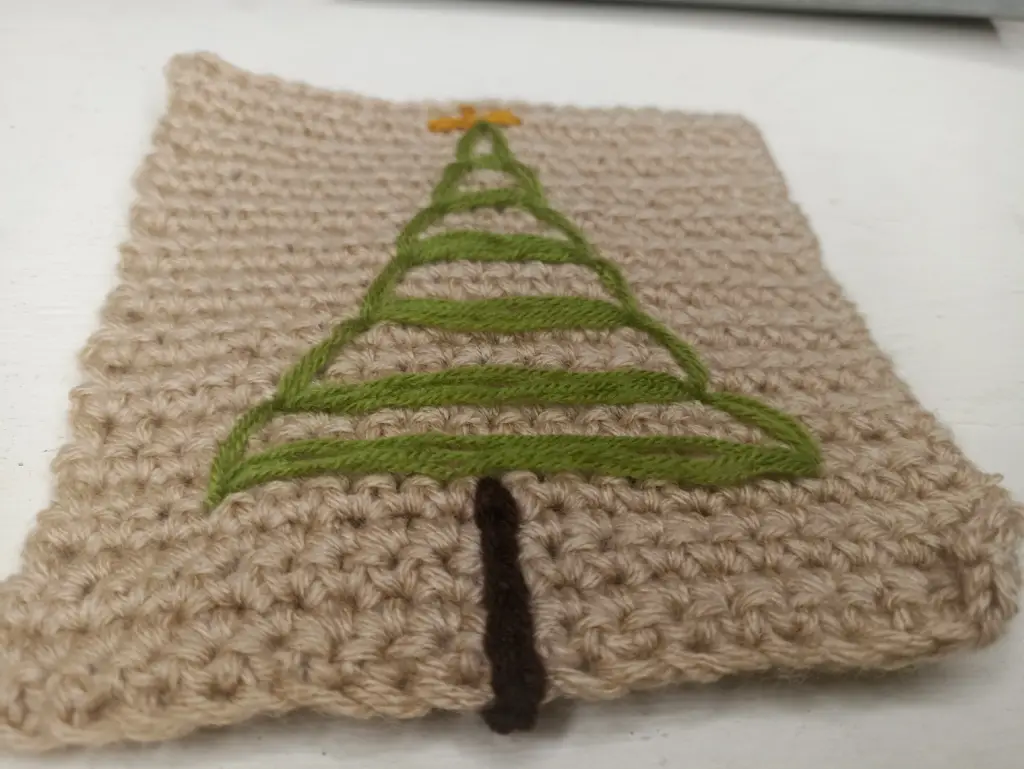
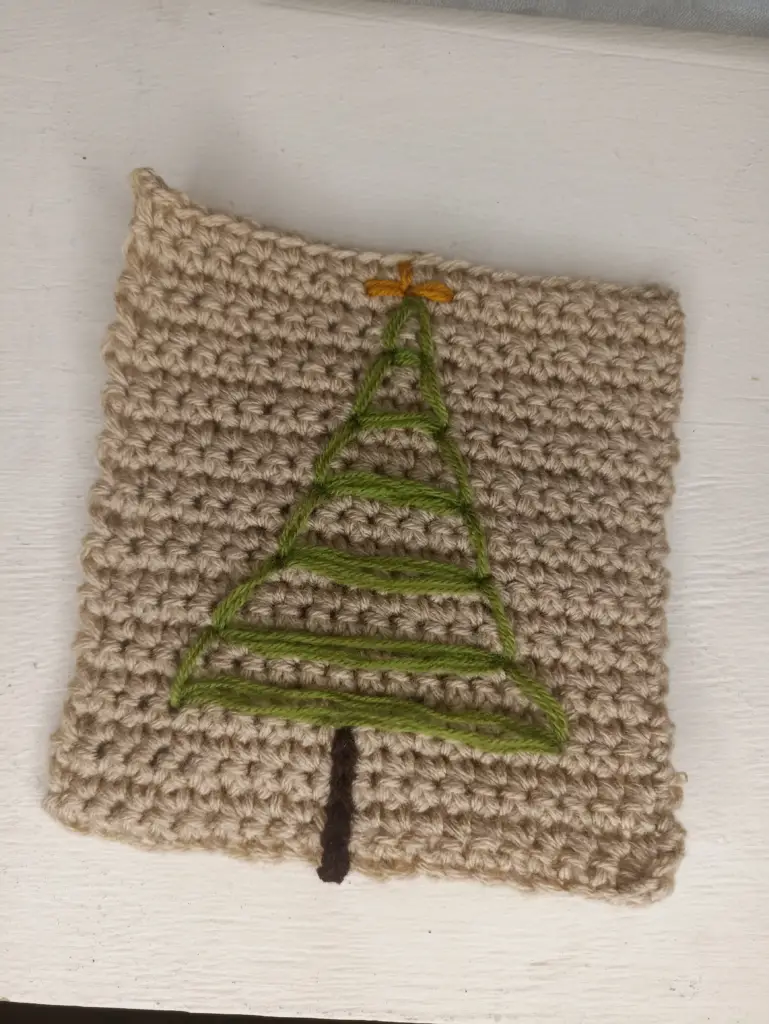
I say this crochet Christmas granny square pattern is for experienced intermediate crocheters because there are no pictures for the emboridery part, as it can be eyeballed and replicated! Unless you have some knowledge in embroidery and are a beginner, then you can give this Christmas granny square pattern a try.
I know my embroidery could have been a lot better! But i trust you!
Crochet Christmas Granny Square Pattern
Ch 21, sc in second ch from hook, sc all the way down
Ch 1, turn, sc all the way down, rep till 24 rows (or desired length).
Christmas Tree Embroidery
Now grab your second colour (green) for the tree. Feel free to use any colour of your choice here.
Leave 5 rows at the bottom for the tree trunk. Determine how wide you want your tree to be and place your yarn needle in and start to embroider your Christmas tree in a zigzag like manner making sure the tree is getting smaller towards the top.
If you want your tree to have a start, leave some room at the top. If not, don’t.
Now that you are all done, make another and another!
What Now?
Pin this post: Save this tutorial to your Pinterest boards so that you can come back to it later.
Leave a comment: We love to hear your feedback. Tell me in the comments below!
Share on Instagram or Facebook: When you make this project, share it on social media and tag me @Sit_n_Crochet. We love to see what you make!